HP Color LaserJet CM1312 HP Color LaserJet CM1312 MFP - Scan Tasks - Page 1
HP Color LaserJet CM1312 - Multifunction Printer Manual
 |
View all HP Color LaserJet CM1312 manuals
Add to My Manuals
Save this manual to your list of manuals |
Page 1 highlights
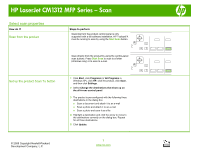
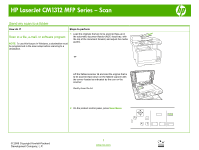
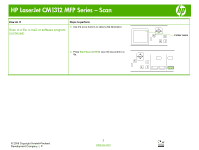
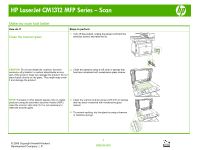
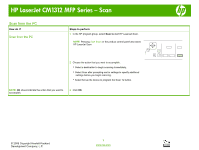
HP LaserJet CM1312 MFP Series - Scan Select scan properties How do I? Scan from the product Steps to perform Scanning from the product control panel is only supported with a full software installation. HP ToolboxFX must be running to scan by using the Start Scan button. ? Scan directly from the product by using the control-panel scan buttons. Press Start Scan to scan to a folder (Windows only) or to scan to e-mail. ? Set up the product Scan To button 1 Click Start, click Programs (or All Programs in Windows XP), click HP, click the product, click Scan, and then click Settings. 2 Select Change the destinations that show up on the all-in-one control panel. 3 The product is pre-configured with the following three destinations in the dialog box. ○ Scan a document and attach it to an e-mail ○ Scan a photo and attach it to an e-mail ○ Scan a photo and save it as a file 4 Highlight a destination and click the arrow to move to the destinations currently on the dialog box. Repeat for all three destinations. 5 Click Update. © 2008 Copyright Hewlett-Packard Development Company, L.P. 1 www.hp.com
-
 1
1 -
 2
2 -
 3
3 -
 4
4 -
 5
5
 |
 |