HP Deskjet 950/952c HP Deskjet 9xx series - (English) Quick Help - Page 16
Paper Type/Quality, Layout, Color, Background Printing, Background, Foreground, hp deskjet 9xx printer - ink
 |
View all HP Deskjet 950/952c manuals
Add to My Manuals
Save this manual to your list of manuals |
Page 16 highlights
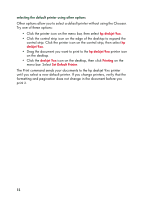
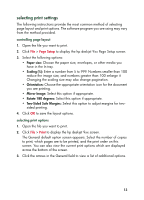
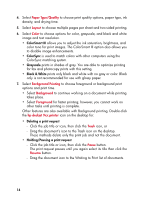
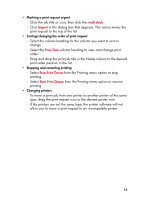
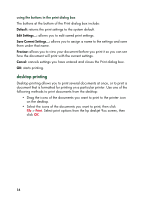
4. Select Paper Type/Quality to choose print quality options, paper type, ink density, and drying time. 5. Select Layout to choose multiple pages per sheet and two-sided printing. 6. Select Color to choose options for color, grayscale, and black and white image and text resolution. • ColorSmart III allows you to adjust the ink saturation, brightness, and color tone for print images. The ColorSmart III option also allows you to disable image enhancements. • ColorSync is used to match colors with other computers using the ColorSync matching system. • Grayscale prints in shades of gray. You are able to optimize printing for fax and photocopy prints with this setting. • Black & White prints only black and white with no gray or color. Black only is not recommended for use with glossy paper. 7. Select Background Printing to choose foreground or background print options and print time. • Select Background to continue working on a document while printing takes place. • Select Foreground for faster printing; however, you cannot work on other tasks until printing is complete. Other features are also available with Background printing. Double-click the hp deskjet 9xx printer icon on the desktop for: • Deleting a print request - Click the job title or icon, then click the Trash icon, or - Drag the document's icon to the Trash icon on the desktop. These methods delete only the print job and not the document. • Holding/Pausing a print request - Click the job title or icon, then click the Pause button. The print request pauses until you again select its title then click the Resume button. - Drag the document icon to the Waiting to Print list of documents. 14
-
 1
1 -
2
-
3
-
4
-
5
-
6
-
7
-
8
-
9
-
10
-
 11
11 -
 12
12 -
 13
13 -
 14
14 -
 15
15 -
 16
16 -
 17
17 -
 18
18 -
 19
19 -
 20
20 -
 21
21 -
22
-
23
-
24
-
25
-
26
-
27
-
28
-
29
-
30
-
31
-
32
-
33
-
34
-
35
-
36
-
37
-
38
-
39
-
40
-
41
-
42
-
43
-
44
-
45
-
46
-
47
-
48
-
49
-
50
-
51
-
52
-
53
-
54
-
55
-
56
-
57
-
58
-
59
-
60
-
61
-
62
-
63
-
64
-
65
-
66
-
67
-
68
-
69
-
70
-
71
-
72
-
73
-
74
-
75
-
76
-
77
-
78
-
79
-
80
-
81
-
82
-
83
-
84
-
85
-
86
-
87
-
88
-
89
-
90
-
91
-
92
-
93
-
94
-
95
-
96
-
97
-
98
-
99
-
100
-
101
-
102
-
103
-
104
-
105
-
106
-
107
-
108
-
109
-
110
-
111
-
112
-
113
-
114
-
115
-
116
-
117
-
118
 |
 |
