HP M1522nf HP LaserJet M1522 MFP - Scan Tasks - Page 1
HP M1522nf - LaserJet MFP B/W Laser Manual
 |
UPC - 883585238880
View all HP M1522nf manuals
Add to My Manuals
Save this manual to your list of manuals |
Page 1 highlights
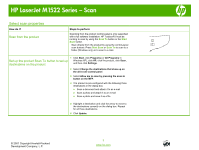
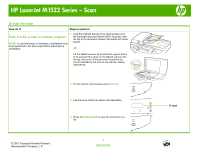
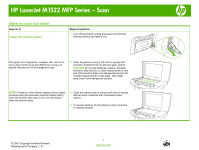
HP LaserJet M1522 Series - Scan Select scan properties How do I? Scan from the product Steps to perform Scanning from the product control panel is only supported with a full software installation. HP ToolboxFX must be running to scan by using the Scan To button or the Start Scan button. Scan directly from the product by using the control-panel scan buttons. Press Start Scan or Scan To to scan to a folder (Windows only) or to scan to e-mail. 1 Click Start, click Programs (or All Programs in Set up the product Scan To button to set up destinations on the product Windows XP), click HP, click the product, click Scan, and then click Settings. 2 Select Change the destinations that show up on the all-in-one control panel. 3 Select Allow me to scan by pressing the scan-to button on the MFP. 4 The product is pre-configured with the following three destinations in the dialog box. ○ Scan a document and attach it to an e-mail ○ Scan a photo and attach it to an e-mail ○ Scan a photo and save it as a file 5 Highlight a destination and click the arrow to move to the destinations currently on the dialog box. Repeat for all three destinations 6 Click Update. © 2007 Copyright Hewlett-Packard Development Company, L.P. 1 www.hp.com
-
 1
1 -
 2
2 -
 3
3 -
 4
4 -
 5
5
 |
 |