HP Media Center m1100 Upgrading and Servicing Guide - Page 6
Before Opening the PC, After Closing the PC, Removing the Side Panel
 |
View all HP Media Center m1100 manuals
Add to My Manuals
Save this manual to your list of manuals |
Page 6 highlights
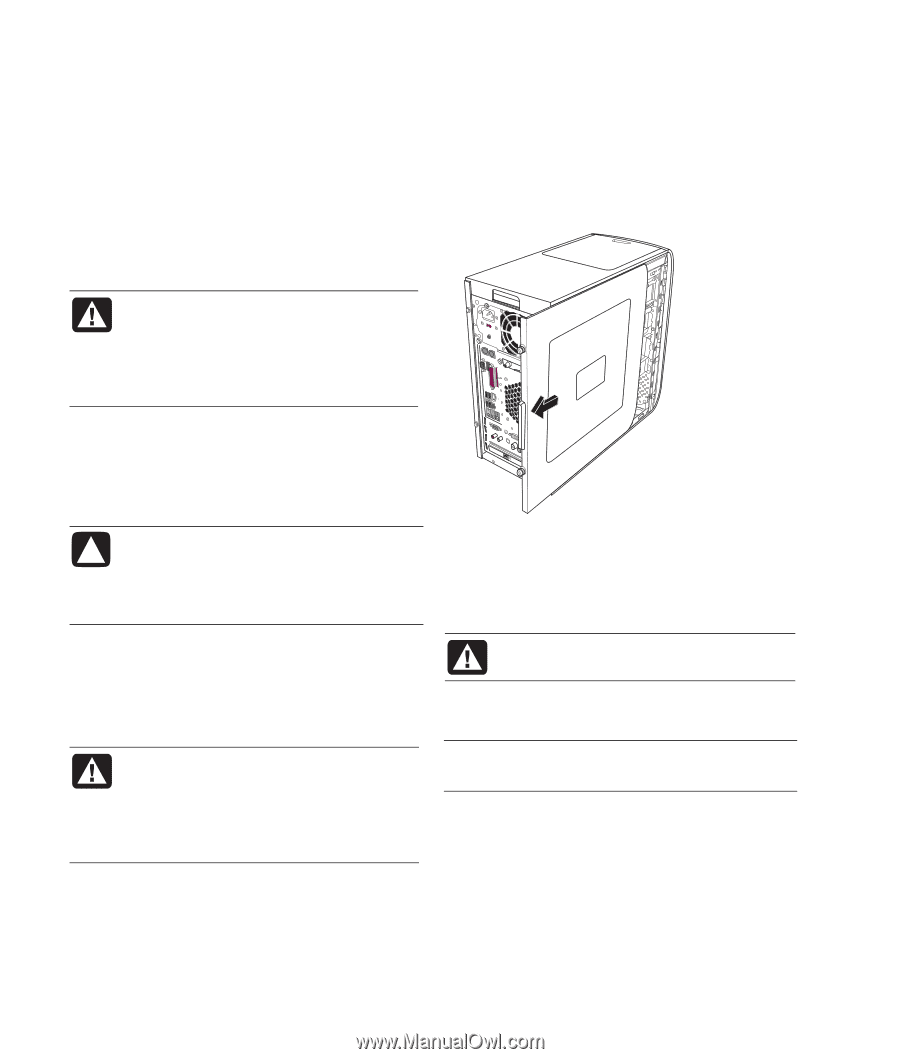
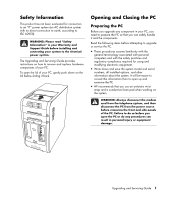
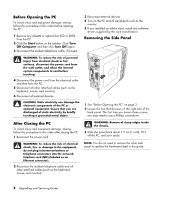
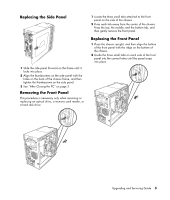
Before Opening the PC To avoid injury and equipment damage, always follow this procedure in this order before opening the PC: 1 Remove any diskette or optical disc (CD or DVD) from the PC. 2 Click the Start button on the taskbar. Click Turn Off Computer and then click Turn Off again. 3 Disconnect the modem/telephone cable, if present. 3 Reconnect external devices. 4 Turn on the PC and all peripherals such as the monitor. 5 If you installed an add-in card, install any software drivers supplied by the card manufacturer. Removing the Side Panel WARNING: To reduce the risk of personal injury from electrical shock or hot surfaces, disconnect the power cord from the wall outlet, and allow the internal system components to cool before touching. 4 Disconnect the power cord from the electrical outlet and then from the PC. 5 Disconnect all other attached cables (such as the keyboard, mouse, and monitor). 6 Disconnect all external devices. CAUTION: Static electricity can damage the electronic components of the PC or optional equipment. Ensure that you are discharged of static electricity by briefly touching a grounded metal object. SERIAL R ETHERNET S-VID IN L TV-OUT VID IN LCD TV IN OUT 1 See "Before Opening the PC" on page 2. 2 Loosen the two thumbscrews on the right side of the back panel. The first time you loosen these screws, you may need to use a Phillips screwdriver. After Closing the PC To avoid injury and equipment damage, always follow this procedure in this order after closing the PC: 1 Reconnect the power cord. WARNING: To reduce the risk of electrical shock, fire, or damage to the equipment, do not plug telecommunications or telephone connectors into the network interface card (NIC) (labeled as an Ethernet connector). 2 Reconnect the modem/telephone cable and all other attached cables (such as the keyboard, mouse, and monitor). WARNING: Beware of sharp edges inside the chassis. 3 Slide the panel back about 2.5 cm (1 inch), lift it off the PC, and set it aside. NOTE: You do not need to remove the other side panel to replace the hardware listed in this guide. 2 Upgrading and Servicing Guide
-
 1
1 -
 2
2 -
 3
3 -
 4
4 -
 5
5 -
 6
6 -
 7
7 -
 8
8 -
 9
9 -
 10
10 -
 11
11 -
 12
12 -
13
-
14
-
15
-
16
 |
 |