HP Pavilion Elite m9300 Upgrading and Servicing Guide - Page 15
Removing the HP Pocket Media or Diskette or Hard Disk Drive
 |
View all HP Pavilion Elite m9300 manuals
Add to My Manuals
Save this manual to your list of manuals |
Page 15 highlights
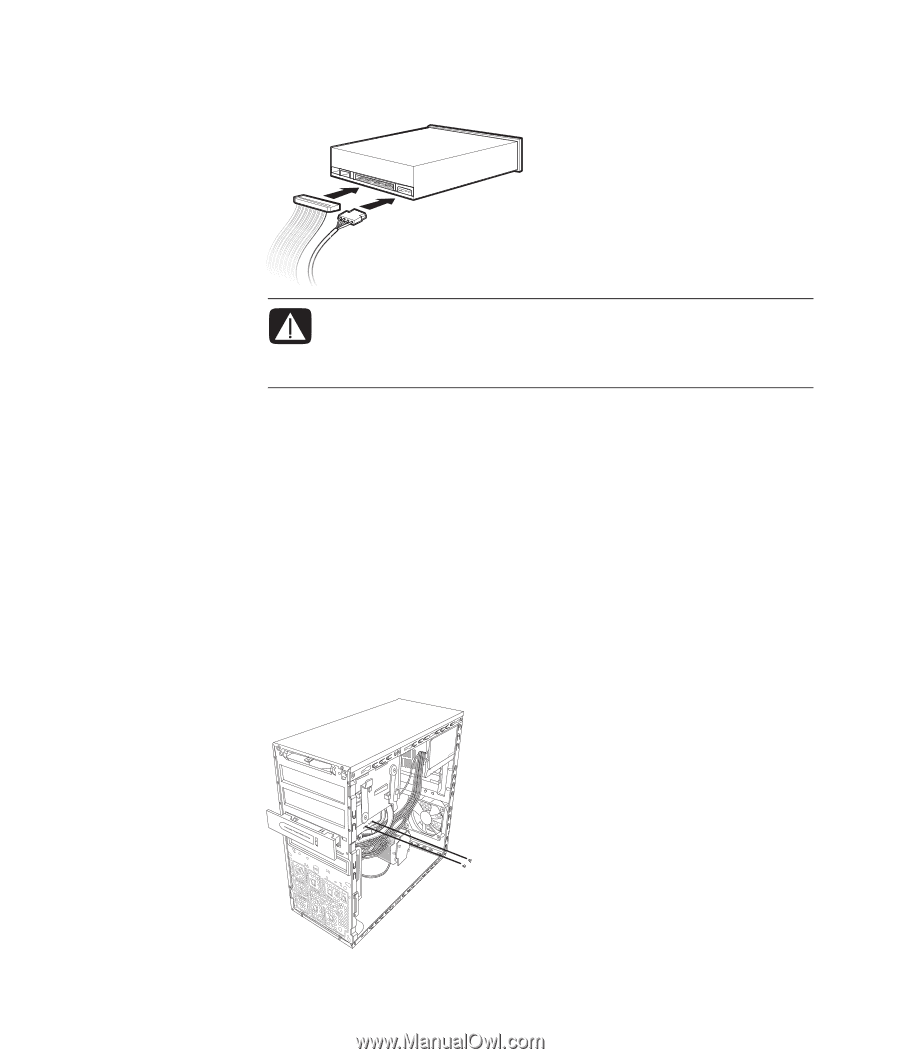
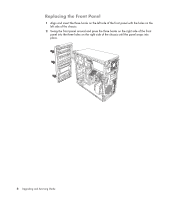
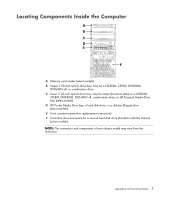
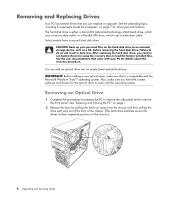
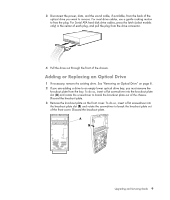
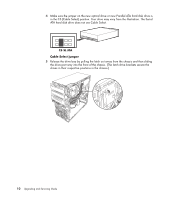
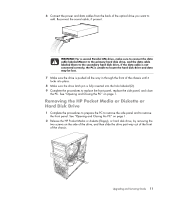
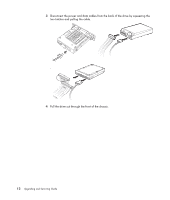
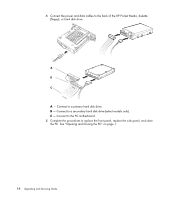
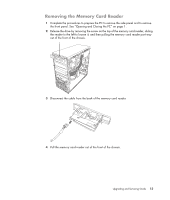
6 Connect the power and data cables from the back of the optical drive you want to add. Reconnect the sound cable, if present. WARNING: For a second Parallel ATA drive, make sure to connect the data cable labeled Master to the primary hard disk drive, and the data cable labeled Slave to the secondary hard disk drive. If the data cable is not connected correctly, the PC is unable to locate the hard disk drive and data may be lost. 7 Make sure the drive is pushed all the way in through the front of the chassis until it locks into place. 8 Make sure the drive latch pin is fully inserted into the hole labeled (2). 9 Complete the procedures to replace the front panel, replace the side panel, and close the PC. See "Opening and Closing the PC" on page 1. Removing the HP Pocket Media or Diskette or Hard Disk Drive 1 Complete the procedures to prepare the PC to remove the side panel and to remove the front panel. See "Opening and Closing the PC" on page 1. 2 Release the HP Pocket Media or diskette (floppy), or hard disk drive, by removing the two screws on the side of the drive, and then slide the drive part way out of the front of the chassis. Upgrading and Servicing Guide 11
-
 1
1 -
2
-
3
-
4
-
5
-
6
-
7
-
8
-
9
-
 10
10 -
 11
11 -
 12
12 -
 13
13 -
 14
14 -
 15
15 -
 16
16 -
 17
17 -
 18
18 -
 19
19 -
 20
20 -
21
-
22
-
23
-
24
-
25
-
26
-
27
-
28
-
29
-
30
-
31
-
32
 |
 |