HP Visualize J282 IRIX to HP-UX Migration Guide - Page 91
Configuring and Administering an NIS Master Server
 |
View all HP Visualize J282 manuals
Add to My Manuals
Save this manual to your list of manuals |
Page 91 highlights
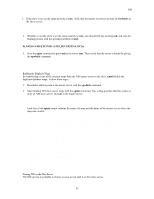
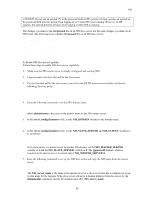
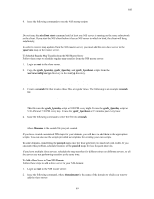
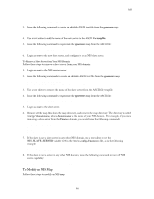
NIS swapon Configuring and Administering an NIS Master Server Follow these steps to configure and administer an NIS master server: 4. Login as root to the host that will serve as the master server. 5. On that same host, ensure that the PATH environment variable includes the following directory paths: /var/yp /usr/lib/netsvc/yp /usr/ccs/bin 6. Issue the following command to set the NIS domain name: # /usr/bin/domainname domainname 7. In the /etc/rc.config.d/namesvrs file, set the NIS_DOMAIN variable to the domain name: NIS_DOMAIN=domainname 8. In the /etc/rc.config.d/namesvrs file, set the NIS_MASTER_SERVER and NIS_CLIENT variables to 1, as follows: NIS_MASTER_SERVER=1 NIS_CLIENT=1 If the host that will be the master server is already a slave server for another domain, set the IS_MASTER_SERVER variable to 1 and the NIS_SLAVE_SERVER variable to 0. 9. Issue the following command to create the NIS maps for the domain: # /usr/sbin/ypinit -m The ypinit script will prompt you for the names of your slave servers. Enter the names of your slave servers in response to the prompt. 10. Issue the following commands to run the NIS startup scripts: # /sbin/init.d/nis.server start # /sbin/init.d/nis.client start Do not issue the nis.client start command until at least one NIS server is running on the same subnet as the client. If you start the NIS client before it has an NIS server to bind to, the client will hang indefinitely. 11. The master server is now running as both an NIS master server and an NIS client. Next, you must configure the slave servers you listed when you ran the ypinit script. Configuring the NIS Master Server to Use a Private passwd File Follow these steps to configure the NIS master server to use a private passwd file: 1. Login as root to the NIS master server. 2. Copy the /etc/passwd file to /etc/passwd.yp. 86
-
 1
1 -
2
-
3
-
4
-
5
-
6
-
7
-
8
-
9
-
10
-
11
-
12
-
13
-
14
-
15
-
16
-
17
-
18
-
19
-
20
-
21
-
22
-
23
-
24
-
25
-
26
-
27
-
28
-
29
-
30
-
31
-
32
-
33
-
34
-
35
-
36
-
37
-
38
-
39
-
40
-
41
-
42
-
43
-
44
-
45
-
46
-
47
-
48
-
49
-
50
-
51
-
52
-
53
-
54
-
55
-
56
-
57
-
58
-
59
-
60
-
61
-
62
-
63
-
64
-
65
-
66
-
67
-
68
-
69
-
70
-
71
-
72
-
73
-
74
-
75
-
76
-
77
-
78
-
79
-
80
-
81
-
82
-
83
-
84
-
85
-
 86
86 -
 87
87 -
 88
88 -
 89
89 -
 90
90 -
 91
91 -
 92
92 -
 93
93 -
 94
94 -
 95
95 -
 96
96 -
97
-
98
-
99
-
100
-
101
-
102
-
103
-
104
-
105
-
106
-
107
-
108
-
109
-
110
-
111
-
112
-
113
-
114
-
115
-
116
-
117
-
118
-
119
-
120
-
121
-
122
-
123
-
124
-
125
 |
 |