HP Xz275 HP Pavilion Notebook zt1000, xz100 and Omnibook xt1000 Series PCs - T - Page 37
Removing and Replacing Parts
 |
View all HP Xz275 manuals
Add to My Manuals
Save this manual to your list of manuals |
Page 37 highlights
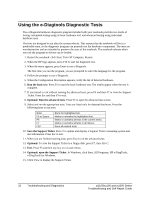
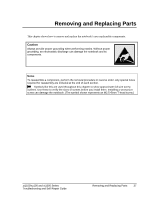
Removing and Replacing Parts This chapter shows how to remove and replace the notebook's user-replaceable components. Caution Always provide proper grounding when performing repairs. Without proper grounding, an electrostatic discharge can damage the notebook and its components. Notes To reassemble a component, perform the removal procedure in reverse order. Any special notes required for reassembly are included at the end of each section. Symbols like this are used throughout this chapter to show approximate full-size screw outlines. Use these to verify the sizes of screws before you install them. Installing a wrong-size screw can damage the notebook. (The symbol shown represents an M2.5×5mm T-head screw.) zt1100/xz100 and xt1000 Series Troubleshooting and Self-Repair Guide Removing and Replacing Parts 37
-
 1
1 -
2
-
3
-
4
-
5
-
6
-
7
-
8
-
9
-
10
-
11
-
12
-
13
-
14
-
15
-
16
-
17
-
18
-
19
-
20
-
21
-
22
-
23
-
24
-
25
-
26
-
27
-
28
-
29
-
30
-
31
-
 32
32 -
 33
33 -
 34
34 -
 35
35 -
 36
36 -
 37
37 -
 38
38 -
 39
39 -
 40
40 -
 41
41 -
 42
42 -
43
-
44
-
45
-
46
-
47
-
48
-
49
-
50
-
51
-
52
-
53
-
54
-
55
-
56
 |
 |