HP s520 HP s520 Digital Camera - Getting Started Guide - Page 4
Getting Started - camera
 |
View all HP s520 manuals
Add to My Manuals
Save this manual to your list of manuals |
Page 4 highlights
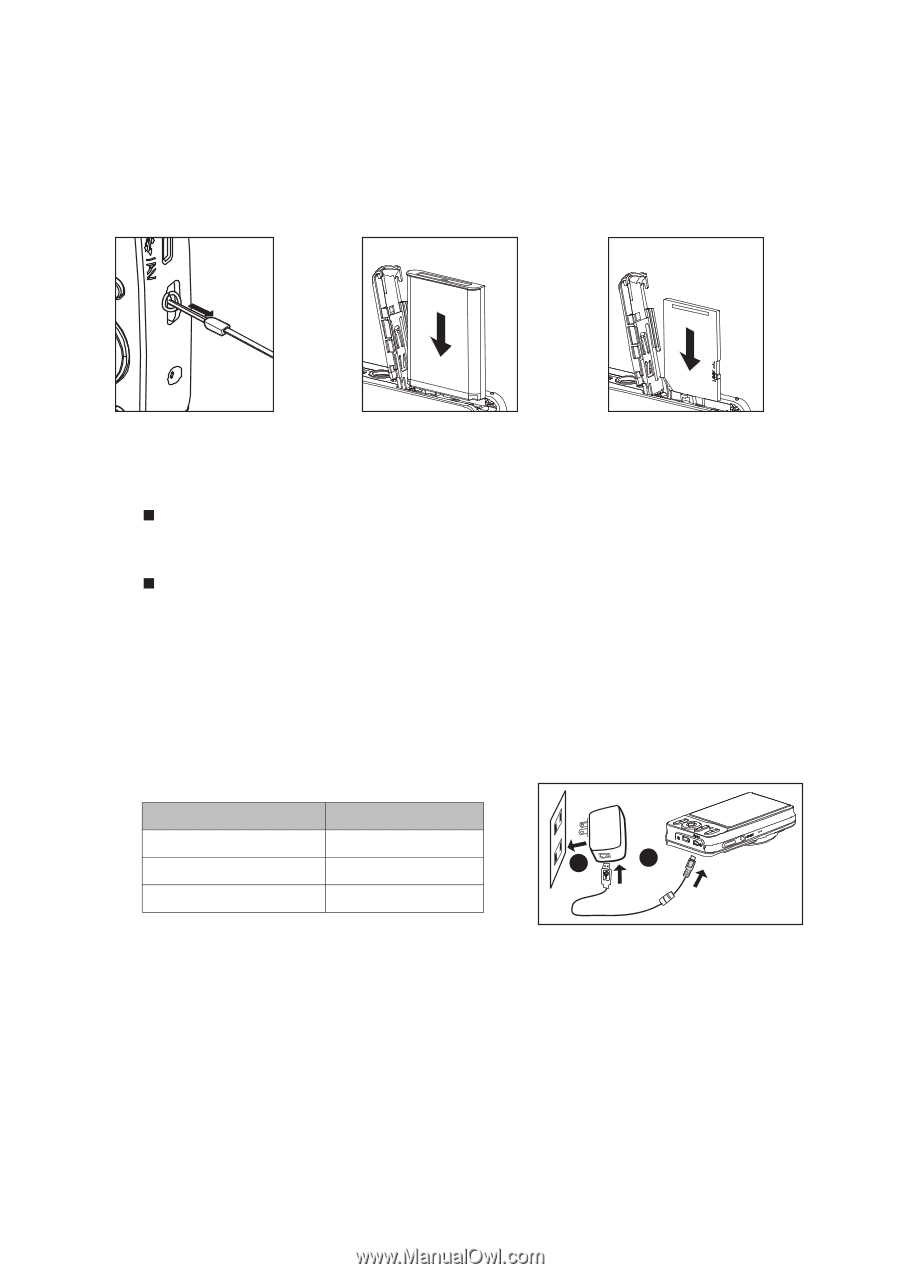
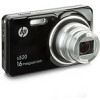
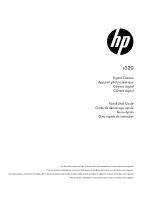
GETTING STARTED Preparation 1. Attach the camera strap. 2. Open the battery/memory card cover. 3. Insert the supplied battery with correct orientation as shown (label side front). 4. Insert an SD/SDHC memory card (Optional). „ The camera has 32MB internal memory(23MB available for image storage), but you can load an SD/SDHC memory card to expand the camera's memory capacity. „ Be sure to format the memory card with this camera before its initial usage. 5. Close the battery/memory card cover and make sure it is locked securely. Charging the Battery The battery is not fully charged at the time of purchase. Fully charge the battery and use it until it is discharged before you recharge it again. This maximize the performance and lifetime of the battery. 1. Connect camera to USB-AC adapter with USB cable. 2. Insert the plug into a wall outlet. Status LED Description Green (blinks slowly) Charging normally Green Charging finished 2 1 Green (blinks quickly) Error EN-2
-
 1
1 -
 2
2 -
 3
3 -
 4
4 -
 5
5 -
 6
6 -
 7
7 -
 8
8 -
 9
9 -
 10
10 -
11
-
12
-
13
-
14
-
15
-
16
-
17
-
18
-
19
-
20
-
21
-
22
-
23
-
24
-
25
-
26
 |
 |