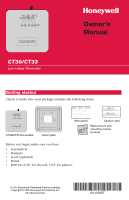
Honeywell CT33 Owner's Manual - Page 3
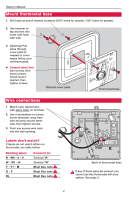
Label wires and remove old wallplate, Mark mounting position - thermostat
 |
View all Honeywell CT33 manuals
Add to My Manuals
Save this manual to your list of manuals |
Page 3 highlights
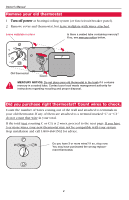
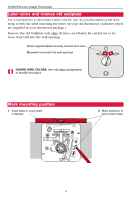
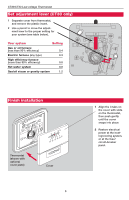
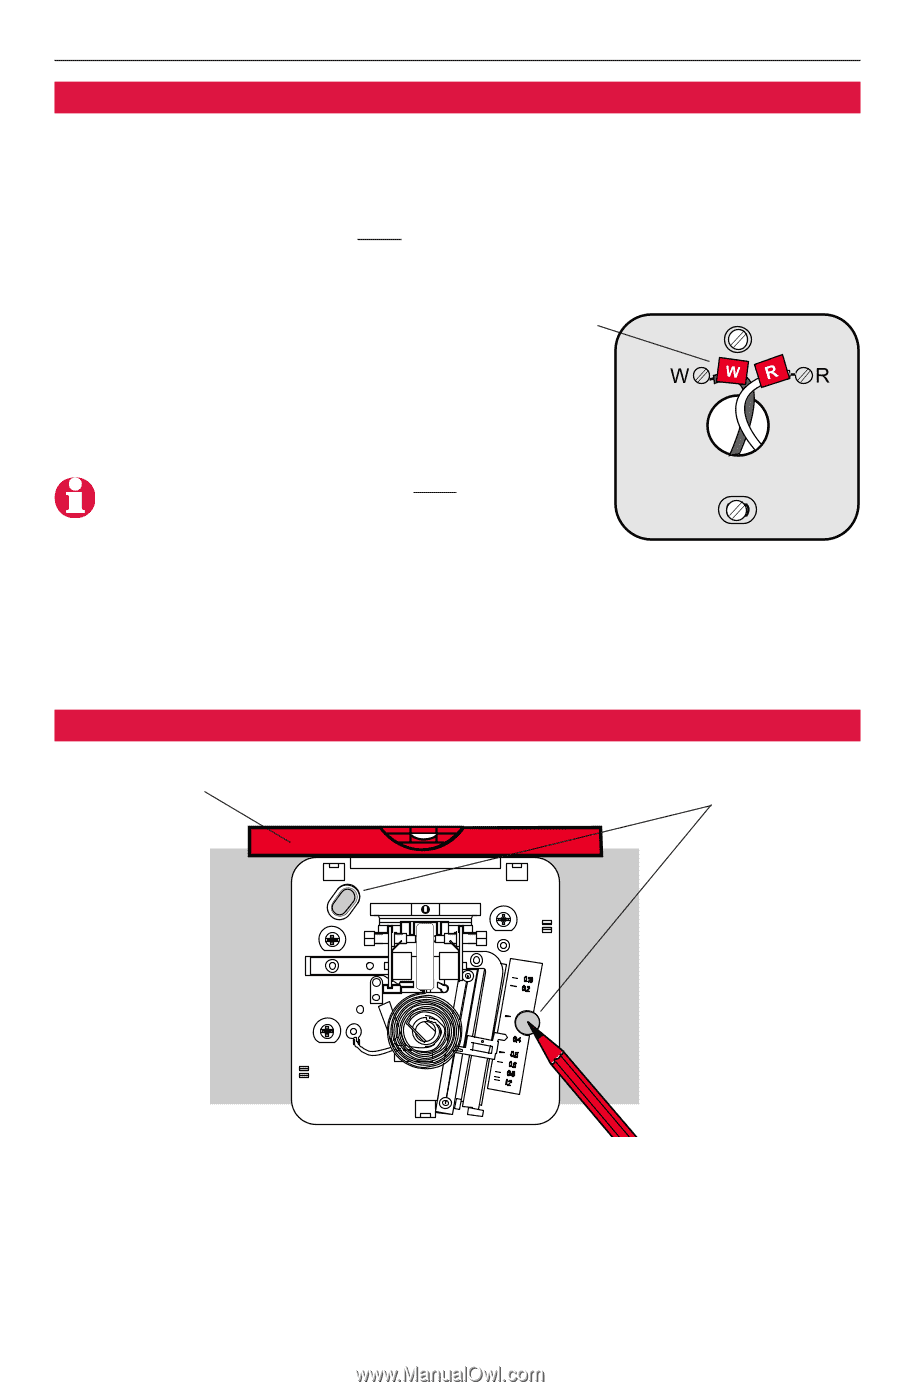
CT30/CT33 Low-voltage Thermostat Label wires and remove old wallplate Use a screwdriver to disconnect wires one by one.As you disconnect each wire, wrap it with the label matching the letter on your old thermostat. (Adhesive labels are supplied in your thermostat package.) Remove the old wallplate only after all wires are labeled. Be careful not to let loose wires fall into the wall opening. Wrap supplied labels securely around each wire Do not let wires fall into wall opening! IGNORE WIRE COLORS: Use only letter designations to identify wire types. Mark mounting position 1 Level base or cover plate if desired. 2 Mark positions of both screw holes. 3
-
 1
1 -
 2
2 -
 3
3 -
 4
4 -
 5
5 -
 6
6 -
 7
7 -
 8
8 -
 9
9 -
10
-
11
-
12
-
13
-
14
-
15
-
16
 |
 |
CT30/CT33 Low-voltage Thermostat
3
Label wires and remove old wallplate
Use a screwdriver to disconnect wires one by one.As you disconnect each wire,
wrap it with the label matching the letter on your old thermostat. (Adhesive labels
are supplied in your thermostat package.)
Remove the old wallplate only after
all wires are labeled. Be careful not to let
loose wires fall into the wall opening.
Wrap supplied labels securely around each wire
Do not
let wires fall into wall opening!
IGNORE WIRE COLORS:
Use only letter
designations
to identify wire types.
Mark mounting position
1
Level base or cover plate
if desired.
2
Mark positions of
both screw holes.