Hoover FH50240RM Product Manual - Page 7
Transporting, Carry, Handle, Spinscrub®, Selector, Tanks, Clean, Water, Solution
 |
View all Hoover FH50240RM manuals
Add to My Manuals
Save this manual to your list of manuals |
Page 7 highlights
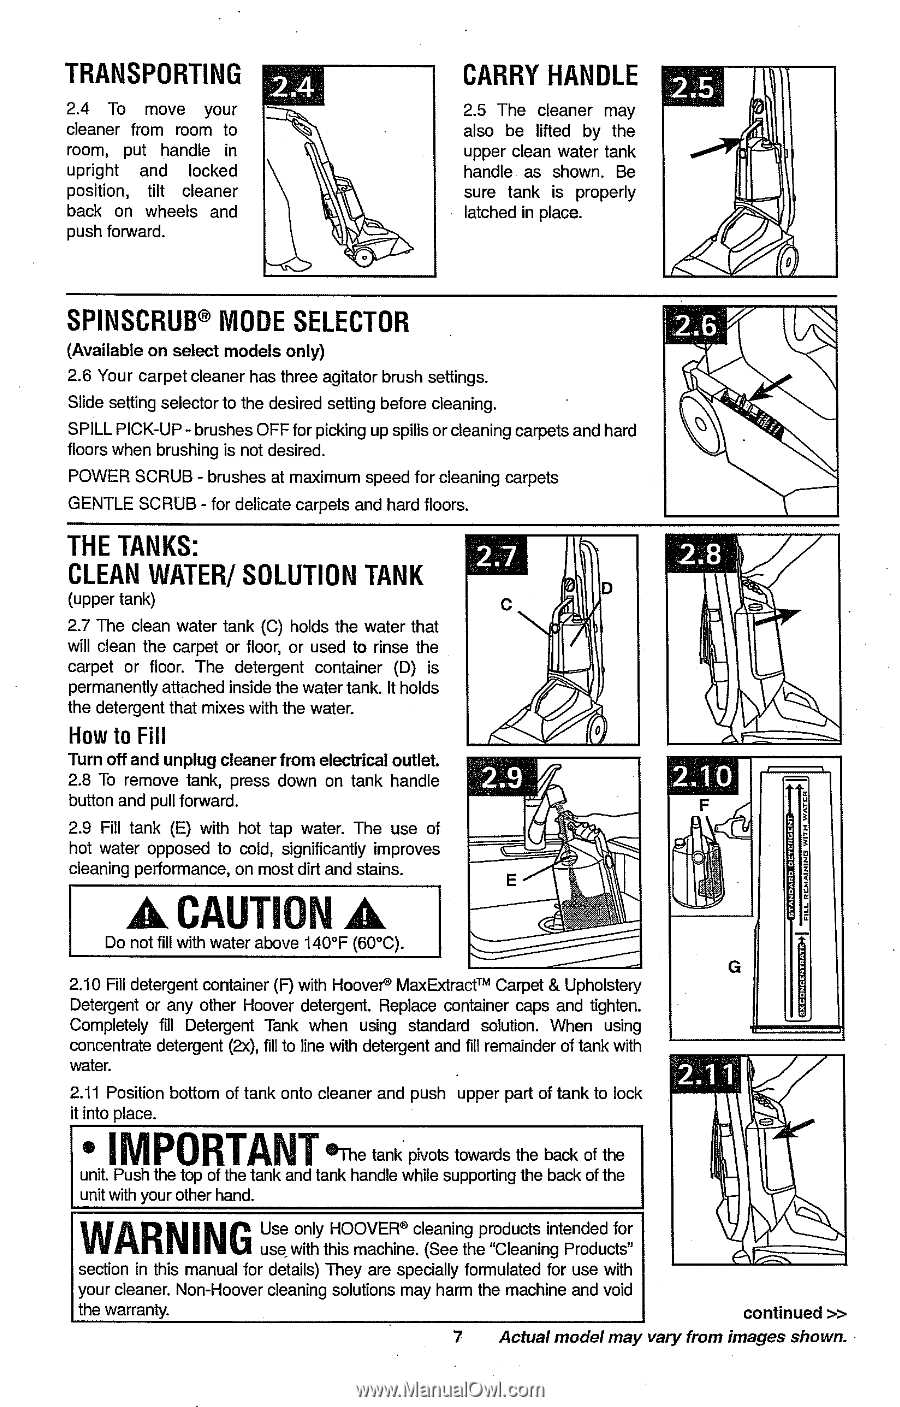
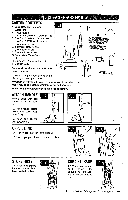
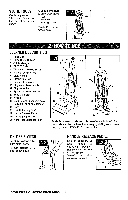
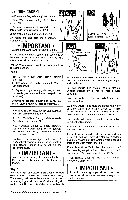
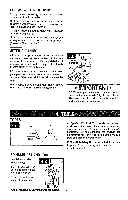
TRANSPORTING .14 2.4 To move your cleaner from room to room, put handle in upright and locked position, tilt cleaner back on wheels and push forward. CARRY HANDLE 2.5 The cleaner may also be lifted by the upper clean water tank handle as shown. Be sure tank is properly latched in place. 25 SPINSCRUB® MODE SELECTOR • (Available on select models only) 2.6 Your carpet cleaner has three agitator brush settings. Slide setting selector to the desired setting before cleaning. SPILL PICK-UP - brushes OFF for picking up spills or cleaning carpets and hard floors when brushing is not desired. POWER SCRUB - brushes at maximum speed for cleaning carpets GENTLE SCRUB - for delicate carpets and hard floors. THE TANKS: CLEAN WATER/ SOLUTION TANK (upper tank) 2.7 The clean water tank (C) holds the water that will clean the carpet or floor, or used to rinse the carpet or floor. The detergent container (D) is permanently attached inside the water tank. It holds the detergent that mixes with the water. How to Fill Turn off and unplug cleaner from electrical outlet. 2.8 To remove tank, press down on tank handle button and pull forward. 2.9 Fill tank (E) with hot tap water. The use of hot water opposed to cold, significantly improves cleaning performance, on most dirt and stains. A CAUTION A Do not fill with water above 140°F (60°C). 2.10 03 2.10 Fill detergent container (F) with Hoove& MaxExtractTM Carpet & Upholstery Detergent or any other Hoover detergent. Replace container caps and tighten. Completely fill Detergent Tank when using standard solution. When using concentrate detergent (2x), fill to line with detergent and fill remainder of tank with water. 2.11 Position bottom of tank onto cleaner and push upper part of tank to lock it into place. a • IMPORTANT ®The tank pivots towards the back of the unit. Push the top of the tank and tank handle while supporting the back of the unit with your other hand. WARNING Use only HOOVER"' cleaning products intended for use with this machine. (See the "Cleaning Products" section in this manual for details) They are specially formulated for use with your cleaner. Non-Hoover cleaning solutions may harm the machine and void the warranty. continued » 7 Actual model may vary from images shown.
-
 1
1 -
 2
2 -
 3
3 -
 4
4 -
 5
5 -
 6
6 -
 7
7 -
 8
8 -
 9
9 -
 10
10 -
 11
11 -
 12
12 -
13
-
14
-
15
-
16
-
17
-
18
-
19
-
20
-
21
-
22
-
23
-
24
-
25
-
26
-
27
-
28
-
29
-
30
-
31
-
32
-
33
-
34
-
35
-
36
-
37
-
38
 |
 |