Hoover H1005 Manual - Page 6
To use as a mop - steamer
 |
View all Hoover H1005 manuals
Add to My Manuals
Save this manual to your list of manuals |
Page 6 highlights
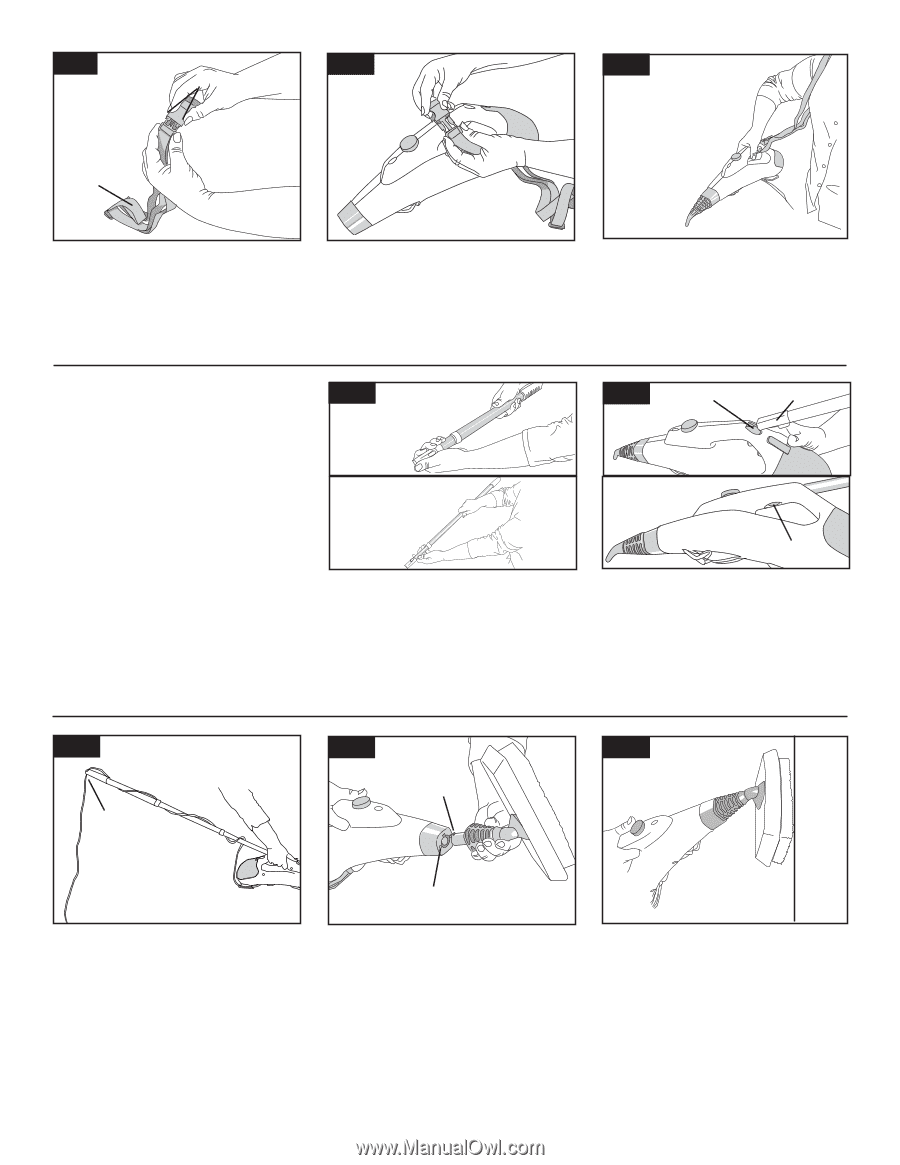
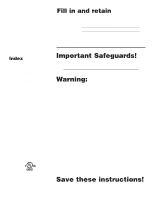
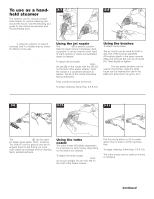
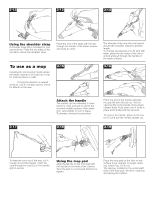
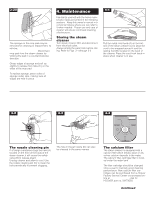
3-12 B 3-13 3-14 A Using the shoulder strap A shoulder strap (A) is included for your convenience. Press the two sides of the clip (B) to unlock the shoulder strap. To use as a mop Installing the telescoping handle allows the steam cleaner to be used as a mop for cleaning floors or walls. NOTE: If using the steamer on waxed surfaces, test in a hidden area to check for effects on the wax. Place the end of the strap with the clip through the handle of the steam cleaner and snap to close. 3-15 Attach the handle The handle can be extended to three sections. Twist and pull to unlock the end and middle sections. After extension, twist slightly to lock in place. To shorten, reverse the procedure. The shoulder strap may then be looped around the shoulder. Adjust to desired length. To change accessories or to fill tank with water, press the two sides of the clip to unlock and pull through the handle of the steam cleaner. 3-16 B A C Place the end of the handle opposite the grip (A) with flat side up, into the opening (B) on the handle of the steam cleaner body. Push down until it locks in place and handle is firmly secured. To remove the handle, press on the button (C) and pull the handle straight out. 3-17 D 3-18 A 3-19 To keep the cord out of the way, coil it loosely around the handle. Insert the cord through the slot (D) on the handle grip to secure. B Using the mop pad Align the tab (A) on the mop pad with the slot (B) on the front of the cleaner. Twist the pad in a clockwise direction to tighten. Place the mop pad on the floor or wall surface to be cleaned. To begin cleaning, follow Figs. 3-5 & 3-6. The sponge, located on the underneath side of the mop pad, will aid in cleaning and drying the surface. 6
-
 1
1 -
 2
2 -
 3
3 -
 4
4 -
 5
5 -
 6
6 -
 7
7 -
 8
8 -
 9
9
 |
 |