Hunter 30401 Owner's Manual - Page 19
Changing the Filter - model
 |
View all Hunter 30401 manuals
Add to My Manuals
Save this manual to your list of manuals |
Page 19 highlights
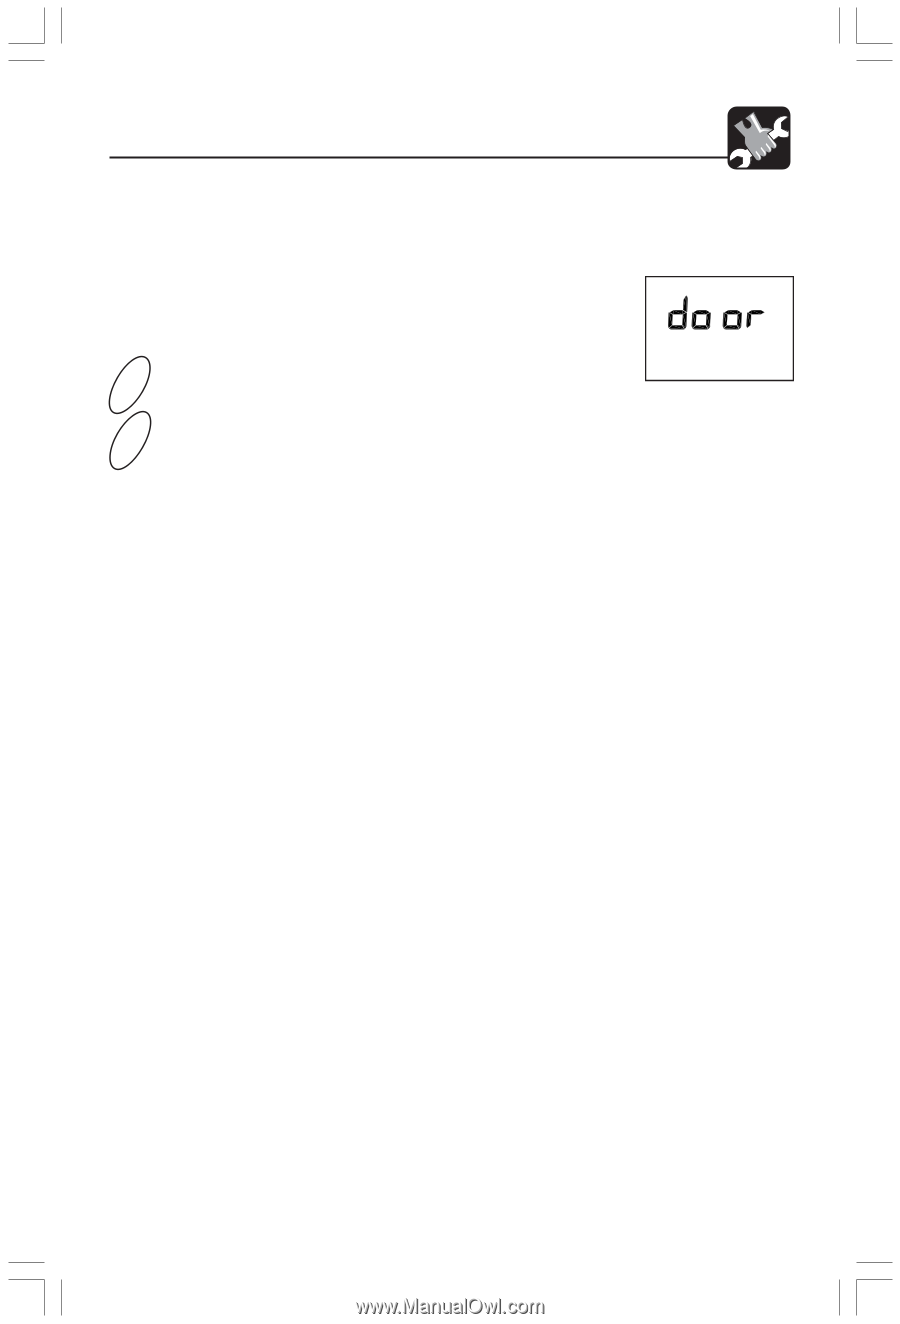
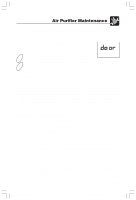
Air Purifier Maintenance 6. Install the grill back onto the unit. First, line up the tabs on the bottom of the grill with the openings on the purifier base and then push the top of the grill forward until it is closed. 7. Plug in the air purifier. NOTE: This unit will not operate unless the grill is in the correct position. The display will read "door" if the grill is not attached properly. 8. Finally, reset the pre-filter counter by pressing the DISPLAY key until the pre-filter counter is displayed. Then, hold the FILTER RESET key for 2 seconds. The pre-filter counter will return to zero and resume normal operation. Fig. 27 DISPLAY FILTER RST Changing the Filter When the Filter Counter exceeds 8000 hours (approximately 1 year of use), the display will automatically switch to the Filter Display and the Filter indicator will flash (refer to Filter Run-time Counters for additional information pg. 11). This is a reminder that you should check the filter and replace if necessary. The proper time to change the filter depends usage and the environment. Use the following list to help determine if the filter should be changed: • Compare the color of the filter to the color coded chart on the inside of the housing. If the filter color matches the darkest color on the chart, you should replace the filter. • If you notice a decrease in air output or an increase in noise at any time during normal operation, the filter may be clogged. Replace the filter to return to normal operation. To change the filter and reset the filter run-time counter: 1. First, turn off and unplug the air purifier. 2. Next, remove the front grill. For Models 30400 and 30401, place your fingers in the recesses on either side of the top of the grill and pull firmly. For all other models, gently press the push tabs until the front grill slides pass them and is released. 3. Gently pull on the filter to remove it from the unit. While removing the filter, note the direction of the flaps that form the seal. The new filter will be installed with the same orientation. Once removed, the used filter can be discarded. 4. Remove the new filter from its wrapping and look at the orientation of the rubber seals on the sides of the filter. The loose end of the flap should be facing out as the filter is placed into the air purifier. Press the filter firmly into the air purifier. To avoid damaging the filter media, you should press on the frame of the filter only. 5. Reinstall the grill by first lining up the tabs on the bottom of the grill with the openings on the air purifier base and then pushing the top of the grill forward until it is closed. Continued 19 41451-01 41451-01_Rev 8-6-04.pmd 19 8/5/04, 5:05 PM
-
 1
1 -
2
-
3
-
4
-
5
-
6
-
7
-
8
-
9
-
10
-
11
-
12
-
13
-
 14
14 -
 15
15 -
 16
16 -
 17
17 -
 18
18 -
 19
19 -
 20
20 -
 21
21 -
 22
22 -
 23
23 -
 24
24
 |
 |