Husqvarna 5521P Owners Manual - Page 8
Before Starting Engine, Add Gasoline See Fig. 8, To Start Engine See Fig. 9, Add Oil See Figs. 7 And 8 - fuel cap
 |
View all Husqvarna 5521P manuals
Add to My Manuals
Save this manual to your list of manuals |
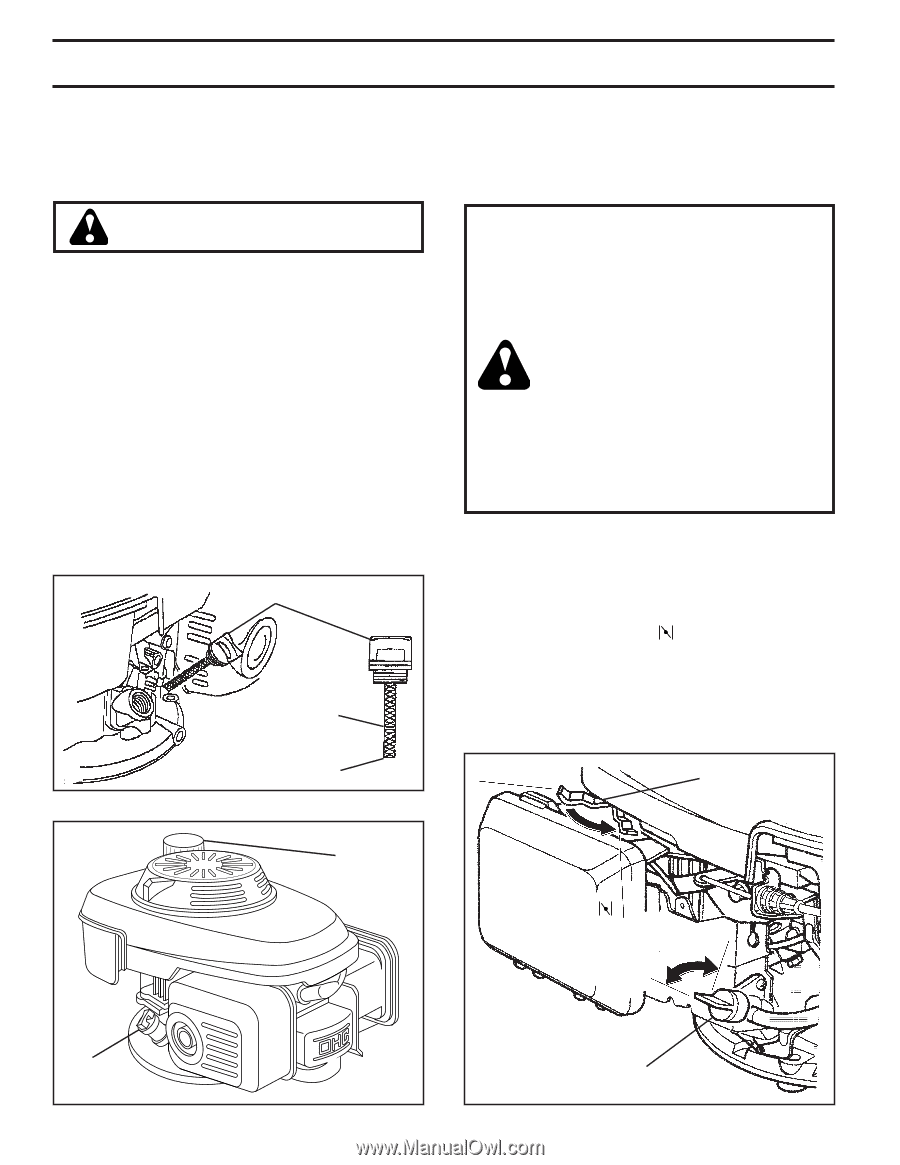
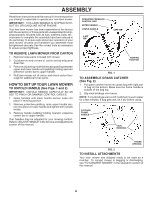
Page 8 highlights
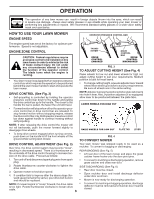
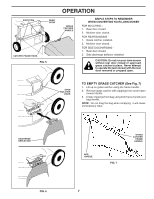
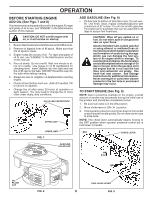
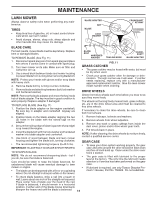
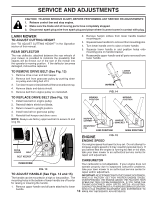
OPERATION BEFORE STARTING ENGINE ADD OIL (See Figs. 7 and 8) Your lawnmower is shipped without oil in the engine. For type and grade of oil to use, see "ENGINE" in the Maintenance section of this manual. CAUTION: DO NOT overfill engine with oil, or it will smoke on startup. 1. Besurelawnmowerislevelandareaaroundoilfillisclean. 2. Remove oil dipstick from oil fill spout. Make sure that rim of spout is clean. 3. Engine holds 20 ounces of oil. For type and grade of oil to use, see "ENGINE" in the Maintenance section of this manual. 4. Pour oil slowly. Do not overfill. Wait one minute to allow oil to settle. Use guage on oil fill cap/dipstick for checking level. Insert dipstick into the tube and rest the oil fill cap on the tube. DO NOT thread the cap into the tube when taking reading. 5. Always be sure to retighten oil dipstick before starting engine. • Check oil level before each use. Add oil if needed. Fill to full line on dipstick. • Change the oil after every 25 hours of operation or each season. You may need to change the oil more often under dusty, dirty conditions. OIL FILLER CAP/DIPSTICK UPPER LIMIT ADD GASOLINE (See Fig. 8) • Fill fuel tank to bottom of tank filler neck. Do not overfill. Use fresh, clean, regular unleaded gasoline with a minimum of 87 octane. Do not mix oil with gasoline. Purchase fuel in quantities that can be used within 30 days to assure fuel freshness. CAUTION: Wipe off any spilled oil or fuel. Do not store, spill or use gasoline near an open flame. Alcohol blended fuels (called gasohol or using ethanol or methanol) can attract moisture which leads to separation and formation of acids during storage. Acidic gas can damage the fuel system of an engine while in storage. To avoid engine problems, the fuel system should be emptied before storage of 30 days or longer. Drain the gas tank, start the engine and let it run until the fuel lines and carburetor are empty. Use fresh fuel next season. See Storage Instructions for additional information. Never use engine or carburetor cleaner products in the fuel tank or permanent damage may occur. TO START ENGINE (See Fig. 9) NOTE: Due to protective coatings on the engine, a small amount of smoke may be present during the initial use of the product and should be considered normal. 1. Be sure fuel valve is in the ON position. 2. Move choke lever to ON ( ) position. 3. Hold operator presence control bar down to the handle and pull starter handle quickly.Do not allow starter rope to snap back. NOTE: The choke lever automatically begins moving to the OFF position when operator presence control bar is held down to handle. LOWER LIMIT FIG. 7 OFF CHOKE LEVER GASOLINE FILLER CAP ON ( ) OFF ON OIL FILLER CAP FIG. 8 FUEL VALVE LEVER 8 FIG. 9
-
 1
1 -
2
-
 3
3 -
 4
4 -
 5
5 -
 6
6 -
 7
7 -
 8
8 -
 9
9 -
 10
10 -
 11
11 -
 12
12 -
 13
13 -
14
-
15
-
16
-
17
-
18
-
19
-
20
 |
 |