IBM 9514B03 Installation Guide
IBM 9514B03 - 9514 - 14.1" LCD Monitor Manual
 |
UPC - 087944378501
View all IBM 9514B03 manuals
Add to My Manuals
Save this manual to your list of manuals |
IBM 9514B03 manual content summary:
- IBM 9514B03 | Installation Guide - Page 1
IBM 9514-B03 or B13 Color LCD Monitor GA18-7521-00 Installation and Operation Guide - IBM 9514B03 | Installation Guide - Page 2
- IBM 9514B03 | Installation Guide - Page 3
IBM 9514-B03 or B13 Color LCD Monitor GA18-7521-00 Installation and Operation Guide - IBM 9514B03 | Installation Guide - Page 4
Note Before using this information and the product it supports, be sure to read "Safety" on page v and the general the information herein; these changes will be incorporated in new editions of the publication. IBM may make improvements or changes in the products or the programs described in this - IBM 9514B03 | Installation Guide - Page 5
30 Using the Manual-Adjust Menu 30 Information Menu 33 Appendix B. Setting Noninterlace Mode 35 Appendix C. Troubleshooting 37 Appendix D. Specifications 39 Default Preset Timing 41 Appendix E. Notices 43 Trademarks 43 Energy Saving 44 Electrical Emissions 45 Copyright IBM Corp. 1997 iii - IBM 9514B03 | Installation Guide - Page 6
iv - IBM 9514B03 | Installation Guide - Page 7
law, the power cord must be disconnected after the telephone line cable. DANGER Do not install or reconfigure the monitor during an electrical storm. Copyright IBM Corp. 1997 v - IBM 9514B03 | Installation Guide - Page 8
be used in conjunction with a properly grounded outlet to avoid electrical shock. 2. Do not open any covers on the equipment. No user-serviceable parts are inside. 3. An ac power switch is incorporated in this equipment. The equipment should be installed near an easily accessible electrical outlet - IBM 9514B03 | Installation Guide - Page 9
About This Book This guide contains information on how to set up, operate, and configure the IBM 9514-B03 or B13 14.1-inch Color LCD Monitor (hereafter called monitor). Chapter 1 describes how to set up the monitor and attach it to the personal computer (hereafter called PC). Chapter 2 describes how - IBM 9514B03 | Installation Guide - Page 10
viii - IBM 9514B03 | Installation Guide - Page 11
outlet near it. Place the monitor on a hard, flat surface. Avoid the following conditions: - Humidity - High temperature - Dust - Vibration - Static electricity caused by dryness Copyright IBM Corp. 1997 1 - IBM 9514B03 | Installation Guide - Page 12
Auto Setup program for tuning the monitor performance. The monitor operates under standard video software. Printed matter IBM 9514-B03 or B13 Color LCD Monitor: Installation and Operation Guide (this book) Warranty If any items are missing or damaged, contact the Display Business Unit (DBU) Helpline - IBM 9514B03 | Installation Guide - Page 13
Locations Chapter 1. Setting Up Your Monitor 3 - IBM 9514B03 | Installation Guide - Page 14
4 - IBM 9514B03 | Installation Guide - Page 15
Connecting the Interface Cables DANGER Be sure to read "Safety" on page v before connecting the power cord. 1 Turn off your PC and all attached devices. 2 Make sure that the monitor stands vertically. 3 Remove the cable covers at the rear of the monitor. 1 Insert your finger into the cable hole and - IBM 9514B03 | Installation Guide - Page 16
4 Turn the monitor screen face down on a flat surface, such as a desk, and connect the AC Adapter cable. Note: Be careful not to damage the screen. 5 Thread the AC Adapter cable under the metal hook. 6 - IBM 9514B03 | Installation Guide - Page 17
6 Release the cables from either side by removing the chips or from the rear. 7 If your computer does not have a power-saving function and you want to use standby mode, or if you are using an extension cable on the keyboard and - IBM 9514B03 | Installation Guide - Page 18
Notes: a. Do not connect or disconnect the keyboard cable or the mouse cable when the PC is in operation. b. You must use this connection method when you want to reset the display standby mode when the keyboard or the mouse is activated. c. You don't need to use this connection method when you don't - IBM 9514B03 | Installation Guide - Page 19
10 Connect the display connector of the monitor to your PC. 1 Plug in the connector. 2 Tighten the screws. 11 Connect the power cord to the AC Adapter. 12 Connect the other end of the power cord to a correctly grounded ac power source. You have finished setting up your monitor. Chapter 1. Setting Up - IBM 9514B03 | Installation Guide - Page 20
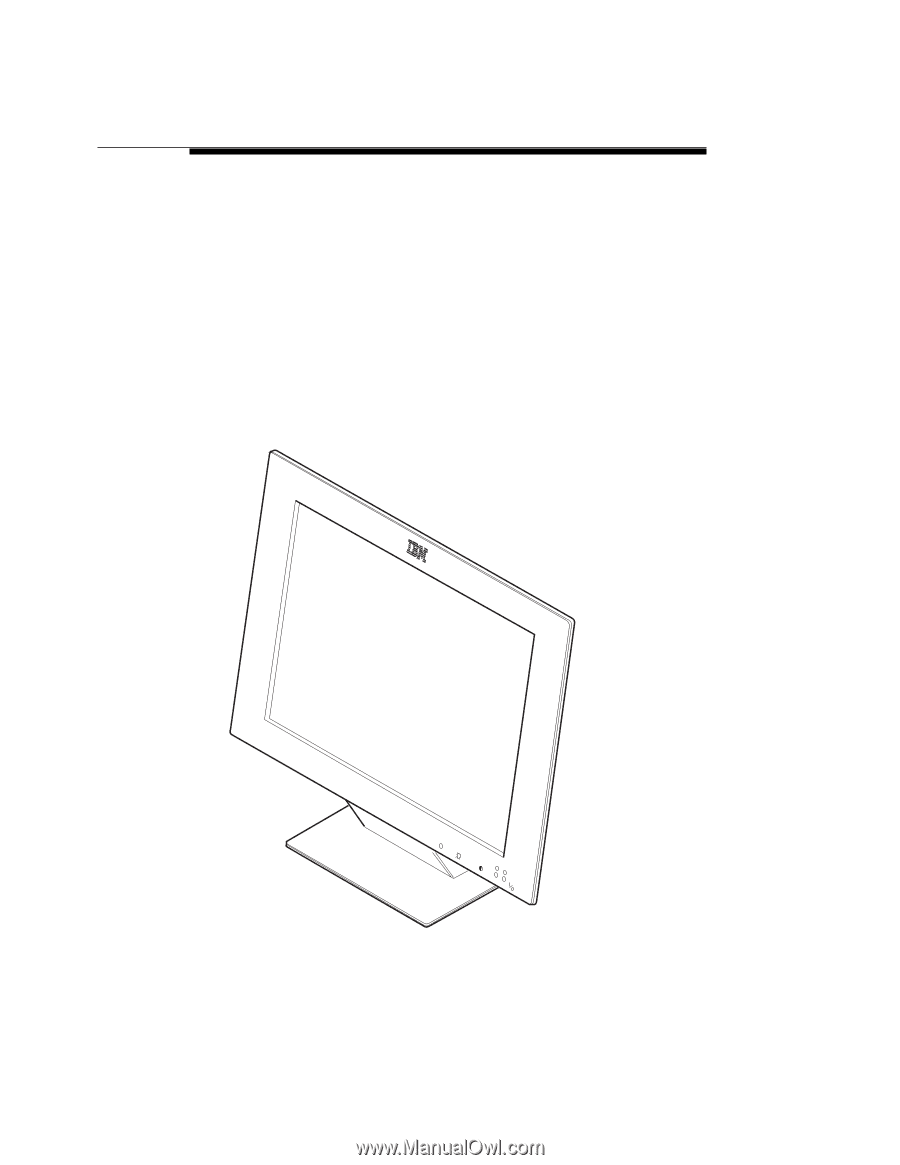
Setting the Viewing Angle You can tilt the screen forward or backward, as shown in the figure. Caring for Your Monitor Be sure to turn off the power before you clean the monitor by doing the following: Gently wipe the device covers and the screen with a soft cloth. Do not use chemicals such as - IBM 9514B03 | Installation Guide - Page 21
off, push and release the switch again. Note: When you turn off the monitor, wait at least 5 seconds before turning it back on again. Copyright IBM Corp. 1997 11 - IBM 9514B03 | Installation Guide - Page 22
Adjusting the Brightness and Contrast Brightness To adjust the brightness of the screen, push the + button to make the screen brighter, or the − button to make the screen dimmer. The brightness value appears on the screen when you push either of these buttons. Contrast To adjust the clarity of the - IBM 9514B03 | Installation Guide - Page 23
Setup Menus The setup menus provide the functions to optimize the monitor status and to set the power-saving mode. To display the first setup menu, press the setup switch. Refer to Chapter 3 for details. Here is an example of a setup menu: Chapter 2. Operating Your Monitor 13 - IBM 9514B03 | Installation Guide - Page 24
14 - IBM 9514B03 | Installation Guide - Page 25
19.) If Operating System/2 (OS/2) is installed on your computer: 1. If you are going to use full-screen on your video mode is set in the range of the supported screen resolution shown in the table on page 39. the scan range specified in the operating manuals for your PC or the operating system. - - IBM 9514B03 | Installation Guide - Page 26
monitor and the PC turned off. 2 Turn on the monitor first; then turn on the PC. Note: The screen remains blue until the computer is ready. This is not a problem. If an error message is displayed If the message "UNSUPPORTED VIDEO" is displayed, or if nothing is displayed, check that: The video - IBM 9514B03 | Installation Guide - Page 27
auto setup procedure. The AUTO SETUP line changes to "COMPLETED" when auto setup is completed. The screen may be distorted during setup. This is not a problem. Chapter 3. Configuring Your Monitor Using Automatic Setup 17 - IBM 9514B03 | Installation Guide - Page 28
, repeat the auto setup procedure several times. If you still cannot complete the setup, adjust it manually by using the manual-adjust menu (see "The Manual-Adjust Menu" on page 30), or contact your IBM representative. 14 Push the setup switch on the bottom of the monitor to turn off the setup - IBM 9514B03 | Installation Guide - Page 29
remains blue until the computer is ready. This is not a problem. If an error message in the range of the supported screen resolution shown in the IBM PC, change the mode by referring to Appendix B. If you are using some other PC or another video adapter card, follow the instructions in the manual - IBM 9514B03 | Installation Guide - Page 30
(Some settings on the PC do not show the file extension .EXE in the file name.) After about 20 seconds, the color-bar pattern appears. The size of the color-bar pattern varies with the screen resolution. Move the mouse pointer (and the icon bar and tool bar if they are displayed) to the bottom - IBM 9514B03 | Installation Guide - Page 31
by using the manual-adjust menu. The screen might be distorted during setup. This is not a problem. "If AUTO SETUP COMPLETED" is not displayed If the "COMPLETED" message is not displayed after 1 minute, make sure that the PC's screen setting is in the supported screen resolution in the table - IBM 9514B03 | Installation Guide - Page 32
until the computer is ready. This is not a problem. If an supported display mode is selected for your PC. The PC's screen setting is in the supported IBM PC, change the mode by referring to Appendix B. If you are using some other PC or another video adapter card, follow the instructions in the manual - IBM 9514B03 | Installation Guide - Page 33
Move the mouse pointer (and the icon bar and tool bar if they are displayed) to the bottom center of the screen. Otherwise, setup might not run properly. 8 Push the setup switch on the bottom of the monitor. The setup main menu appears: 9 Push one of the brightness control ( ) buttons to select AUTO - IBM 9514B03 | Installation Guide - Page 34
by using the manual-adjust menu. The screen may be distorted during the setup. This is not a problem. If "AUTO SETUP COMPLETED" is not displayed If the "COMPLETED" message is not displayed after 1 minute, make sure that the PC's screen setting is in the supported screen resolution in the table - IBM 9514B03 | Installation Guide - Page 35
seconds, the message "Save parameters?" is displayed. 7 To save the settings for the monitor, push a contrast control button. To discard the settings (because some problem such as a screen flicker occurs), push a brightness control button. Chapter 3. Configuring Your Monitor Using Automatic Setup 25 - IBM 9514B03 | Installation Guide - Page 36
to step 3. Display another full-screen image and redo auto setup. If auto setup is not completed after several tries, adjust it manually by using the manual-adjust menu (see "The Manual-Adjust Menu" on page 30). 8 Push the setup switch on the bottom of the monitor to turn off the setup main - IBM 9514B03 | Installation Guide - Page 37
the contrast of the screen. Using the Main Menu 1 Push the setup switch on the bottom of the monitor. The following menu is displayed: Copyright IBM Corp. 1997 27 - IBM 9514B03 | Installation Guide - Page 38
. OFF: Displays the screen specified by your PC. USER: Enables you to set the screen size by specifying H-size and V-size in manual-adjust menu (see "The Manual-Adjust Menu" on page 30). The following settings can be set and stored for each screen resolution. AUTO SETUP: To start auto setup - IBM 9514B03 | Installation Guide - Page 39
When the monitor status changes from standby mode to normal operation, the standby indicator blinks. 2. For the time in case A, see the manuals of your computer. In case B, the monitor automatically enters power-off mode when there is no input for 10 minutes after entering standby mode. Appendix - IBM 9514B03 | Installation Guide - Page 40
on the screen. 4 Adjust the display position with H-POSI and V-POSI, which are on a subsequent menu. 5 When you have specified the settings in the manual-adjust menu, select SAVE VALUES. Push one of the contrast ( ) buttons to store the values. 6 Push the setup switch on the bottom of the monitor - IBM 9514B03 | Installation Guide - Page 41
If the message "Quit without saving?" is displayed The message "Quit without saving?" is displayed if you specify the settings in the manual-adjust menu and try to exit the menu. Select SAVE VALUES to store the values and exit, or select Quit to exit without saving them. - IBM 9514B03 | Installation Guide - Page 42
. Otherwise, the values you set are erased when you exit the menu. LOAD DEFAULT VALUES: Use this parameter to restore all the values in the manual-adjust menu to the settings of auto setup. (If auto setup was not performed, the values are restored to the original settings when the monitor - IBM 9514B03 | Installation Guide - Page 43
Information Menu You can display the following in the information menu: The frequency and the polarity of the video signal from your PC The screen resolution of the video signal from your PC The version number of the control program installed in the monitor You can see this information, but you - IBM 9514B03 | Installation Guide - Page 44
34 - IBM 9514B03 | Installation Guide - Page 45
Appendix B. Setting Noninterlace Mode The monitor does not support interlace mode. If the video settings of your IBM PC specify interlace mode, change them with the following steps: 1 Turn on the monitor times. 8 Select Save and Exit. Noninterlace mode has been set. Copyright IBM Corp. 1997 35 - IBM 9514B03 | Installation Guide - Page 46
36 - IBM 9514B03 | Installation Guide - Page 47
screen resolution in the table on page 39. 11 Disable interlace mode. (The monitor does not support interlace mode.) Refer to Appendix B. 12 Perform AUTO SETUP for each display mode (each screen resolution). If you have still a problem Contact the DBU Helpline. Copyright IBM Corp. 1997 37 - IBM 9514B03 | Installation Guide - Page 48
may be present on the screen, which is an intrinsic characteristic of the TFT LCD technology and is not an LCD defect. If there is a problem with the LCD, contact the DBU Helpline. 38 - IBM 9514B03 | Installation Guide - Page 49
off 8W mode) Note: This monitor does not support interlace mode or composite sync. The following table shows the supported screen resolutions: Type Screen resolution (D × L) Notes: 1. Set the vertical scan range of your computer to the values in this table. 2. NI: Noninterlaced Copyright - IBM 9514B03 | Installation Guide - Page 50
The monitor supports the screen resolutions shown in the table on page 41. The following are examples of some common video adapters: IBM PCs, such as PC750, PC720, ATI 3D EXPRESSION NEC PC 9800 series computers that support resolutions more than 640 × 400 and horizontal scan range of 31.5 or more. - IBM 9514B03 | Installation Guide - Page 51
table are not the only ones to be displayed. Refer to the table on page 39 for the supported frequencies. The parameters that you set through AUTO SETUP on the main menu or the manual-adjust menu are saved in the monitor memory. Up to 25 settings can be stored. Appendix D. Specifications - IBM 9514B03 | Installation Guide - Page 52
42 - IBM 9514B03 | Installation Guide - Page 53
in this publication to IBM products, programs, or services do not imply that IBM intends to make these available in all countries in which IBM operates. Any reference to an IBM product, program, or service is not intended to state or imply that only that IBM product, program, or service may be used - IBM 9514B03 | Installation Guide - Page 54
Energy Saving IBM participates in the International Energy Star Program, a U.S. program that promotes power saving on computer monitors. IBM has determined that the IBM 9514-B03 or B13 14.1-inch Color LCD Monitor's built-in power-saving function conforms to the program standards. 44 - IBM 9514B03 | Installation Guide - Page 55
, if not installed and used in accordance with the instructions, may cause harmful interference to radio communications. However, from that to which the receiver is connected. Consult an IBM authorized dealer or service representative for help. Properly shielded and grounded cables and connectors - IBM 9514B03 | Installation Guide - Page 56
Avis de conformité aux normes du ministère des Communications du Canada Cet équipement ne dépasse pas les limites de Classe B d'émission de bruits radioélectriques pour les appareils numériques, telles que prescrites par le Règlement sur le brouillage radioélectrique établi par le ministère des - IBM 9514B03 | Installation Guide - Page 57
- IBM 9514B03 | Installation Guide - Page 58
IBM Printed in Japan GA18-7521-
-
 1
1 -
 2
2 -
 3
3 -
 4
4 -
 5
5 -
 6
6 -
 7
7 -
8
-
9
-
10
-
11
-
12
-
13
-
14
-
15
-
16
-
17
-
18
-
19
-
20
-
21
-
22
-
23
-
24
-
25
-
26
-
27
-
28
-
29
-
30
-
31
-
32
-
33
-
34
-
35
-
36
-
37
-
38
-
39
-
40
-
41
-
42
-
43
-
44
-
45
-
46
-
47
-
48
-
49
-
50
-
51
-
52
-
53
-
54
-
55
-
56
-
57
-
58
 |
 |
IBM
9514-B03 or B13
Color LCD Monitor
Installation and Operation Guide
GA18-7521-00