IC Realtime AVS-B2210 Product Manual - Page 9
Installation
 |
View all IC Realtime AVS-B2210 manuals
Add to My Manuals
Save this manual to your list of manuals |
Page 9 highlights
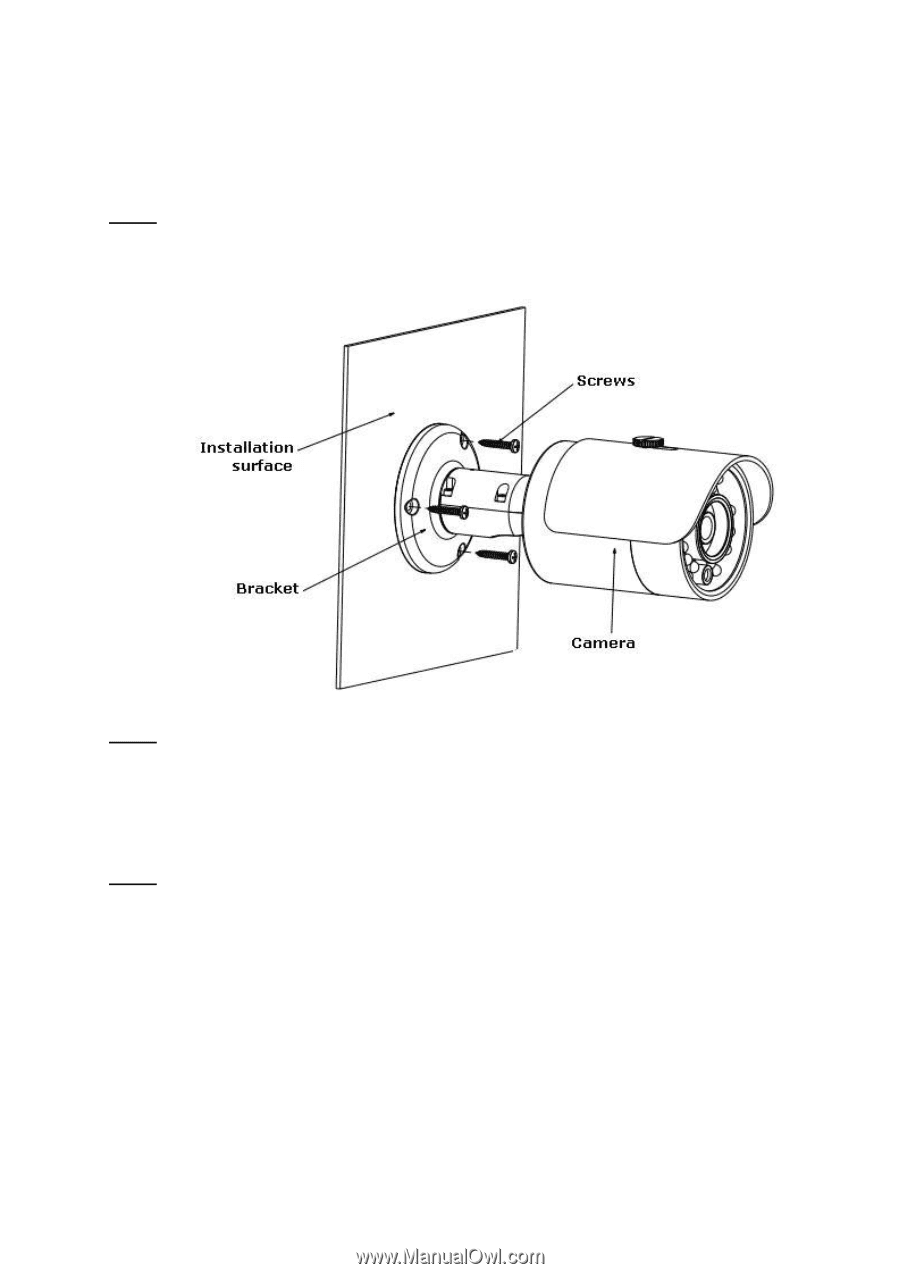
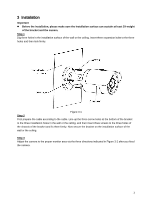
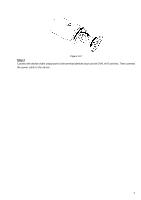
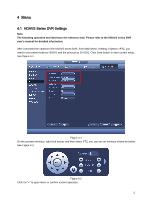
3 Installation Important Before the installation, please make sure the installation surface can sustain at least 3X weight of the bracket and the camera. Step 1 Dig three holes in the installation surface of the wall or the ceiling. Insert three expansion bolts to the three holes and then lock firmly. Figure 3-1 Step 2 First prepare the cable according to the cable. Line up the three screw holes at the bottom of the bracket to the three installation holes in the wall or the ceiling, and then insert three screws to the three holes of the chassis of the bracket and fix them firmly. Now secure the bracket on the installation surface of the wall or the ceiling. Step 3 Adjust the camera to the proper monitor area via the three directions indicated in Figure 3-2 after you fixed the camera. 3
-
 1
1 -
2
-
3
-
 4
4 -
 5
5 -
 6
6 -
 7
7 -
 8
8 -
 9
9 -
 10
10 -
 11
11 -
 12
12 -
 13
13
 |
 |