Insignia NS-PMDM2019 Quick Setup Guide
Insignia NS-PMDM2019 Manual
 |
View all Insignia NS-PMDM2019 manuals
Add to My Manuals
Save this manual to your list of manuals |
Insignia NS-PMDM2019 manual content summary:
- Insignia NS-PMDM2019 | Quick Setup Guide - Page 1
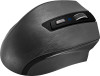
mouse • Nano receiver • AA battery (1) • Quick Setup Guide SYSTEM REQUIREMENTS • Windows® 10, Windows® 8.1, Windows® 8, Mac OS 10.X or higher, or Chrome OS • One available USB port Before using your new product, please read these instructions to prevent any damage. MOUSE FEATURES Scrolling wheel - Insignia NS-PMDM2019 | Quick Setup Guide - Page 2
.625 × 1.89 cm) • Weight: .04 oz. (1.1 g) • Interface: USB 1.1, 2.0, 3.0 TROUBLESHOOTING My mouse is not working. • Make sure that your mouse is turned on. • Move your mouse closer not installed and used in accordance with the instructions, may cause harmful interference to radio communications.
-
 1
1 -
 2
2
 |
 |
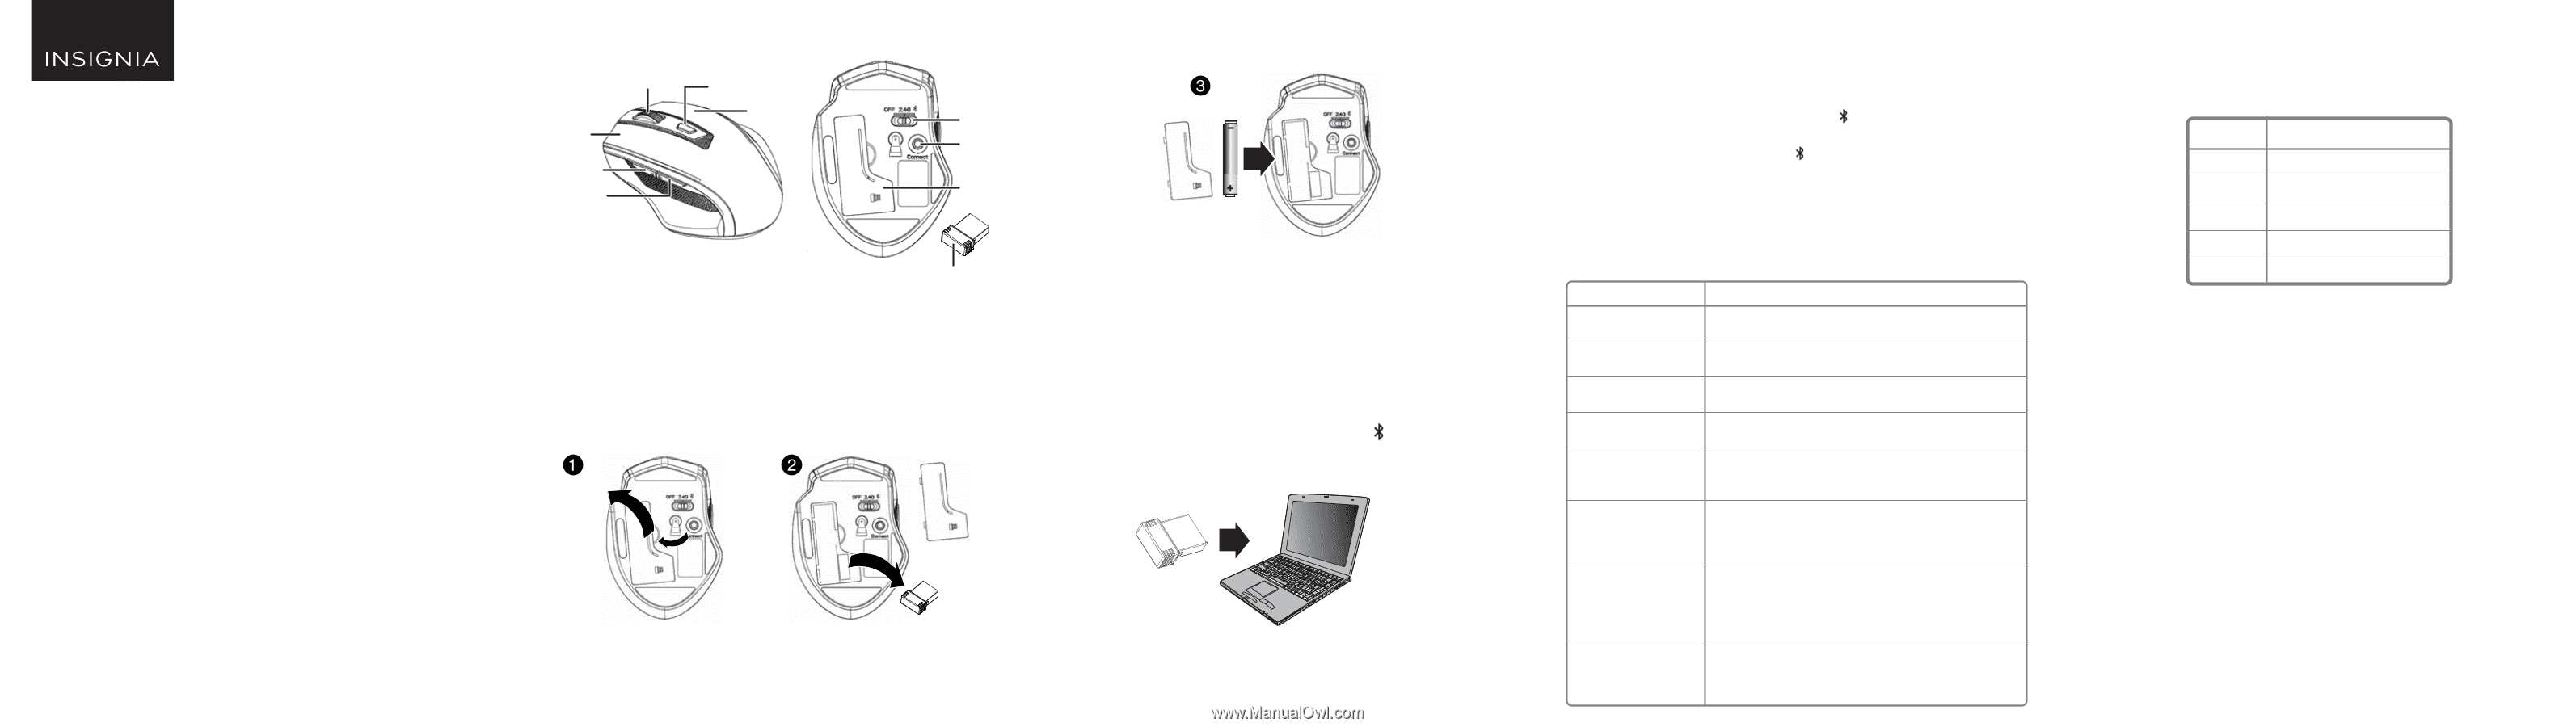
DPI SWITCH KEY AND LED INDICATORS
There are five available DPI settings: The blink on the key indicates the DPI
setting in use.
Note
: The default setting is 1600 DPI.
Connecting with Bluetooth
Note:
You don’t need to connect the nano receiver when connecting with Bluetooth.
1
Turn on Bluetooth on your computer or plug in a Bluetooth dongle.
See your computer’s documentation for Bluetooth pairing instructions.
2
Slide the power switch on your mouse to
(Bluetooth). The LED
indicator blinks for 10 minutes then turns off.
Note
: If the power switch is already on
(Bluetooth), press the
Connect
button
instead.
3
Select
BLE 5.0 Mouse
from your computer’s Bluetooth menu. When
paired, the LED indicator turns off.
Note
: If pairing fails, repeat these steps.
2.4G AND BLUETOOTH SWITCH LED INDICATORS
3
Insert the included AA battery into the battery compartment. Make
sure that the + and - signs match the symbols in the compartment.
4
Replace the battery cover.
Tip
: Store the nano receiver in the mouse when it is not in use.
CONNECTING YOUR MOUSE TO YOUR COMPUTER
Connecting with the nano receiver
You can connect your mouse to your computer using either the included
nano receiver or by using Bluetooth.
1
Plug the nano receiver into a USB port on your computer.
2
Slide the Power switch on your mouse to
2.4G
or
(Bluetooth).
The computer automatically detects the mouse, and you can
immediately begin using it.
Battery cover
Power switch
Connect
button
MOUSE FEATURES
INSTALLING THE MOUSE BATTERY AND REMOVING
THE NANO RECEIVER
1
Take the battery cover off.
2
Remove the nano receiver.
PACKAGE CONTENTS
• Wireless mouse
• Nano receiver
• AA battery (1)
•
Quick Setup Guide
SYSTEM REQUIREMENTS
•
Windows® 10, Windows® 8.1, Windows® 8, Mac OS 10.X or higher, or
Chrome OS
•
One available USB port
Before using your new product, please read these instructions to prevent any damage.
QUICK SETUP GUIDE
Dual Mode
Wireless Mouse
6-Button
NS-PMDM2019
Right button
Scrolling wheel
Left button
DPI switch key/
LED indicator
Forward button
Backward button
Nano receiver
Pull
AA battery
DPI:
600 DPI
1000 DPI
1600 DPI
2400 DPI
3600 DPI
LED INDICATOR BLINKS:
1
2
3
4
5
FUNCTION
Power on
Low battery warning
2.4G pairing mode
Bluetooth pairing mode
2.4G pairing failed
Bluetooth pairing
failed
2.4G pairing successful
Bluetooth pairing
successful
DESCRIPTION
LED is on for 10 seconds, then turns off.
LED blinks once per second for 10 seconds, then turns off.
LED blinks for 10 seconds after pressing the
Connect
button.
LED blinks for 10 minutes after pressing the
Connect
button.
After pressing the
Connect
button, the LED blinks for
10 seconds, then turns off.
After pressing the
Connect
button, the LED blinks for
10 minutes, then turns off.
After pressing the
Connect
button, the LED blinks once per
second (for up to 10 seconds). When pairing is successful, the
LED turns off.
After pressing the
Connect
button, the LED blinks once per
second (for up to 10 minutes). When pairing is successful, the
LED turns off.