JVC GZ-HM650BUS Basic User Guide - Page 26
Troubleshooting, Trouble
 |
View all JVC GZ-HM650BUS manuals
Add to My Manuals
Save this manual to your list of manuals |
Page 26 highlights
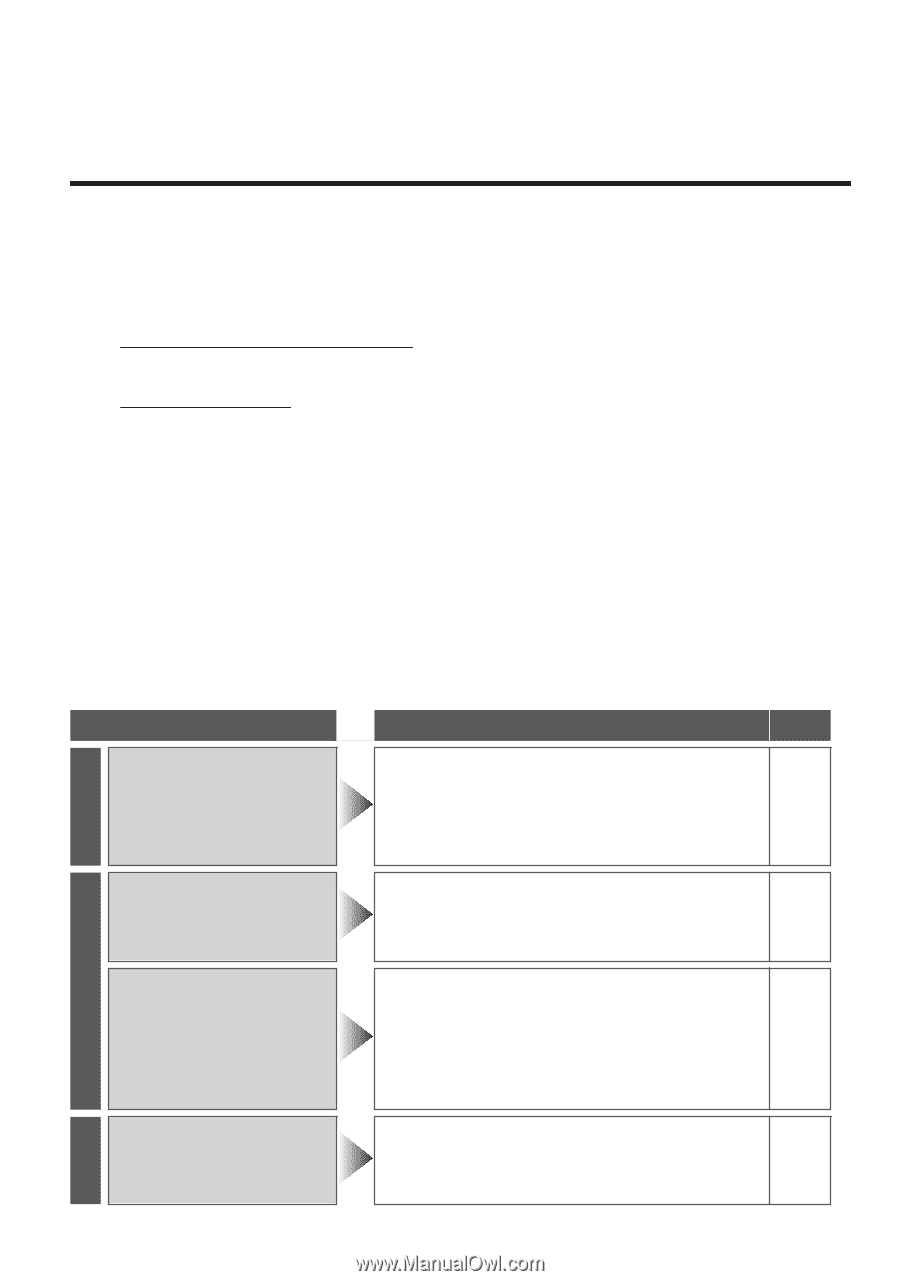
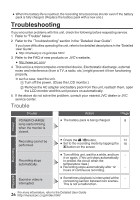
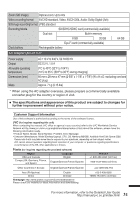
0 When the battery life is reached, the recording time becomes shorter even if the battery pack is fully charged. (Replace the battery pack with a new one.) Troubleshooting If you encounter problems with this unit, check the following before requesting service. 1 Refer to "Trouble" below. 2 Refer to the "Troubleshooting" section in the "Detailed User Guide". If you have difficulties operating the unit, refer to the detailed descriptions in the "Detailed User Guide". 0 http://manual.jvc.co.jp/index.html/ 3 Refer to the FAQ of new products on JVC's website. 0 http://www.jvc.com/ 4 This unit is a microcomputer-controlled device. Electrostatic discharge, external noise and interference (from a TV, a radio, etc.) might prevent it from functioning properly. In such a case, reset the unit. A Turn off the power. (Close the LCD monitor.) B Remove the AC adapter and battery pack from this unit, reattach them, open the LCD monitor and this unit powers on automatically. 5 If the above do not solve the problem, consult your nearest JVC dealer or JVC service center. Trouble Power Trouble POWER/CHARGE lamp starts blinking when the monitor is closed. Action 0 The battery pack is being charged. Page 8 Recording cannot be performed. 0 Check the A / B button. 14 0 Set to the recording mode by tapping the 16 R button on the screen. Recording Recording stops automatically. 0 Turn off this unit, wait for a while, and turn - it on again. (This unit stops automatically to protect the circuit when the temperature rises.) 0 Recording stops automatically after 12 - hours of continuous recording. Sound or video is interrupted. 0 Sometimes playback is interrupted at the - connecting section between two scenes. This is not a malfunction. Playback 26 For more information, refer to the Detailed User Guide http://manual.jvc.co.jp/index.html/
-
 1
1 -
2
-
3
-
4
-
5
-
6
-
7
-
8
-
9
-
10
-
11
-
12
-
13
-
14
-
15
-
16
-
17
-
18
-
19
-
20
-
 21
21 -
 22
22 -
 23
23 -
 24
24 -
 25
25 -
 26
26 -
 27
27 -
 28
28 -
 29
29 -
 30
30 -
 31
31 -
32
-
33
-
34
-
35
-
36
-
37
-
38
-
39
-
40
-
41
-
42
-
43
-
44
-
45
-
46
-
47
-
48
-
49
-
50
-
51
-
52
-
53
-
54
-
55
-
56
-
57
-
58
-
59
-
60
-
61
-
62
-
63
-
64
 |
 |