JVC KD-SR40 Instruction Manual - Page 4
Getting Started - firmware update
 |
View all JVC KD-SR40 manuals
Add to My Manuals
Save this manual to your list of manuals |
Page 4 highlights
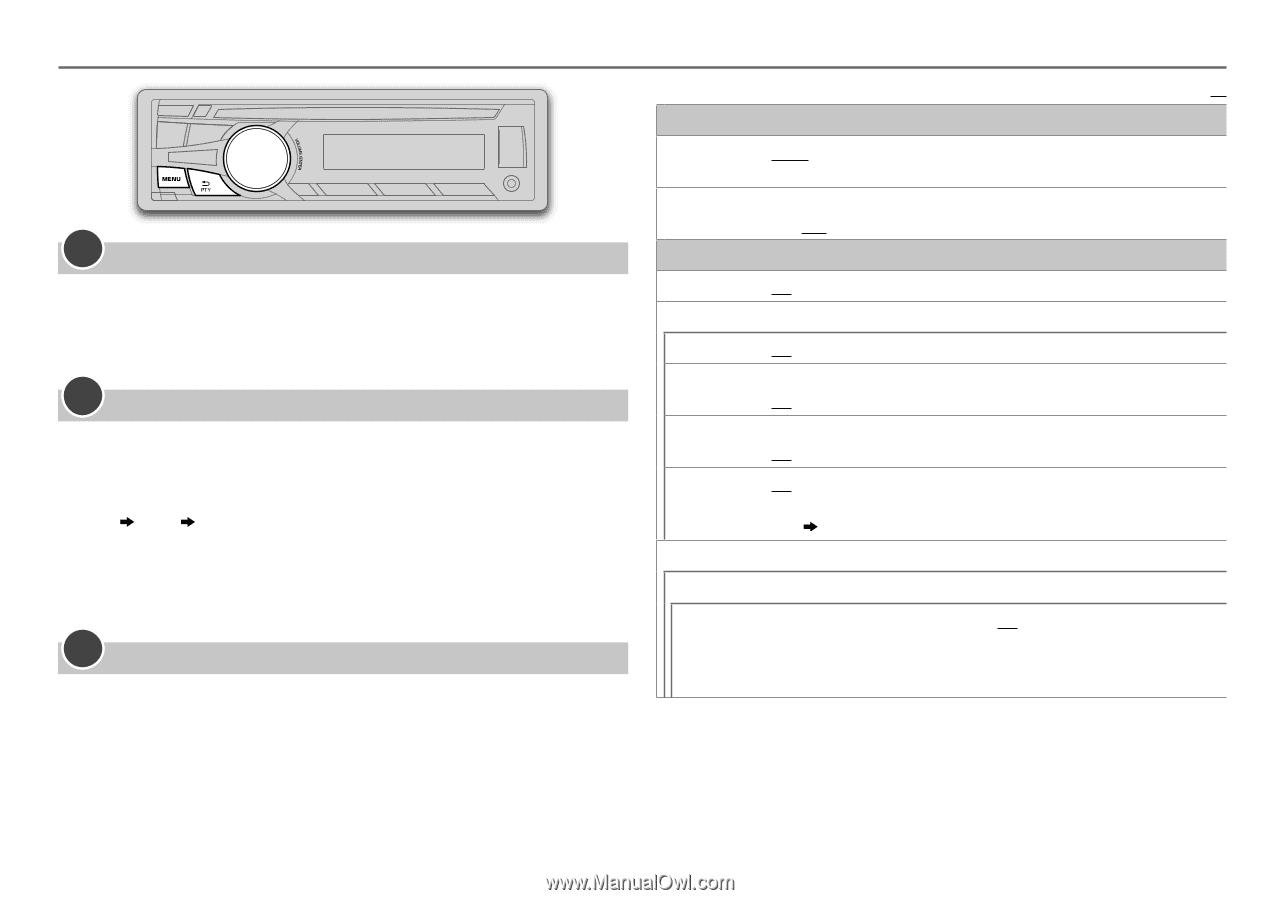
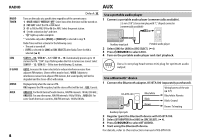
GETTING STARTED 1 Cancel the demonstration 1 Press and hold MENU. 2 Turn the volume knob to select [DEMO], then press the knob. 3 Turn the volume knob to select [DEMO OFF], then press the knob. 4 Press MENU to exit. 2 Set the clock 1 Press and hold MENU. 2 Turn the volume knob to select [CLOCK], then press the knob. 3 Turn the volume knob to select [CLOCK SET], then press the knob. 4 Turn the volume knob to make the settings, then press the knob. Day Hour Minute 5 Turn the volume knob to select [24H/ 12H], then press the knob. 6 Turn the volume knob to select [12 HOUR] or [24 HOUR], then press the knob. 7 Press MENU to exit. 3 Set the basic settings 1 Press and hold MENU. 2 Turn the volume knob to make a selection (see the following table), then press the knob. 3 Press MENU to exit. To return to the previous setting item or hierarchy, press G PTY. Default: XX CLOCK CLOCK ADJ AUTO: The clock time is automatically set using the Clock Time (CT) data in FM Radio Broadcast Data System signal. ; OFF: Cancels. CLOCK DISP ON: The clock time is shown on the display even when the unit is turned off. ; OFF: Cancels. SETTINGS BEEP ON: Activates the keypress tone. ; OFF: Deactivates. SRC SELECT AM * ON: Enables AM in source selection. ; OFF: Disables. PANDORA* (For KD-SR60) ON: Enables PANDORA in source selection. ; OFF: Disables. IHEART * (For KD-SR60) ON: Enables IHEARTRADIO in source selection. ; OFF: Disables. AUX * ON: Enables AUX in source selection. ; OFF: Disables. ; BT ADAPTER: Select when the KS-BTA100 Bluetooth adapter is connected to the auxiliary input jack ( 8). The source name will change to BT AUDIO. F/W UPDATE SYSTEM F/W xxxx YES: Starts upgrading the firmware. ; NO: Cancels (upgrading is not activated). For details on how to update the firmware, see: . * Not displayed when the corresponding source is selected. 4
-
 1
1 -
 2
2 -
 3
3 -
 4
4 -
 5
5 -
 6
6 -
 7
7 -
 8
8 -
 9
9 -
 10
10 -
11
-
12
-
13
-
14
-
15
-
16
-
17
-
18
-
19
-
20
-
21
-
22
-
23
-
24
-
25
-
26
-
27
-
28
-
29
-
30
-
31
-
32
-
33
-
34
-
35
-
36
-
37
-
38
-
39
-
40
-
41
-
42
-
43
-
44
-
45
-
46
-
47
-
48
-
49
-
50
-
51
-
52
 |
 |