Kenmore 6072 Use and Care Guide - Page 6
REMOVAL, panel, placing, PERIOD, TEMPERATURE, CONTROL, inside, INTERIOR, LIGHT, electrical, cord.,
 |
View all Kenmore 6072 manuals
Add to My Manuals
Save this manual to your list of manuals |
Page 6 highlights
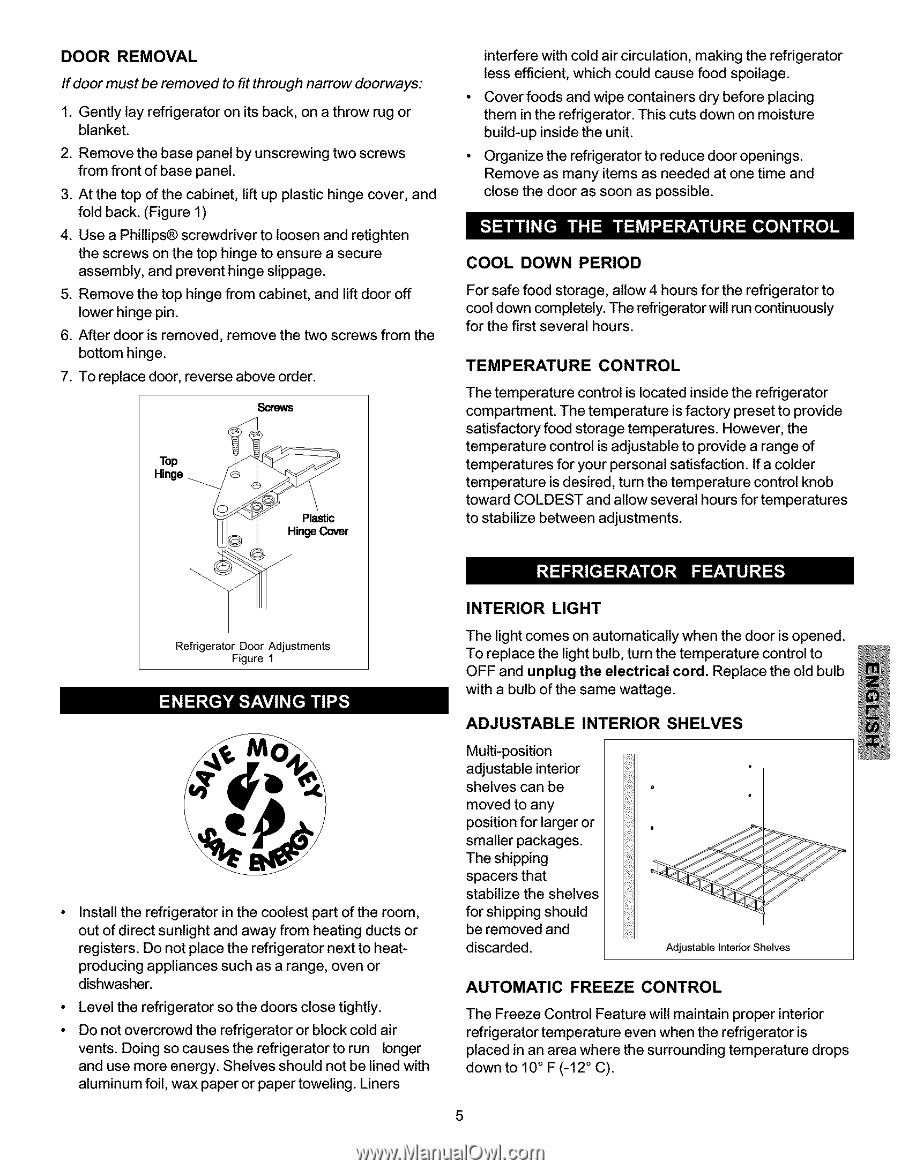
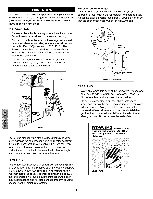
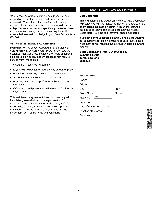
DOOR REMOVAL If door must be removed to fit through narrow doorways: 1. Gently lay refrigerator on its back, on a throw rug or blanket. 2. Remove the base panel by unscrewing two screws from front of base panel. 3. At the top of the cabinet, lift up plastic hinge cover, and fold back. (Figure 1) 4. Use a Phillips® screwdriver to loosen and retighten the screws on the top hinge to ensure a secure assembly, and prevent hinge slippage. 5. Remove the top hinge from cabinet, and lift door off lower hinge pin. 6. After door is removed, remove the two screws from the bottom hinge. 7. To replace door, reverse above order. Top Hinge Plastic I Hinge Cover interfere with cold air circulation, making the refrigerator less efficient, which could cause food spoilage. Cover foods and wipe containers dry before placing them in the refrigerator. This cuts down on moisture build-up inside the unit. Organize the refrigerator to reduce door openings. Remove as many items as needed at one time and close the door as soon as possible. COOL DOWN PERIOD For safe food storage, allow 4 hours for the refrigerator to cool down completely. The refrigerator will run continuously for the first several hours. TEMPERATURE CONTROL The temperature control is located inside the refrigerator compartment. The temperature is factory preset to provide satisfactory food storage temperatures. However, the temperature control is adjustable to provide a range of temperatures for your personal satisfaction. If a colder temperature is desired, turn the temperature control knob toward COLDEST and allow several hours for temperatures to stabilize between adjustments. Refrigerator Door Adjustments Figure 1 • Install the refrigerator in the coolest part of the room, out of direct sunlight and away from heating ducts or registers. Do not place the refrigerator next to heatproducing appliances such as a range, oven or dishwasher. • Level the refrigerator so the doors close tightly. • Do not overcrowd the refrigerator or block cold air vents. Doing so causes the refrigerator to run longer and use more energy. Shelves should not be lined with aluminum foil, wax paper or paper toweling. Liners INTERIOR LIGHT The light comes on automatically when the door is opened. To replace the light bulb, turn the temperature control to OFF and unplug the electrical cord. Replace the old bulb with a bulb of the same wattage. ADJUSTABLEINTERIOR SHELVES Multi-position adjustable interior shelves can be moved to any position for larger or smaller packages. The shipping spacers that stabilize the shelves for shipping should be removed and discarded. Adjustable Interior Shelves AUTOMATIC FREEZE CONTROL The Freeze Control Feature will maintain proper interior refrigerator temperature even when the refrigerator is placed in an area where the surrounding temperature drops down to 10 ° F (-12 ° C).
-
 1
1 -
 2
2 -
 3
3 -
 4
4 -
 5
5 -
 6
6 -
 7
7 -
 8
8 -
 9
9 -
 10
10 -
 11
11 -
 12
12
 |
 |