Kenwood KDC-108 Instruction Manual - Page 2
Contents - remote
 |
UPC - 019048190970
View all Kenwood KDC-108 manuals
Add to My Manuals
Save this manual to your list of manuals |
Page 2 highlights
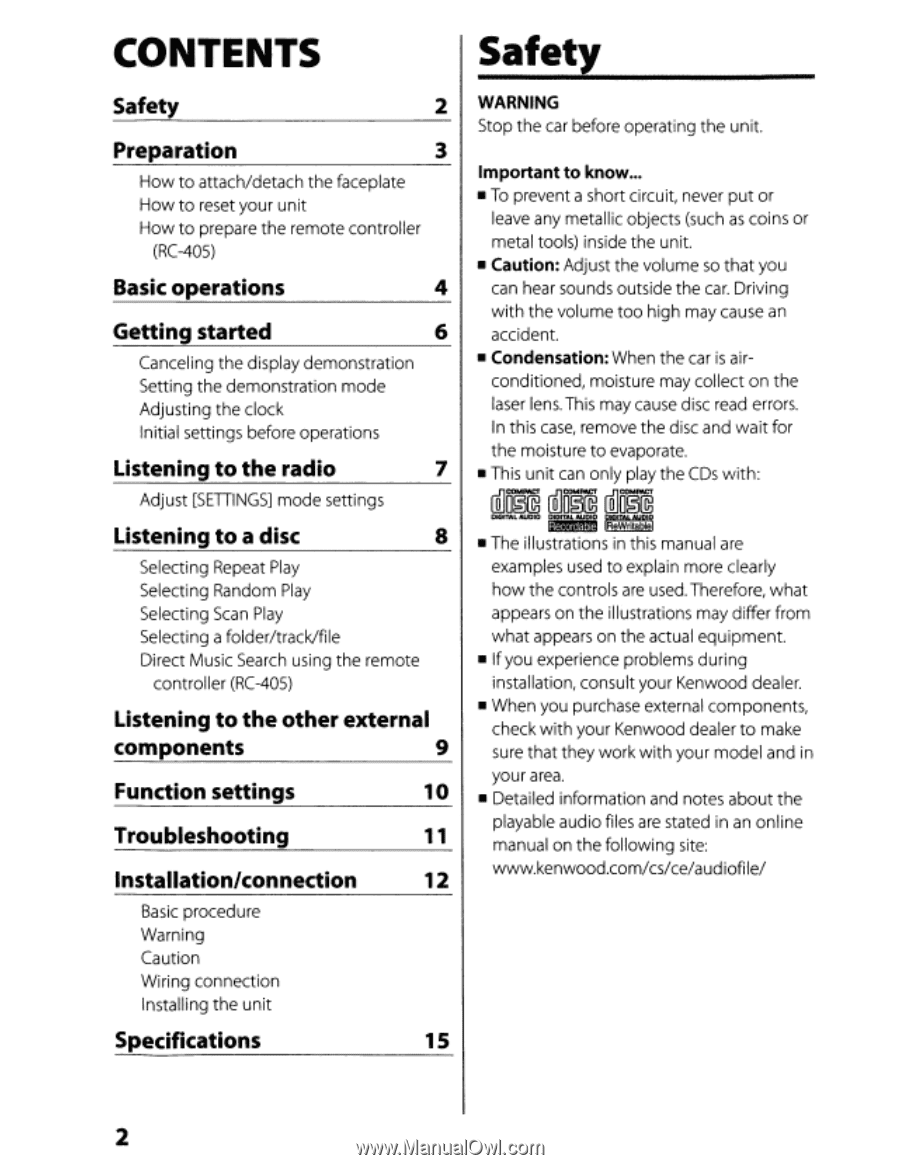
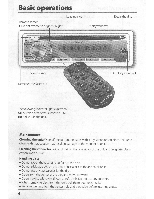
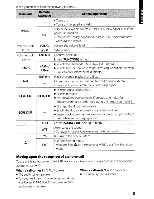
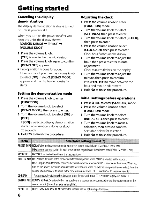
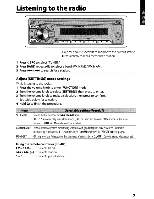
CONTENTS Safety Safety 2 Preparation 3 How to attach/detach the faceplate How to reset your unit How to prepare the remote controller (RC-405) Basic operations 4 Getting started 6 Canceling the display demonstration Setting the demonstration mode Adjusting the clock Initial settings before operations Listening to the radio 7 Adjust [SETIINGS] mode settings Listening to a disc 8 Selecting Repeat Play Selecting Random Play Selecting Scan Play Selecting a folder/track/file Direct Music Search using the remote controller (RC-405) Listening to the other external components 9 Function settings 10 Troubleshooting 11 Installation/connection 12 Basic procedure Warning Caution Wiring connection Installing the unit Specifications 15 WARNING Stop the car before operating the unit. Important to know... • To prevent a short circuit, never put or leave any metallic objects (such as coins or metal tools) inside the unit. • Caution: Adjust the volume so that you can hear sounds outside the car. Driving with the volume too high may cause an accident. • Condensation: When the car is airconditioned, moisture may collect on the laser lens. This may cause disc read errors. In this case, remove the disc and wait for the moisture to evaporate. • This unit can only play the CDs with: [Q]D~ [Q]~~ [Q]Nm0'5 DIGITAL AUDIO DIOITAL AUDIO nlOlTAL l;iijliM1mtil fleWritabl4!. • The illustrations in this manual are examples used to explain more clearly how the controls are used. Therefore, what appears on the illustrations may differ from what appears on the actual equipment. • If you experience problems during installation, consult your Kenwood dealer. • When you purchase external components, check with your Kenwood dealer to make sure that they work with your model and in your area. • Detailed information and notes about the playable audio files are stated in an online manual on the follOWing site: www.kenwood.com/cs/ce/audiofile/ 2
-
 1
1 -
 2
2 -
 3
3 -
 4
4 -
 5
5 -
 6
6 -
 7
7 -
 8
8 -
9
-
10
-
11
-
12
-
13
-
14
-
15
-
16
-
17
-
18
-
19
-
20
 |
 |