KitchenAid KBFO42FTX Installation Guide - Page 27
Install Side Panel, Install Base Grille
 |
UPC - 883049033983
View all KitchenAid KBFO42FTX manuals
Add to My Manuals
Save this manual to your list of manuals |
Page 27 highlights
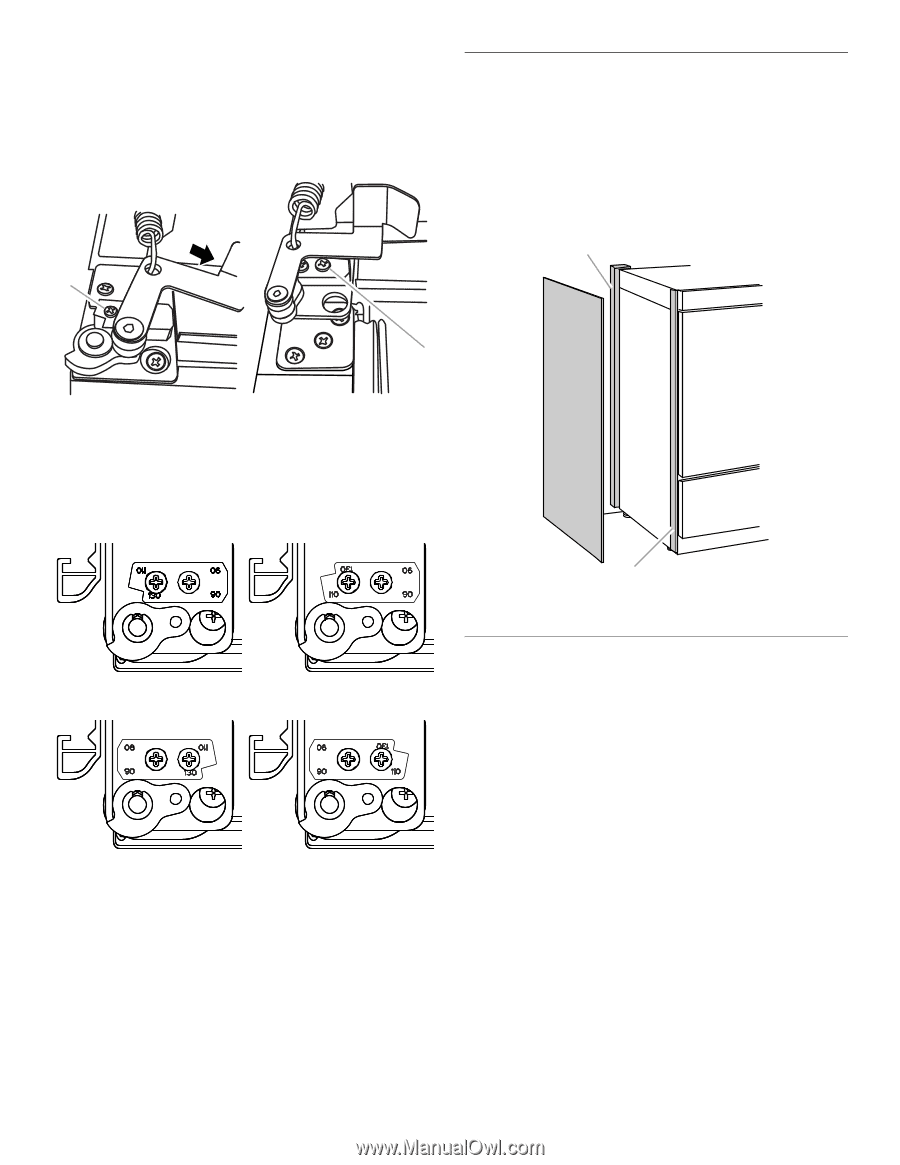
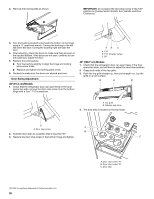
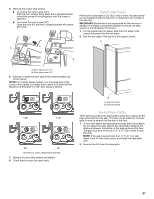
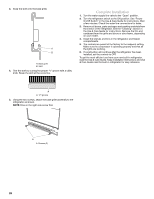
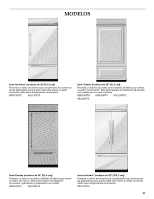
5. Remove the 2 door stop screws. ■ To remove the outer screw ("A"): With the door closed, firmly press the L-shaped bracket toward the center of the refrigerator until the screw is exposed. ■ To remove the inner screw ("B"): Open the door 90° and the L-shaped bracket will expose the screw. A Install Side Panel If the built-in area depth is 25" (63.5 cm) or more, the side panels can be installed inside the side trim or attached to the outside of the side trim. IMPORTANT: KitchenAid is not responsible for the removal or addition of molding or decorative panels that would not allow access to the refrigerator for service. 1. For the inside side trim piece, slide the front edge of the routed side panel into the trim piece. 2. Nail the rear edge of the panel to the support board. A B A. Door stop screw "A" B. Door stop screw "B" 6. Reverse or rotate the door stop to the desired position as shown below. NOTE: For Overlay Series models, rout the hinge side of the custom door panels to a radius that is equal to at least half the thickness of the panel if a 130° door swing is desired. 130° 110° 90° 90° Left-hand as shown; Right-hand reversed 7. Replace the door stop screws and tighten. 8. Check that the door can open freely. B A. Support board B. Side trim piece Install Base Grille There are two pieces to the base grille to allow for a custom fit: the base grille itself and the skirt. The skirt can be added to the base grille in order to extend it all the way to the floor. 1. To see if the skirt is needed, place the base grille into position. Do not attach the base grille to the refrigerator. Measure the distance between the bottom of the base grille and the floor. The gap must be a minimum of ¹⁄₂" (1.27 cm) in order to add the skirt. NOTE: If the gap measures less than ¹⁄₂" (1.27 cm), skip steps 3 and 4 of the instructions, and install the base grille only. 2. Remove the film from the base grille. 27
-
 1
1 -
2
-
3
-
4
-
5
-
6
-
7
-
8
-
9
-
10
-
11
-
12
-
13
-
14
-
15
-
16
-
17
-
18
-
19
-
20
-
21
-
 22
22 -
 23
23 -
 24
24 -
 25
25 -
 26
26 -
 27
27 -
 28
28 -
 29
29 -
 30
30 -
 31
31 -
 32
32 -
33
-
34
-
35
-
36
-
37
-
38
-
39
-
40
-
41
-
42
-
43
-
44
-
45
-
46
-
47
-
48
-
49
-
50
-
51
-
52
-
53
-
54
-
55
-
56
-
57
-
58
-
59
-
60
-
61
-
62
-
63
-
64
-
65
-
66
-
67
-
68
-
69
-
70
-
71
-
72
-
73
-
74
-
75
-
76
-
77
-
78
-
79
-
80
-
81
-
82
-
83
-
84
 |
 |