KitchenAid KEBS277SBL Installation Instructions - Page 1
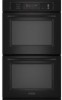
KitchenAid KEBS277SBL - 27 Inch Double Electric Wall Oven Manual
 |
UPC - 883049034782
View all KitchenAid KEBS277SBL manuals
Add to My Manuals
Save this manual to your list of manuals |
Page 1 highlights
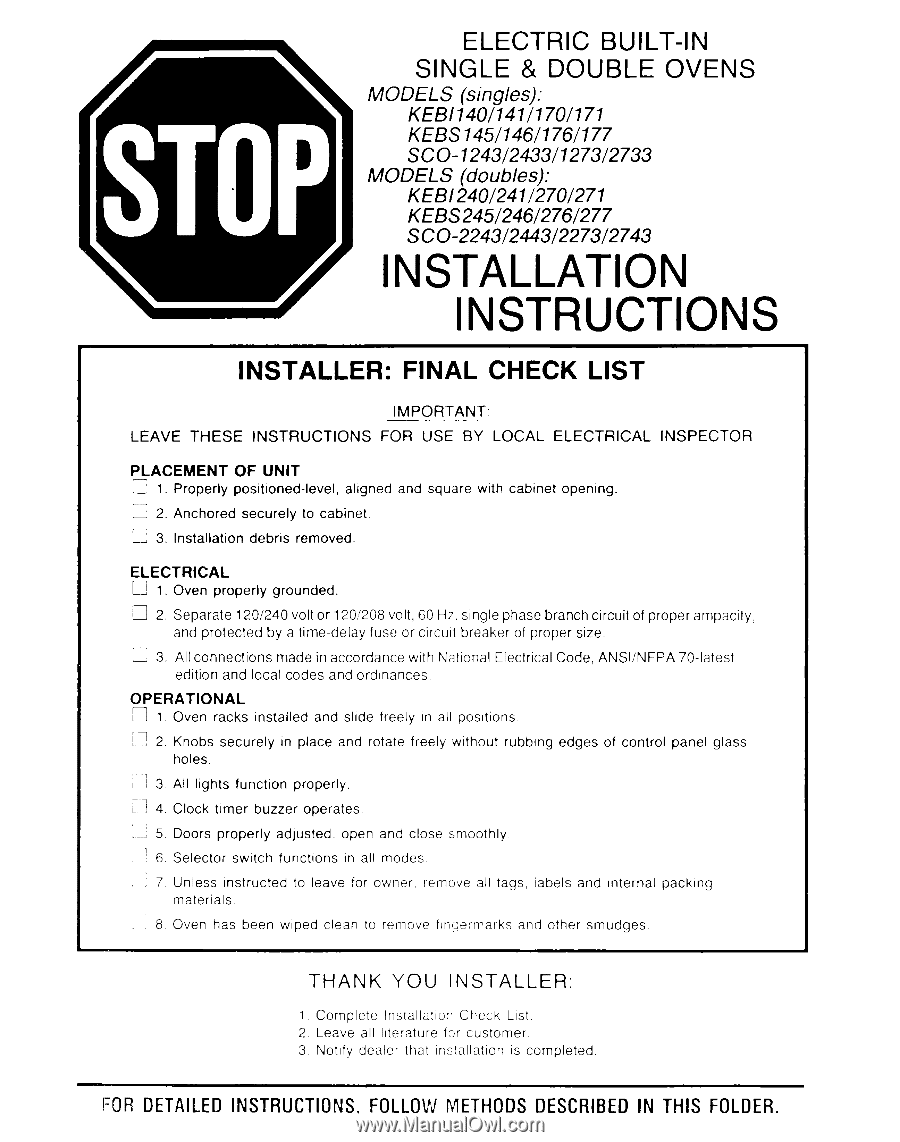
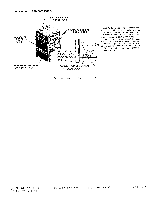
ELECTRIC BUILT-IN SINGLE & DOUBLE OVENS MODELS (singles): KEt31140/141/170/171 KEBS145/146/176/177 SCO-1243/2433/1273/2733 MODELS (doubles): KEB1240/241/270/271 KEBS245/246/276/277 SCO-2243124431227312743 INSTALLATION INSTRUCTIONS INSTALLER: FINAL CHECK LIST LEAVE THESE INSTRUCTIONS IMPORTANT: FOR USE BY LOCAL ELECTRICAL INSPECTOR PLACEMENT OF UNIT @ 1. Properly positioned-level, aligned and square with cabinet opening. u 2. Anchored securely to cabinet. n 3. Installation debns removed. ELECTRICAL n 1. Oven properly grounded. 0 2. Separate 1201240 volt or 12Oi208 volt, 60 Hr. single phase branch circuit of proper ampacity, and protected by a time-delay fuse or circuit breaker of proper size. c 3. All connections made in accordance with National Electrical Code, ANSliNFPA 70.latest edition and local codes and ordinances. OPERATIONAL 3 1.0 ven racks installed and slide freely In all posrtlons. il 2. Knobs securely in place and rotate freely wlthout rubbing edges of control panel glass holes. J 3. All lights function properly. -~1 L J 4. Clock timer buzzer operates. r-7 .-J 5. Doors properly adjusted, open and close smoothly _' 6. Selector switch functions in all modes , 7 Unless Instructed to leave for owner. remove all tags, iabels and Internal packing materials. 8 Oven has been wiped clean to remove flnqermarks and other smudges THANK YOU INSTALLER: 1 Complete lr~stallatlo:l Check LISA 2. Leave all literature for customer 3 Notify dealer that ihstallatlon IS completed. FDR DETAILED INSTRUCTIONS, FOLLOW METHODS DESCRIBED IN THIS FOLDER.
-
 1
1 -
 2
2 -
 3
3 -
 4
4 -
 5
5 -
 6
6
 |
 |