KitchenAid KECC507RBL Installation Guide - Page 5
Install Cooktop
 |
UPC - 050946991542
View all KitchenAid KECC507RBL manuals
Add to My Manuals
Save this manual to your list of manuals |
Page 5 highlights
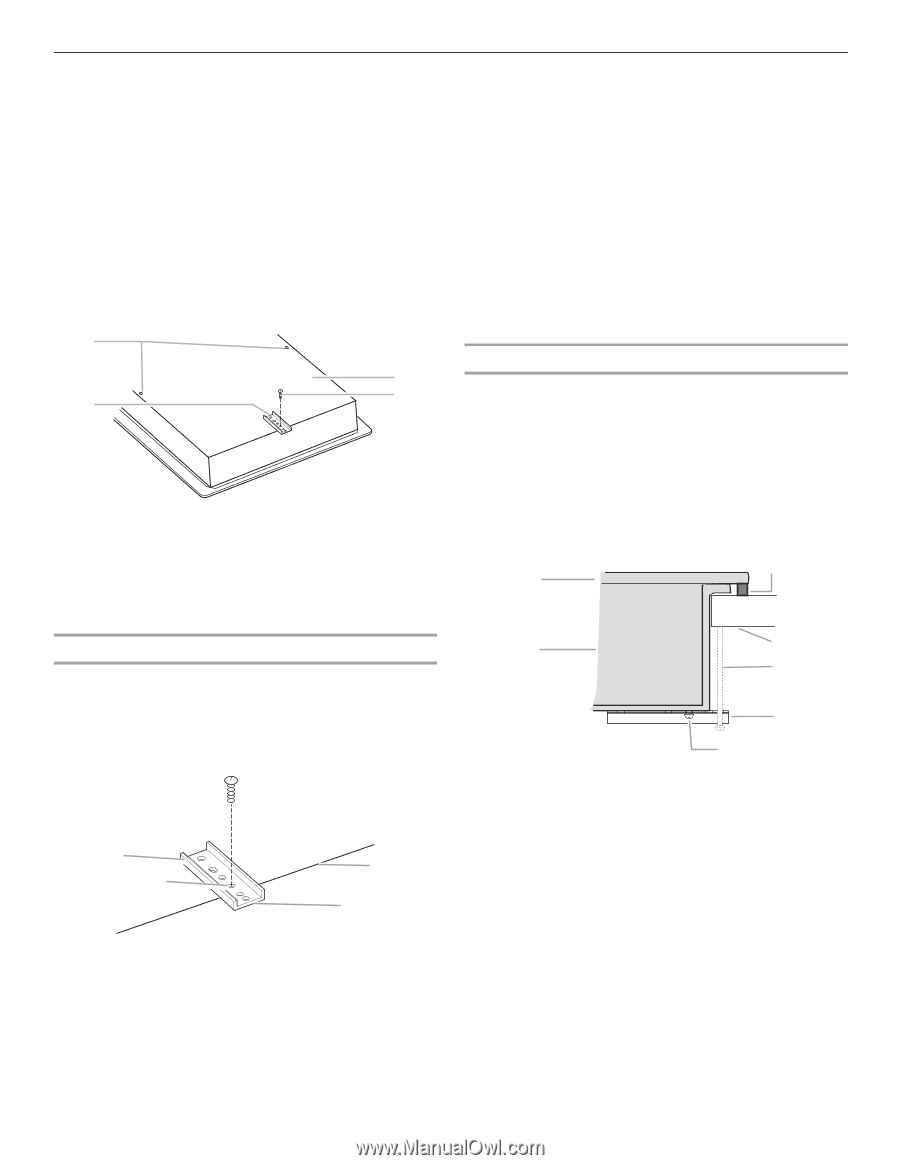
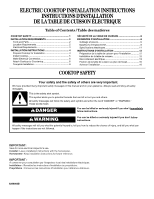
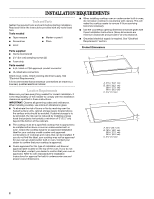
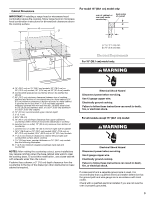
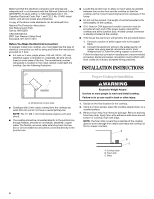
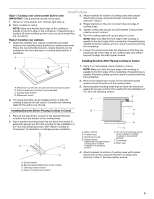
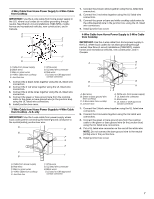
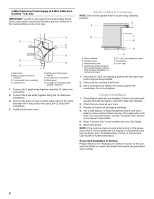
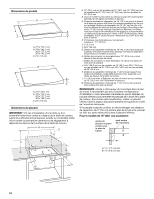
Install Cooktop Style 1: Cooktop over undercounter built-in oven IMPORTANT: Clamp brackets should not be used. 1. Using 2 or more people, turn cooktop right side up. 2. Place cooktop in cutout. NOTE: Make sure that the front edge of the cooktop is parallel to the front edge of the countertop. If repositioning is needed, lift entire cooktop up from cutout to avoid scratching the countertop. Style 2: Cooktop over cabinets 1. Determine whether your cabinet construction provides clearance for installing clamp brackets at cooktop base ends. This is the recommended location. Clamp brackets can be installed on the front and back of cooktop base bottom, if necessary. A 3. Attach brackets to bottom of cooktop base with bracket attachment screws using the bracket mounting holes selected in Step 2. 4. Rotate brackets so they do not extend beyond edge of cooktop base. 5. Tighten screws just enough to hold brackets in place when cooktop is put in cutout. 6. Turn the cooktop right side up and place in cutout. NOTE: Make sure that the front edge of the cooktop is parallel to the front edge of the countertop. If repositioning is needed, lift entire cooktop up from cutout to avoid scratching the countertop. 7. Loosen the screws and rotate the brackets so that they are perpendicular to the edge of the cooktop base and extend beyond its edge. Securely tighten screws. Installing Brackets After Placing Cooktop in Cutout C D 1. Using 2 or more people, place cooktop in cutout. B NOTE: Make sure that the front edge of the cooktop is parallel to the front edge of the countertop. If repositioning is needed, lift entire cooktop up from cutout to avoid scratching the countertop. 2. Remove the attachment screws for the selected bracket locations from the bottom of the cooktop base. A. Attachment screw holes for optional front and back location B. Clamp bracket (end locations recommended) C. Cooktop base bottom D. Attachment screw 2. The clamp brackets can be installed before or after the cooktop is placed into the cutout. Complete the following steps for the option you choose. 3. Select bracket mounting holes that will allow the bracket to extend far enough out from the cooktop for the installation of 2½" (6.4 cm) clamping screws. G A Installing Brackets Before Placing Cooktop in Cutout 1. Remove the attachment screws for the selected bracket locations from the bottom of the cooktop base. 2. Select bracket mounting holes that will allow the bracket to extend far enough out from the cooktop for the installation of 2½" (6.4 cm) clamping screws. See "Attach Cooktop to Countertop" for illustration of clamping screw installation. A B D C B F E D C A. Glass cooktop B. Cooktop base C. Attachment screw D. Clamp bracket (extends far enough beyond cooktop base to allow installation of clamping screws) E. 2½" (6.4 cm) clamping screw (to be installed in "Attach Cooktop to Countertop" section) F. Countertop G. Foam seal 4. Attach brackets to bottom of cooktop base with bracket attachment screws using the bracket mounting holes selected in Step 3. Securely tighten screws. A. Clamp bracket B. Recommended attachment screw location C. Clamping screw location D. Edge of cooktop base bottom 5
-
 1
1 -
 2
2 -
 3
3 -
 4
4 -
 5
5 -
 6
6 -
 7
7 -
 8
8 -
 9
9 -
 10
10 -
 11
11 -
12
-
13
-
14
-
15
-
16
 |
 |