Kyocera KM-3530 KM-Net ServiceGateway Quick Start Guide Rev-1 - Page 6
Step 5
 |
View all Kyocera KM-3530 manuals
Add to My Manuals
Save this manual to your list of manuals |
Page 6 highlights
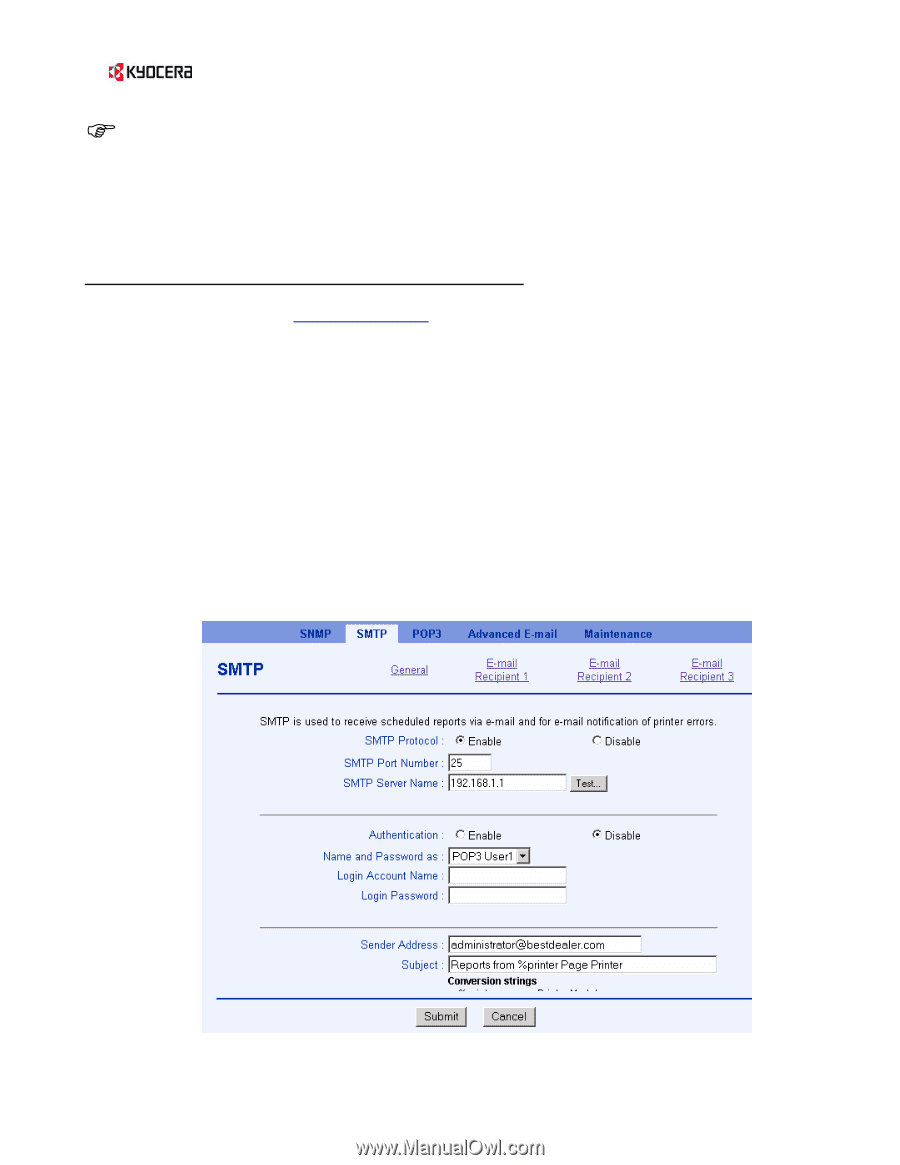
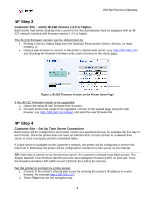
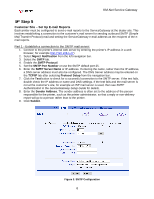
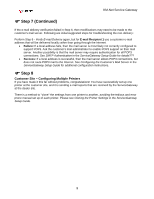
KM-Net Service Gateway ) Step 5 Customer Site - Set Up E-mail Reports Each printer must be configured to send e-mail reports to the ServiceGateway at the dealer site. This involves establishing a connection to the customer's mail server for sending outbound SMTP (Simple Mail Transfer Protocol) mail and setting the ServiceGateway e-mail address as the recipient of the email reports. Part 1 - Establish a connection to the SMTP mail server: 1. Connect to the printer's internal web server by entering the printer's IP address in a web browser, for example http://192.168.1.27) 2. Select Mgmt / Notification from the left navigation bar. 3. Select the SMTP tab. 4. Enable the SMTP Protocol. 5. Set the SMTP Port Number or use the SMTP default port 25. 6. Enter the SMTP Server Name or IP address. If entering the name, rather than the IP address, a DNS server address must also be configured. The DNS Server address may be entered on the TCP/IP tab after selecting Protocol Setup from the navigation bar. 7. Click the Test button to check for a successful connection to the SMTP server. If the test fails, double check the IP address or name and DNS settings. If the test fails and the mail server is not at the customer's site, for example an ISP mail server is used, then see SMTP Authentication in the ServiceGateway Setup Guide for details. 8. Enter the Sender Address. The sender address is often set to the address of the person responsible for the printer, such as the printer administrator, so that a reply or non-delivery report will go to a person rather than to the printer. 9. Click Submit. Figure 3. SMTP Configuration 6
-
 1
1 -
 2
2 -
 3
3 -
 4
4 -
 5
5 -
 6
6 -
 7
7 -
 8
8 -
 9
9
 |
 |