Kyocera KM-3530 Kyocera Extended Driver 4.0 User Guide Rev-2.1 - Page 97
Private Print, Print the Remaining Copies of Proof and Hold Jobs, Save a Private Print Job
 |
View all Kyocera KM-3530 manuals
Add to My Manuals
Save this manual to your list of manuals |
Page 97 highlights
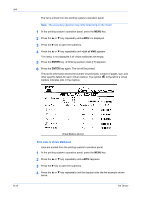
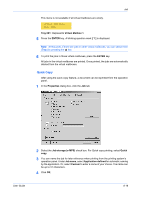
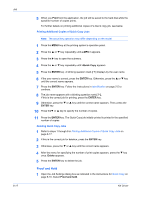
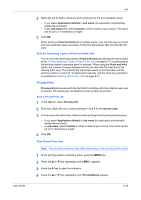
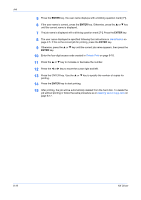
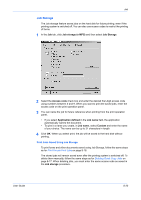
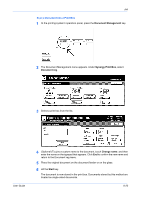
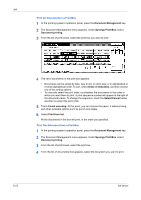
User Guide Job 2 Name the job for future reference when printing from the print operation panel. 2 • If you select Application defined in Job name, the application automatically names the document. • In the Job name area, select Custom to enter a name of your choice. The name can be up to 31 characters in length. 3 Click OK. 3 When printing a Proof and hold job of multiple copies, only the first copy is printed and the remaining copies are saved. Follow the steps below after proofing the first copy. Print the Remaining Copies of Proof and Hold Jobs You can print the remaining copies of Proof and hold jobs following the same steps as for Printing Additional Copies of Quick Copy Jobs on page 8-17. Use the keys at the printing system's operation panel to proceed. When using the Proof and hold option, the number of copies displayed will be one less than the total due to the existing proof copy. The printed jobs will remain saved on the hard disk until the printing system is turned off. To delete jobs manually, use the same key operations as explained in Deleting Quick Copy Jobs on page 8-17. Private Print Private print jobs are saved to the hard disk for printing until a four-digit access code is entered. The saved jobs are deleted as soon as they are printed. Save a Private Print Job 1 In the Job tab, select Private print. 1 2 Enter four digits with any numbers between 0 and 9 for the Access code. 2 3 You can name the job for later reference when printing from the print operation panel.3 • If you select Application defined in Job name the application automatically names the document. • In Job name, select Custom to enter a name of your choice. The name can be up to 31 characters in length. 4 Click OK. 4 Print Private Print Jobs Note: The actual key operation may differ depending on the printing system model. 1 At the printing system's operation panel, press the MENU key. 1 2 Press the S or T key repeatedly until e-MPS > appears. 2 3 Press the X key to open the submenu. 3 4 Press the S or T key repeatedly until >Private/Stored appears. 4 8-18
-
 1
1 -
2
-
3
-
4
-
5
-
6
-
7
-
8
-
9
-
10
-
11
-
12
-
13
-
14
-
15
-
16
-
17
-
18
-
19
-
20
-
21
-
22
-
23
-
24
-
25
-
26
-
27
-
28
-
29
-
30
-
31
-
32
-
33
-
34
-
35
-
36
-
37
-
38
-
39
-
40
-
41
-
42
-
43
-
44
-
45
-
46
-
47
-
48
-
49
-
50
-
51
-
52
-
53
-
54
-
55
-
56
-
57
-
58
-
59
-
60
-
61
-
62
-
63
-
64
-
65
-
66
-
67
-
68
-
69
-
70
-
71
-
72
-
73
-
74
-
75
-
76
-
77
-
78
-
79
-
80
-
81
-
82
-
83
-
84
-
85
-
86
-
87
-
88
-
89
-
90
-
91
-
 92
92 -
 93
93 -
 94
94 -
 95
95 -
 96
96 -
 97
97 -
 98
98 -
 99
99 -
 100
100 -
 101
101 -
 102
102 -
103
-
104
-
105
-
106
-
107
-
108
-
109
-
110
-
111
-
112
-
113
-
114
-
115
-
116
-
117
-
118
-
119
-
120
-
121
-
122
-
123
-
124
-
125
-
126
-
127
 |
 |