Kyocera TASKalfa 8001i 3501i/4501i/5501i/6501i/8001i Printer Driver User Guide - Page 88
Custom Box, Storing a Job in a Custom Box
 |
View all Kyocera TASKalfa 8001i manuals
Add to My Manuals
Save this manual to your list of manuals |
Page 88 highlights
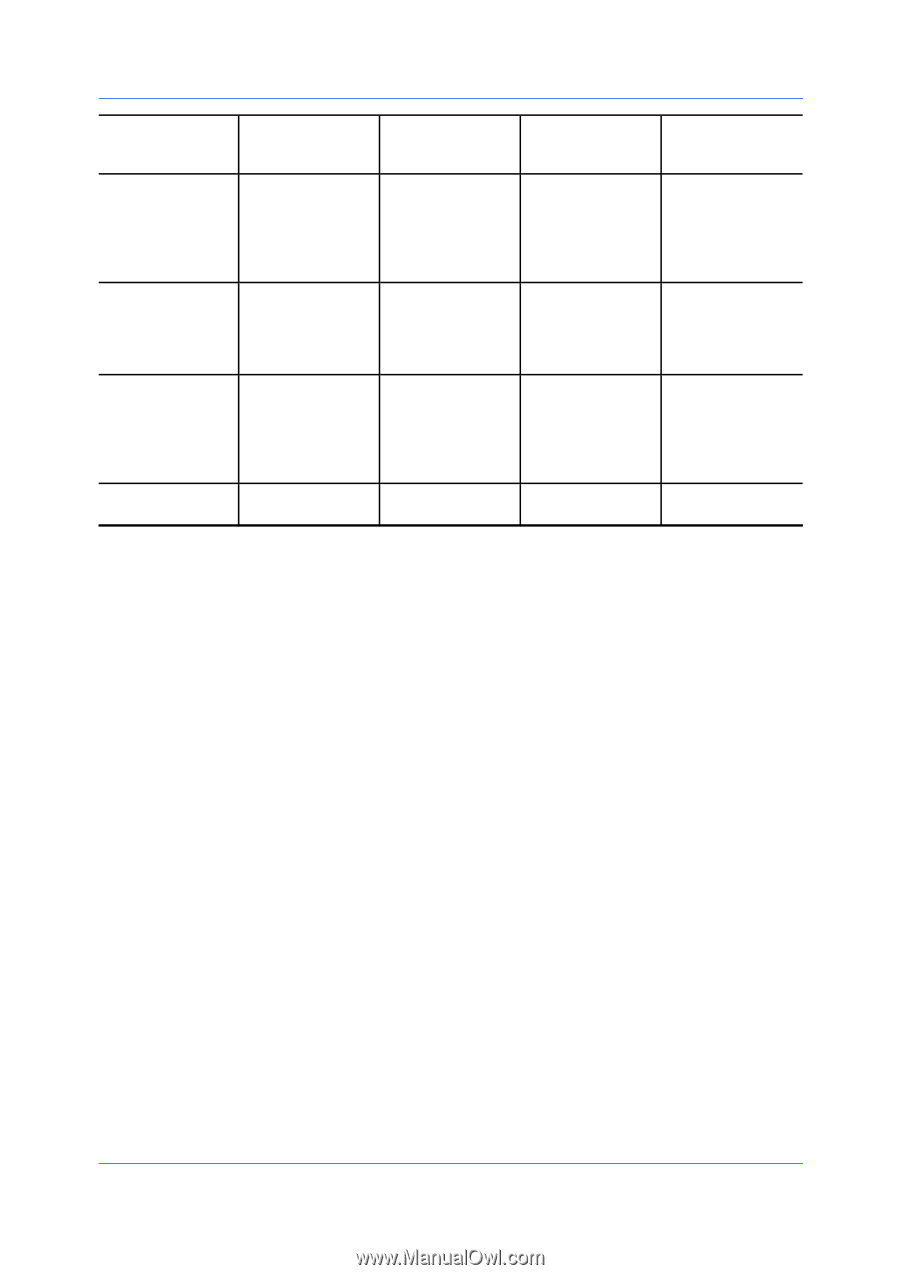
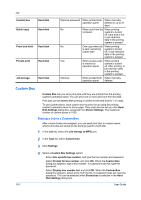
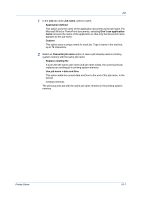
Job Custom box Quick copy Hard disk Hard disk Proof and hold Hard disk Private print Hard disk Job storage Hard disk Optional password When printed from When manually operation panel deleted or up to 31 days No When sent from the When printing computer system is turned off, hard disk is full, or job retention date in the printing system is passed No One copy when job When printing is sent; remaining system is turned copies later off, or job retention date in the printing system is passed Yes When access code When printing is entered at system is turned operation panel off, after printing, or job retention date in the printing system is passed Optional When printed from When manually operation panel deleted Custom Box Custom Box lets you store print jobs until they are printed from the printing system's operation panel. You can print one or more jobs from the hard disk. Print jobs can be deleted after printing or saved on the hard disk for 1-31 days. To use custom boxes, each custom box must be set up using the printing system's operation panel or home page. They must also be set up in the Hard Disk Settings dialog box, accessed from Device Settings. The maximum number of custom boxes is 1000. Storing a Job in a Custom Box After custom boxes are assigned, you can send print jobs to custom boxes, where print jobs are stored on the printing system's hard disk. 1 In the Job tab, select the Job storage (e-MPS) icon. 2 In the Type list, select Custom box. 3 Click Settings. 4 Select a Custom Box Settings option: Select Use specific box number, and type the box number and password. Select Prompt for box number, and click OK. When the Custom Box dialog box appears, type a box number. If a password was set, type the password. Select Display box number list, and click OK. When the Custom Box dialog box appears, select a box from the list. If a password was set, type the password. This can be selected when Shared box is selected in the Hard Disk Settings dialog box. 10-2 User Guide
-
 1
1 -
2
-
3
-
4
-
5
-
6
-
7
-
8
-
9
-
10
-
11
-
12
-
13
-
14
-
15
-
16
-
17
-
18
-
19
-
20
-
21
-
22
-
23
-
24
-
25
-
26
-
27
-
28
-
29
-
30
-
31
-
32
-
33
-
34
-
35
-
36
-
37
-
38
-
39
-
40
-
41
-
42
-
43
-
44
-
45
-
46
-
47
-
48
-
49
-
50
-
51
-
52
-
53
-
54
-
55
-
56
-
57
-
58
-
59
-
60
-
61
-
62
-
63
-
64
-
65
-
66
-
67
-
68
-
69
-
70
-
71
-
72
-
73
-
74
-
75
-
76
-
77
-
78
-
79
-
80
-
81
-
82
-
 83
83 -
 84
84 -
 85
85 -
 86
86 -
 87
87 -
 88
88 -
 89
89 -
 90
90 -
 91
91 -
 92
92 -
 93
93 -
94
-
95
-
96
-
97
-
98
-
99
-
100
-
101
-
102
-
103
-
104
-
105
-
106
-
107
-
108
-
109
-
110
-
111
 |
 |