LG 60PS11 Owner's Manual (English) - Page 37
Initial Setting
 |
UPC - 719192175969
View all LG 60PS11 manuals
Add to My Manuals
Save this manual to your list of manuals |
Page 37 highlights
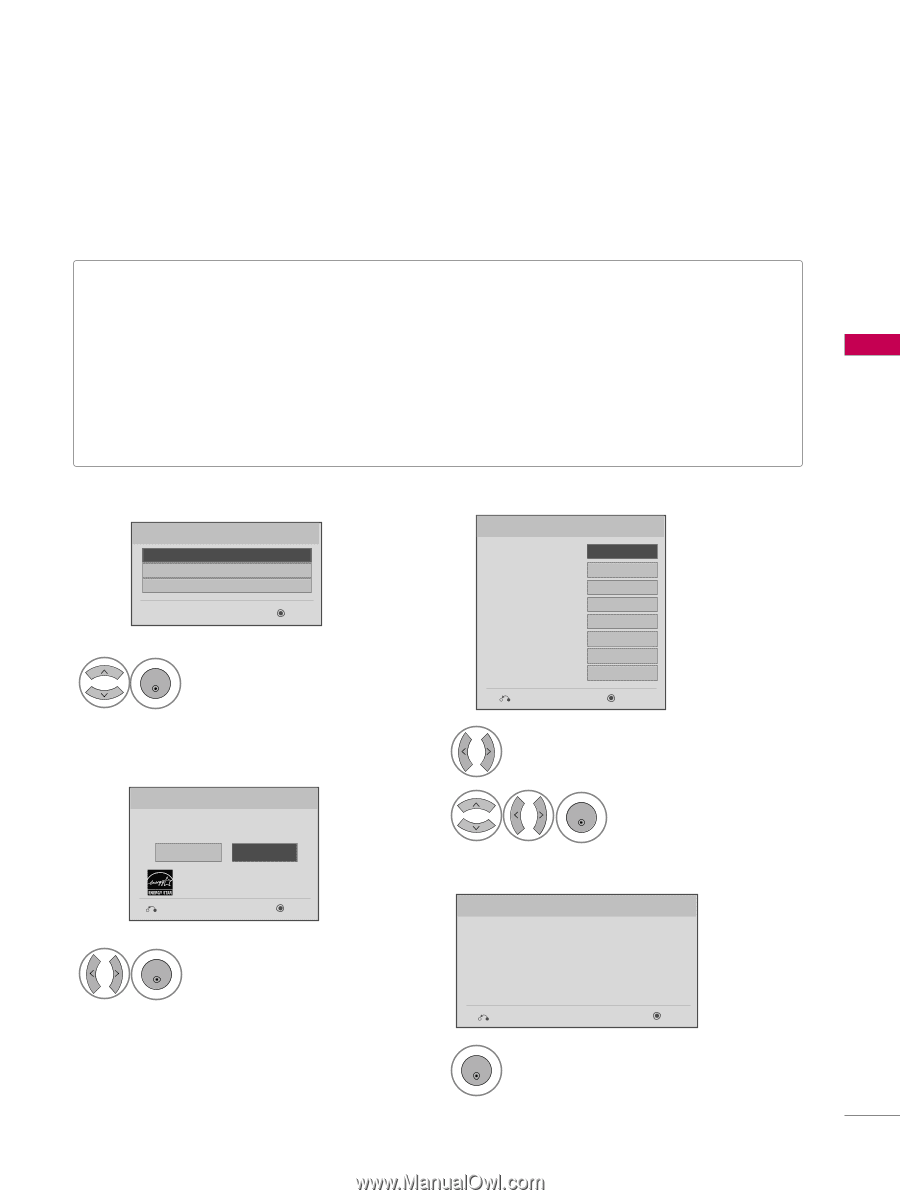
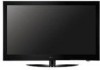
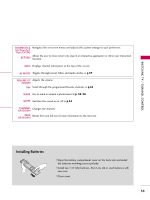
WATCHING TV / CHANNEL CONTROL INITIAL SETTING This Function guides the user to easily set the essential items for viewing the TV for the first time when purchasing the TV. It will be displayed on the screen when turning the TV on for the first time. It can also be activated from the user menus. I Default selection is "Home Use". We recommend setting the TV to "Home Use" mode for the best picture in your home environment. I "Store Demo" Mode is only intended for use in retail environments. Customers can adjust the "Picture menu - Picture mode" manually while inspecting the TV, but the TV will automatically return to preset instore mode after 5 minutes. I You can also adjust Initial Setting in the OPTION menu. Factory defaults are set when you choose "Home Use". I If you do not complete the Initial setting, it will appear whenever the TV is switched on until the Initial setting procedure is completed. Step1. Language Selecting Language English Español Français Next 1 ENTER Select menu Language. Step2. Mode setting Step3. Time setting Time Setting Current Time Setting Year Month Date Hour Minute Time Zone Daylight Saving F Auto G 2007 11 15 5 PM 52 Eastern Auto Previous Next 1 Select Auto or Manual. Mode Setting Selecting the environment. Choose the setting mode you want. Store Demo Home Use Select [Home Use] to use this TV at home. Previous Next 1 ENTER Select H o m e U s e mode. 2 ENTER Select desired time option. Step4. Auto Tuning Auto Tuning Check your antenna connection. The previous channel information will be updated during Auto Tuning. Previous Next 1 ENTER Start Auto Tuning. 35
-
 1
1 -
2
-
3
-
4
-
5
-
6
-
7
-
8
-
9
-
10
-
11
-
12
-
13
-
14
-
15
-
16
-
17
-
18
-
19
-
20
-
21
-
22
-
23
-
24
-
25
-
26
-
27
-
28
-
29
-
30
-
31
-
 32
32 -
 33
33 -
 34
34 -
 35
35 -
 36
36 -
 37
37 -
 38
38 -
 39
39 -
 40
40 -
 41
41 -
 42
42 -
43
-
44
-
45
-
46
-
47
-
48
-
49
-
50
-
51
-
52
-
53
-
54
-
55
-
56
-
57
-
58
-
59
-
60
-
61
-
62
-
63
-
64
-
65
-
66
-
67
-
68
-
69
-
70
-
71
-
72
-
73
-
74
-
75
-
76
-
77
-
78
-
79
-
80
-
81
-
82
-
83
-
84
-
85
-
86
-
87
-
88
-
89
-
90
-
91
-
92
-
93
-
94
-
95
-
96
-
97
-
98
-
99
-
100
-
101
-
102
-
103
-
104
-
105
-
106
-
107
-
108
-
109
-
110
-
111
-
112
-
113
-
114
-
115
 |
 |