LG BG630 Owners Manual - Page 16
Projection Distance per Screen Size, image is crooked, use the Keystone function. See
 |
View all LG BG630 manuals
Add to My Manuals
Save this manual to your list of manuals |
Page 16 highlights
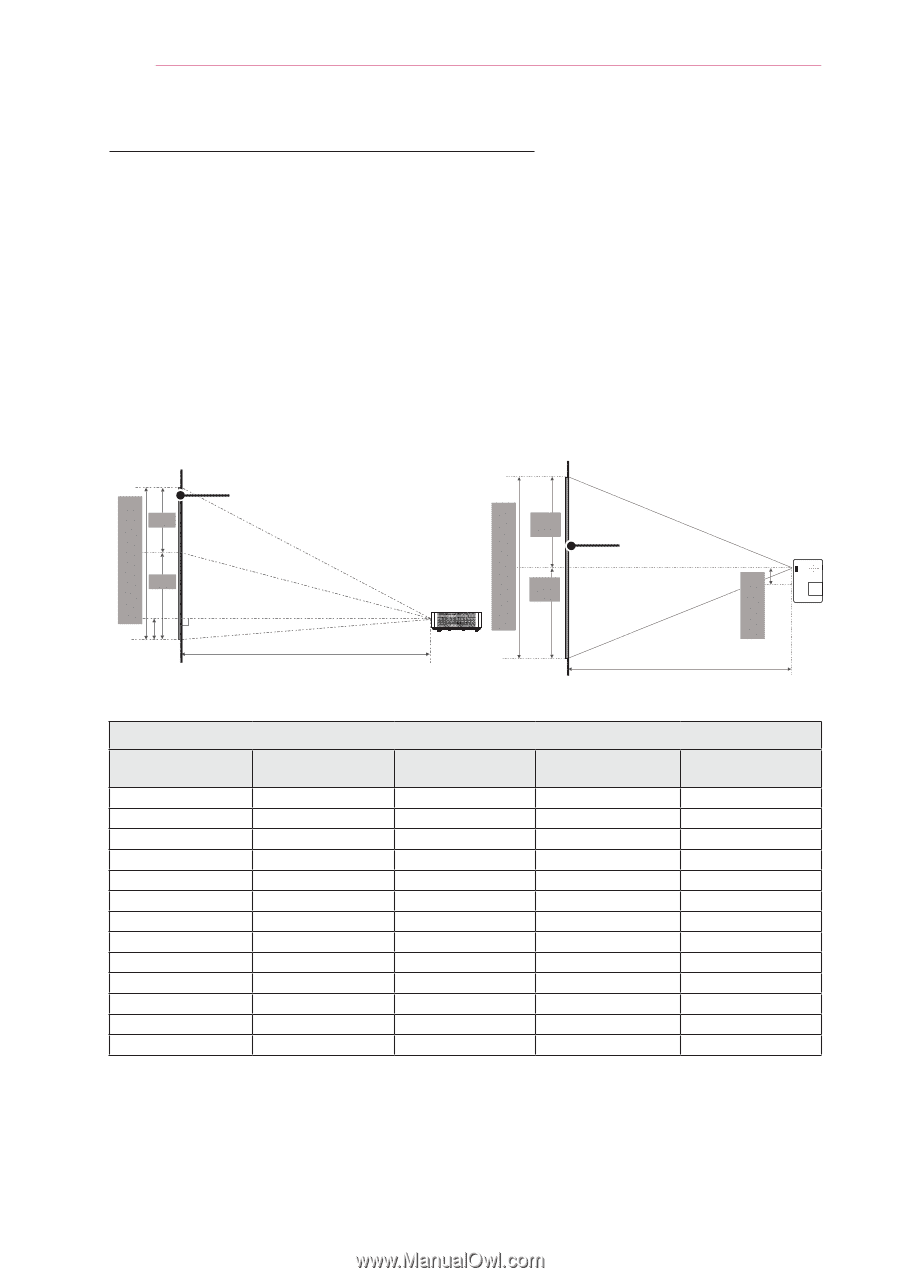
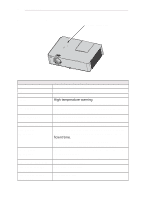
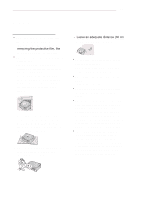
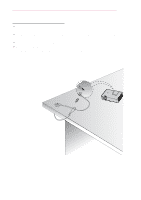
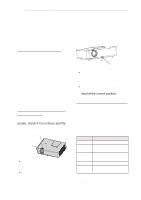
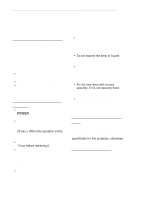
16 PREPARATION Projection Distance per Screen Size 1 Place the projector on a sturdy, level surface, together with the computer or audio/ video source. 2 Place the projector at an appropriate distance from the screen. The distance be- tween the projector and the screen determines the actual size of the image. 3 Position the projector so that the lens is perpendicular to the screen. If the lens is not perpendicular to the screen, the projected image will look distorted. If the screen image is crooked, use the Keystone function. (See page 23.) 4 Connect the power cords of the projector and the connected devices to the wall outlet. Projection Offset: 90 % DISPLAY X/2 X/2 Y/2 DISPLAY Y/2 95 mm Screen Width (Y) Screen Height (X) Projection Distance (D) Projection Distance (D) Screen Size (mm) 762 1016 1270 1524 1778 2032 2286 2540 3048 3810 5080 6350 7620 Screen Width (Y) (mm) 610 813 1016 1219 1422 1626 1829 2032 2438 3048 4064 5080 6096 4 : 3 aspect ratio Screen Height (X) (mm) 457 610 762 914 1067 1219 1372 1524 1829 2286 3048 3810 4572 Shortest Distance (D) (mm) 873 1172 1471 1771 2070 2369 2668 2968 3566 4464 5961 7457 8953 Longest Distance (D) (mm) 1052 1411 1771 2130 2489 2849 3208 3567 4286 5363 7160 8957 10753 yyThe Shortest Distance/Longest Distance is the adjusted status by rotating the zoom ring using the zoom function. yyThe projection distance for each screen size is just a reference and there is about ±5 % deviation.
-
 1
1 -
2
-
3
-
4
-
5
-
6
-
7
-
8
-
9
-
10
-
 11
11 -
 12
12 -
 13
13 -
 14
14 -
 15
15 -
 16
16 -
 17
17 -
 18
18 -
 19
19 -
 20
20 -
 21
21 -
22
-
23
-
24
-
25
-
26
-
27
-
28
-
29
-
30
-
31
-
32
-
33
-
34
-
35
-
36
-
37
-
38
-
39
-
40
-
41
-
42
-
43
-
44
-
45
-
46
-
47
-
48
-
49
-
50
-
51
-
52
-
53
-
54
-
55
-
56
-
57
-
58
-
59
-
60
-
61
-
62
-
63
-
64
-
65
-
66
-
67
-
68
-
69
 |
 |