LG LRSC26925TT Owner's Manual - Page 9
Water Connection Instruction Guide - ice dispenser
 |
View all LG LRSC26925TT manuals
Add to My Manuals
Save this manual to your list of manuals |
Page 9 highlights
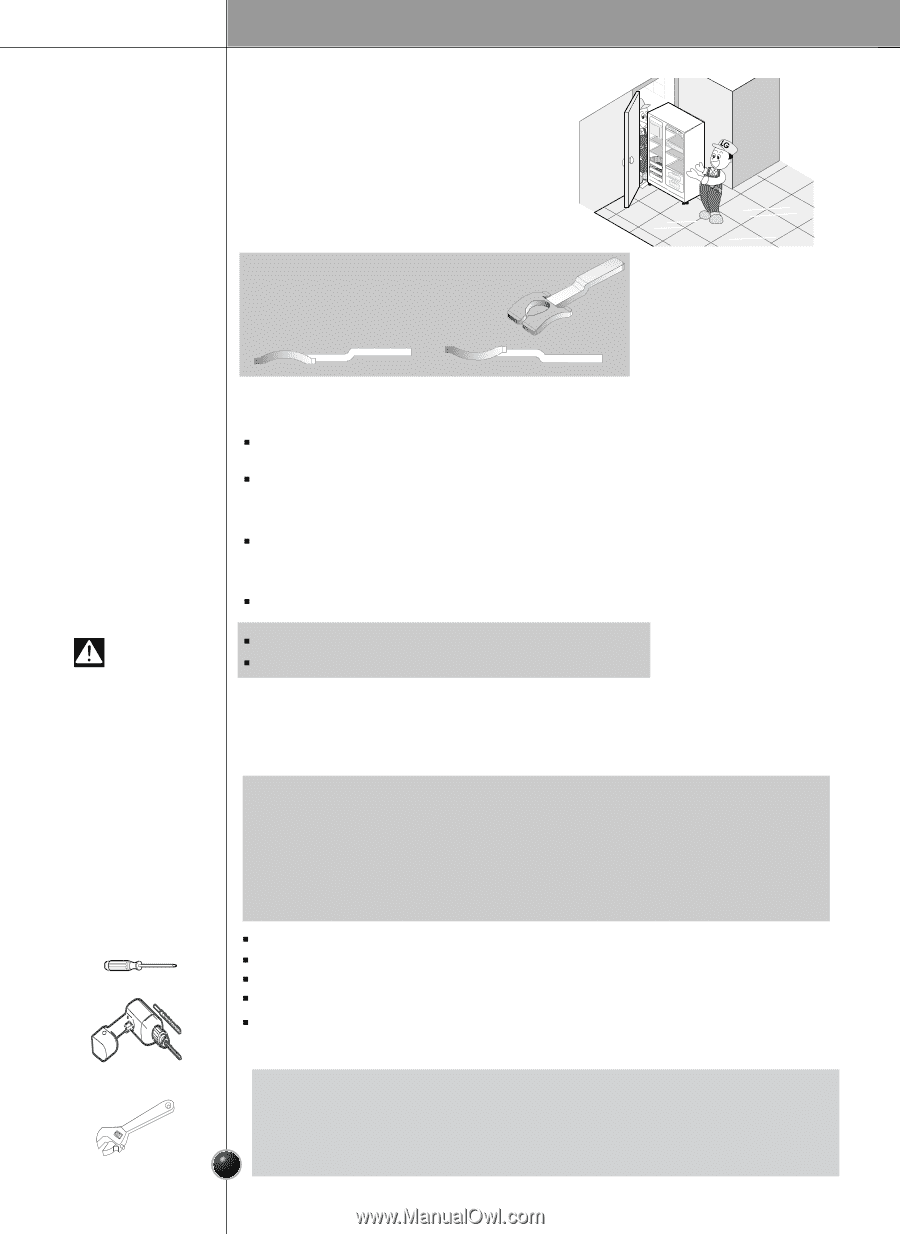
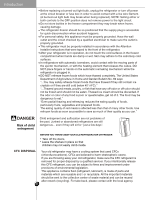
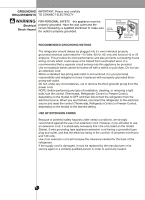
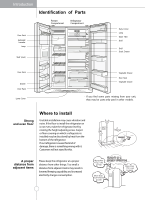
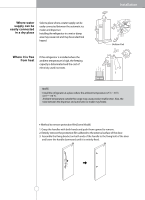
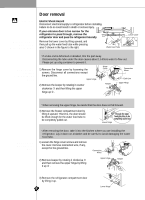
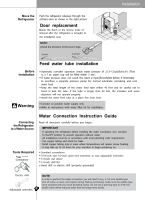
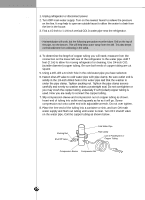
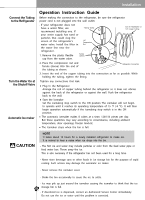
Installation Move the Refrigerator Push the refrigerator sideways through the entrance door as shown in the right picture. Door replacement Mount the doors in the reverse order of removal after the refrigerator is brought to the installation area. NOTE: Check the direction of the lever hinge. Correct Incorrect Feed water tube installation Before Installation Warning Automatic icemaker operation needs water pressure of 21.3~121psi(lb/inc h2) (That is, a 7 oz. paper cup will be filled within 3 sec.). If water pressure does not reach the rated 21.3psi (lb/inch2)¬ or below, if necessary to purchase a separate pressure pump for normal automatic icemaking and cool water feed. Keep the total length of the water feed tube within 40 feet and be careful not to bend or kink the tube. If the tube is longer than 40 feet, the icemaker and water dispenser will not operate properly. Install the water feed tube at a place free from heat. Connect to potable water supply only. Refer to instructions with water filter kit for installation. Connecting the Refrigerator to a Water Source Tools Required Screwdriver Water Connection Instruction Guide Read all directions carefully before you begin. IMPORTANT • If operating the refrigerator before installing the water connection, turn icemaker to theOFF position to prevent operation without water. • All installations must be in accordance with local plumbing code requirements. • Use copper tubing and check for leaks. • Install copper tubing only in areas where temperatures will remain above freezing. • It may take up to 24 hours for your icemaker to begin producing ice. Standard screwdriver 7/16-inch and 1/2-inch open-end wrenches or two adjustable wrenches 1/4-inch nut driver 1/4-inch drill bit Hand drill or electric drill (properly grounded) Electric drill Adjustable wrenches 9 NOTE In order to perform the water connection you will need to buy: a 1/4-inch saddle-type shut off valve, a union, and copper tubing. Before purchasing, make sure the saddle-type valve complies with your local plumbing codes. Do not use a piercing-type or 3/16-inch saddle valve which reduces water flow and clogs more easily.
-
 1
1 -
2
-
3
-
 4
4 -
 5
5 -
 6
6 -
 7
7 -
 8
8 -
 9
9 -
 10
10 -
 11
11 -
 12
12 -
 13
13 -
 14
14 -
15
-
16
-
17
-
18
-
19
-
20
-
21
-
22
-
23
-
24
-
25
-
26
-
27
-
28
-
29
-
30
 |
 |