LG M4710C-BA User Guide - Page 24
Selecting the options, Language, Child lock, Set ID, ISM Method - monitor
 |
UPC - 719192184046
View all LG M4710C-BA manuals
Add to My Manuals
Save this manual to your list of manuals |
Page 24 highlights
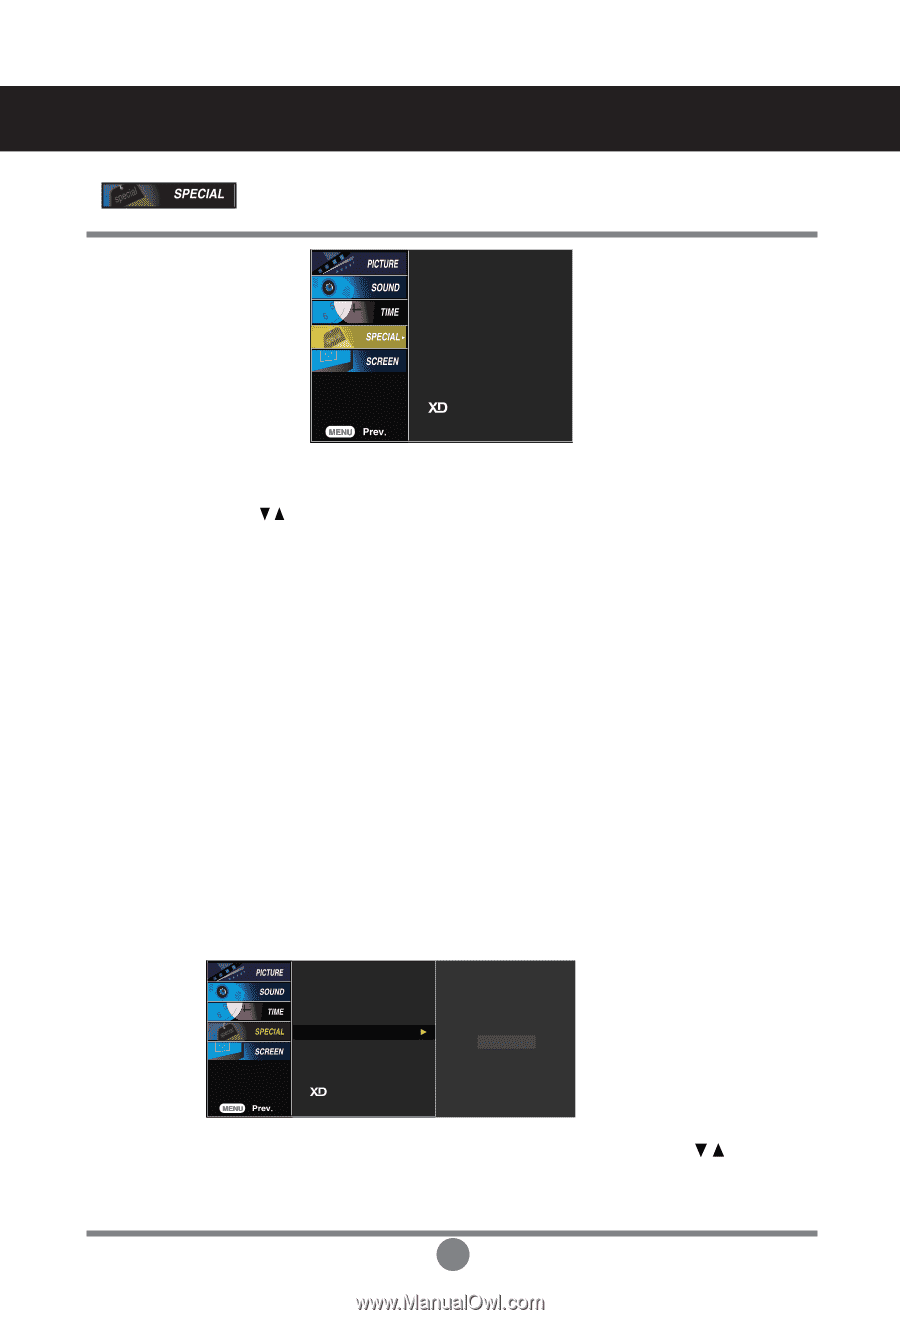
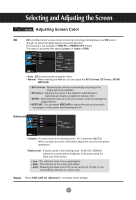
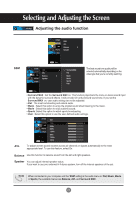
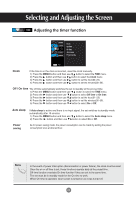
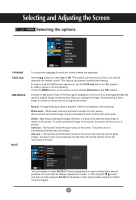
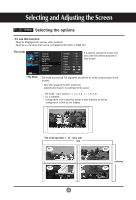
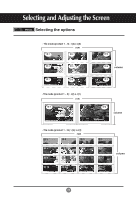
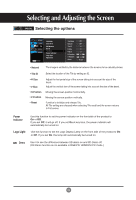
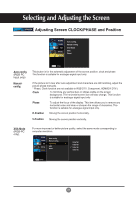
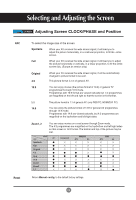
Selecting and Adjusting the Screen Selecting the options Language Child lock ISM Method Set ID Tile Mode Power Indicator Logo light Demo Language Child lock ISM Method Set ID To choose the language in which the control names are displayed. Use the buttons to select On or Off. The monitor can be set up so that it can only be used with the remote control. This feature can prevent unauthorized viewing. In order to lock the OSD screen adjustment, set the Child lock tab to the 'On' position. In order to unlock it, do the following : • Push the MENU button on the remote control and set Child lock to the 'Off' position. A frozen or still picture from a PC/Video game displayed on the screen for prolonged periods will result in a ghost image remaining even when you change the image. Avoid allowing a fixed image to remain on the screen for a long period of time. Normal : If image sticking is never a problem, ISM is not necessary -set to Normal. White wash : White wash removes permanent images from the screen. (An excessive permanent image may be impossible to clear entirely with white wash. Orbiter : May help prevent ghost images. However, it is best not to allow any fixed image to remain on the screen. To avoid a permanent image on the screen, the screen will move every 2 minutes. Inversion : This function inverts the panel colour of the screen. The panel colour is automatically inverted every 30 minutes. Orb.+Inv. : This function inverts the panel colour of the screen and may help prevent ghost images. The panel colour is automatically inverted every 30 minutes and the screen will move every 2 minutes. Language Child lock ISM Method Set ID Tile Mode 1 Power Indicator Logo light Demo You can assign a unique Set ID NO (name assignment) to each product when several products are connected for display. Specify the number (1~99) using the button and exit. Use the assigned Set ID to individually control each product using the Product Control Program. 23
-
 1
1 -
2
-
3
-
4
-
5
-
6
-
7
-
8
-
9
-
10
-
11
-
12
-
13
-
14
-
15
-
16
-
17
-
18
-
 19
19 -
 20
20 -
 21
21 -
 22
22 -
 23
23 -
 24
24 -
 25
25 -
 26
26 -
 27
27 -
 28
28 -
 29
29 -
30
-
31
-
32
-
33
-
34
-
35
-
36
-
37
-
38
-
39
-
40
-
41
-
42
-
43
-
44
-
45
-
46
-
47
-
48
-
49
-
50
-
51
-
52
-
53
-
54
 |
 |