LG RZ-32LZ50 Service Manual - Page 12
LG RZ-32LZ50 Manual
 |
View all LG RZ-32LZ50 manuals
Add to My Manuals
Save this manual to your list of manuals |
Page 12 highlights
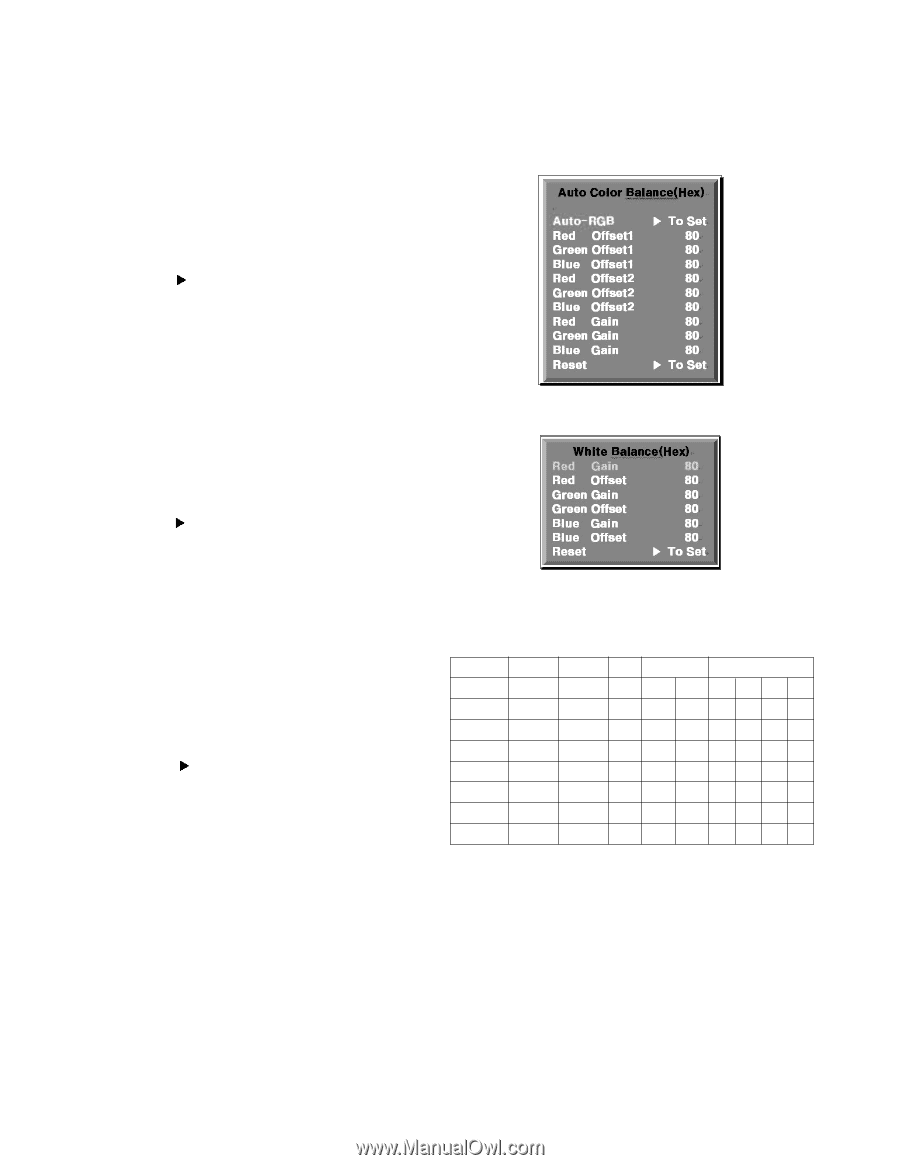
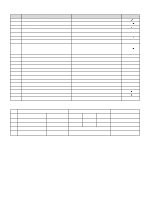
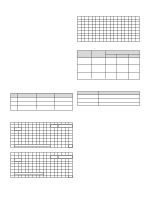
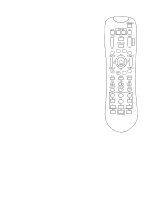
4. ADC Calibration 4.1 Adjustment of RF/AV/SAV * Test Equipment - Remote controller for adjustment - MSPG-925F Pattern Generator->Model: 202 / Pattern: 32 4.1.1 Method of Auto RF/AV/S-VIDEO Color Balance. 1) Input the Video Signal: 75% Color Bar signal into AV3 (RZ), AV1(RT), VIDEO1(RM) 2) Set the PSM to Standard mode in the Picture menu. 3) Press ADJ key on R/C for adjustment. 4) Press the (Vol. +) key to operate the set, then it becomes automatically. 5) Auto-RGB OK means the adjustment is completed. 4.2 Adjustment of Component. * Required Equipments - Remote controller for adjustment - MSPG-925F Pattern Generator->Model: 215 / Pattern: 33 4.2.1 Method of Auto Component Color Balance 1) Input the Component 720p 100% Color Bar(MSPG925F model:215, pattern:33) signal into Component. (RZ : component , RT/RM : component 1 or 2) 2) Set the PSM to Standard mode in the Picture menu. 3) Press the ADJ key on R/C for adjustment. 4) Press the (Vol. +) key to operate the set , then it becomes automatically. 5) Auto-RGB OK means the adjustment is completed. 4.3 Adjustment of RGB * Required Equipments - Remote controller for adjustment - MSPG-925F Pattern Generator 4.3.1 Method of Auto RGB Color Balance 1) Input the PC 1024x768@75Hz 1/2 Black & White Pattern(MSPG-925F model:39, pattern:18) into RGB. (using D-sub to DVI-I cable) 2) Set the PSM to Standard mode in Picture menu. 3) Press the ADJ key on R/C for adjustment. 4) Press the (Vol. +) key operate To set , then it becomes automatically. 5) Auto-RGB OK means adjustment is completed. 5. white Balance 5.1 Manual white Balance (AV) 1) Execute CA-110 Zero Calibration. 2) Execute the SET Heat Run for 30minutes 3) Push the ADJ Button then you can see the OSD 4) Push the ADJ Button again for White Balance mode 5) Adjust High light with R/B Gain/Offset(G Gain fix, G Offset fix) 5.2 Auto White Balance(AV) Command1 Command2 Set ID Min Input Select XB R-Gain G-Gain B-Gain R-Offset G-Offset J J J J J J B A B C D E F Max 00 00 00 00 00 00 00 26 00h 00h 00h 00h 00h 00h 00h Data 32 90h E0h E0h E0h 90h 90h 90h CE BD B1 81 80 7F D6 BD C5 81 80 7F B8 B1 BA 80 80 7F D0 BD B4 80 80 7E 37 Default Value 42 => Before White-Balance, the AV ADC should be done. (RZ : AV, RT : AV1, RM : VIDEO1) Notice : Before White-Balance, change input mode - Move to AV3(RZ) or AV(RT) or VIDEO(RM) by using Remote controller. B-Offset - 12 -
-
 1
1 -
2
-
3
-
4
-
5
-
6
-
 7
7 -
 8
8 -
 9
9 -
 10
10 -
 11
11 -
 12
12 -
 13
13 -
 14
14 -
 15
15 -
 16
16 -
 17
17 -
18
-
19
-
20
-
21
-
22
-
23
-
24
-
25
-
26
-
27
-
28
-
29
-
30
-
31
-
32
-
33
-
34
-
35
 |
 |