Lenovo IdeaTab A2109A IdeaTab A2109A-F Hardware Maintenance Manual (English) - Page 46
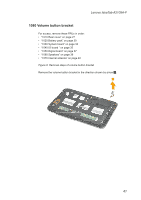
Integrated camera, 1070 Internal antenna
 |
View all Lenovo IdeaTab A2109A manuals
Add to My Manuals
Save this manual to your list of manuals |
Page 46 highlights
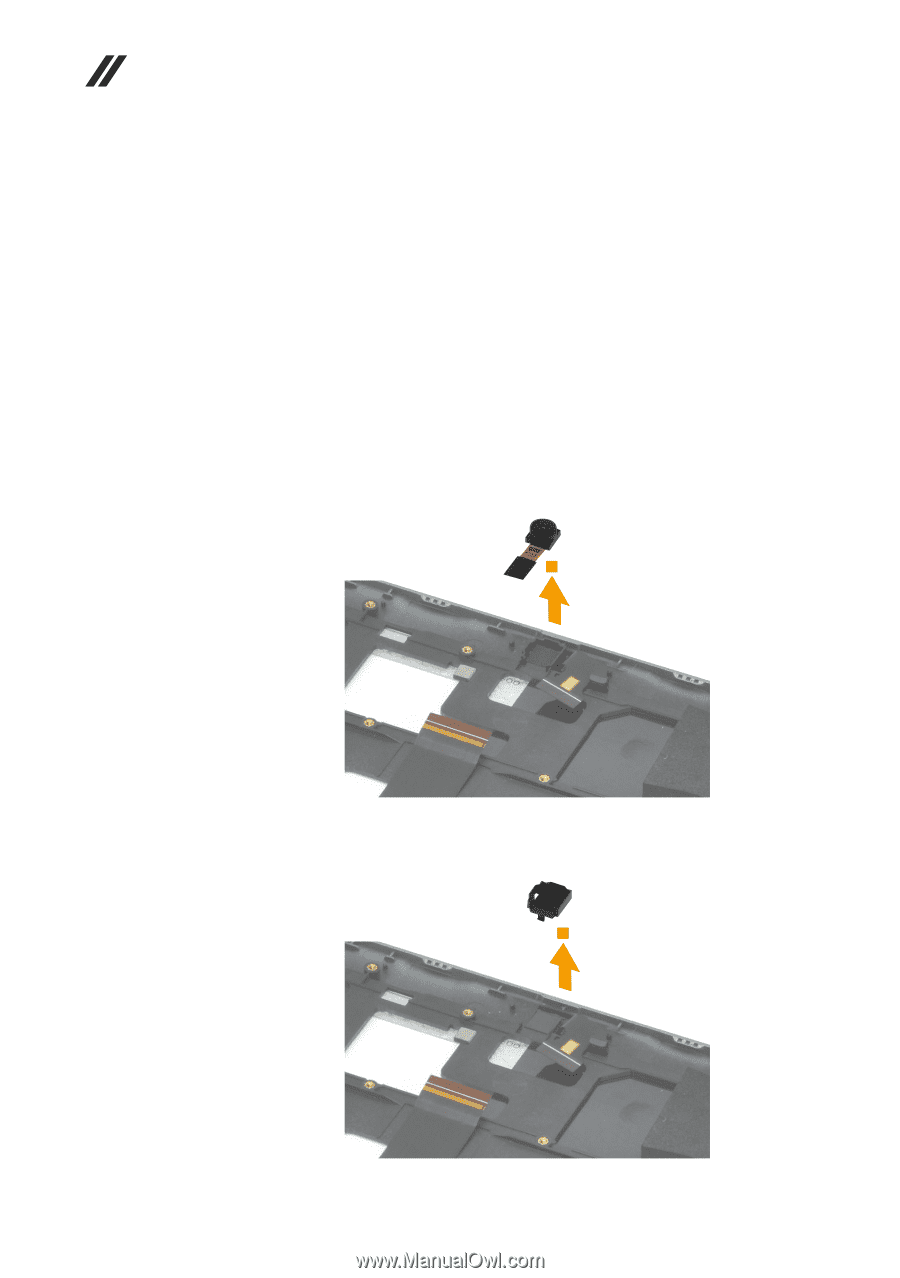
Lenovo IdeaTab A2109A-F Hardware Maintenance Manual 1090 Integrated camera For access, remove these FRUs in order: •• "1010 Rear cover" on page 27 •• "1020 Battery pack" on page 30 •• "1030 System board" on page 32 •• "1040 IO board " on page 35 •• "1050 Digital board" on page 37 •• "1060 Speakers" on page 39 •• "1070 Internal antenna" on page 40 •• "1080 Volume button bracket" on page 41 Figure 9. Removal step of integrated camera Remove the back camera in the direction shown by arrow 1. 1 Remove the back camera bracket in the direction shown by arrow 2. 2 42
-
 1
1 -
2
-
3
-
4
-
5
-
6
-
7
-
8
-
9
-
10
-
11
-
12
-
13
-
14
-
15
-
16
-
17
-
18
-
19
-
20
-
21
-
22
-
23
-
24
-
25
-
26
-
27
-
28
-
29
-
30
-
31
-
32
-
33
-
34
-
35
-
36
-
37
-
38
-
39
-
40
-
 41
41 -
 42
42 -
 43
43 -
 44
44 -
 45
45 -
 46
46 -
 47
47 -
 48
48 -
 49
49 -
 50
50 -
 51
51 -
52
-
53
-
54
-
55
-
56
-
57
 |
 |
42
Lenovo IdeaTab A2109A-F Hardware Maintenance Manual
1090 Integrated camera
For access, remove these FRUs in order:
•
“1010 Rear cover” on page 27
•
“1020 Battery pack” on page 30
•
“1030 System board” on page 32
•
“1040 IO board ” on page 35
•
“1050 Digital board” on page 37
•
“1060 Speakers” on page 39
•
“1070 Internal antenna” on page 40
•
“1080 Volume button bracket” on page 41
Figure 9. Removal step of integrated camera
Remove the back camera in the direction shown by arrow
1
.
1
Remove the back camera bracket in the direction shown by arrow
2
.
2