Lenovo S9 Laptop Windows 7 Upgrade Guide - Page 3
Activation
 |
View all Lenovo S9 Laptop manuals
Add to My Manuals
Save this manual to your list of manuals |
Page 3 highlights
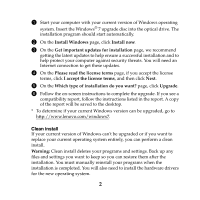
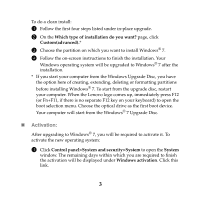
To do a clean install: 1 Follow the first four steps listed under in-place upgrade. 2 On the Which type of installation do you want? page, click Custom(advanced).* 3 Choose the partition on which you want to install Windows® 7. 4 Follow the on-screen instructions to finish the installation. Your Windows operating system will be upgraded to Windows® 7 after the installation. * If you start your computer from the Windows Upgrade Disc, you have the option here of creating, extending, deleting or formatting partitions before installing Windows® 7. To start from the upgrade disc, restart your computer. When the Lenovo logo comes up, immediately press F12 (or Fn+F11, if there is no separate F12 key on your keyboard) to open the boot selection menu. Choose the optical drive as the first boot device. Your computer will start from the Windows® 7 Upgrade Disc. „ Activation: After upgrading to Windows® 7, you will be required to activate it. To activate the new operating system: 1 Click Control panel>System and security>System to open the System window. The remaining days within which you are required to finish the activation will be displayed under Windows activation. Click this link. 3
-
 1
1 -
 2
2 -
 3
3 -
 4
4 -
 5
5 -
 6
6 -
 7
7
 |
 |