Lexmark 782dn User's Guide - Page 28
Sending a job to print, Print, Properties, Setup, Numeric pad, Display panel, Status / Supplies
 |
UPC - 734646028349
View all Lexmark 782dn manuals
Add to My Manuals
Save this manual to your list of manuals |
Page 28 highlights
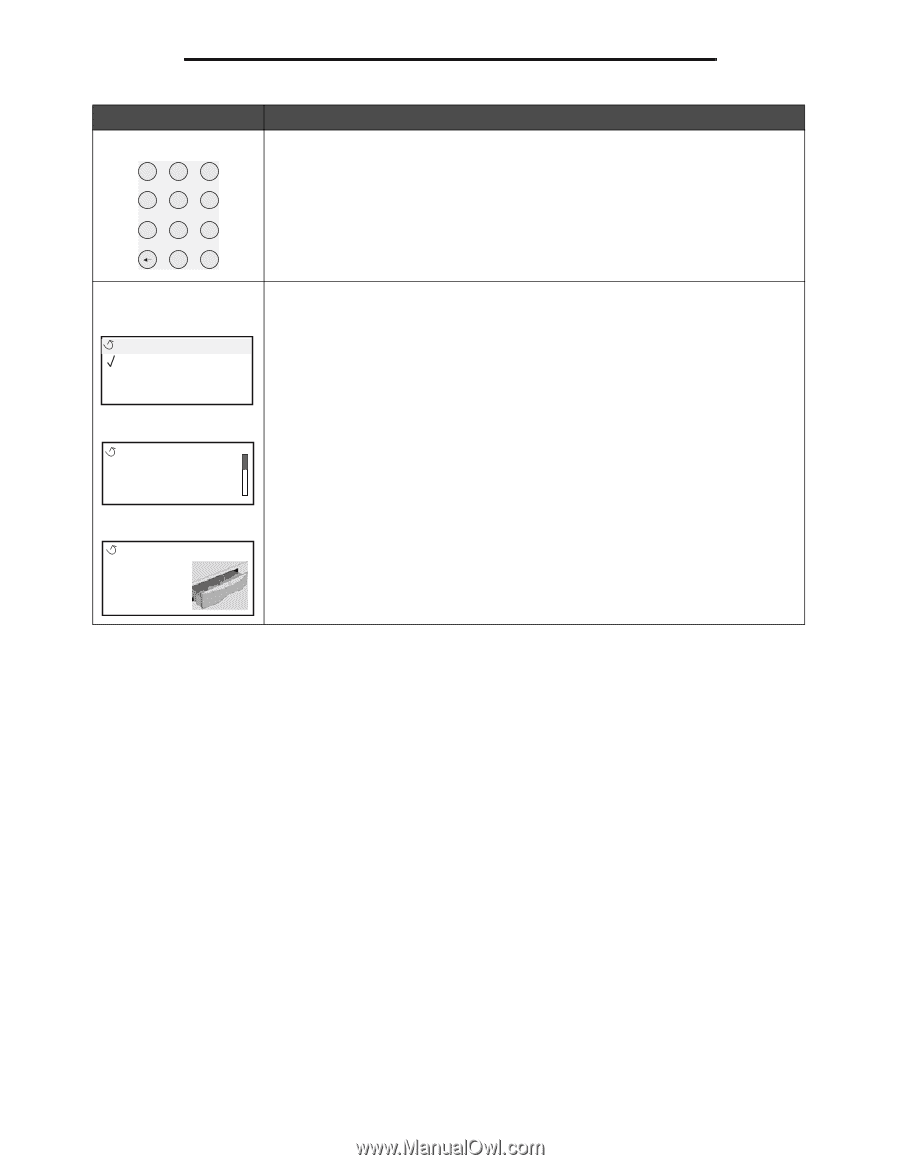
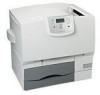
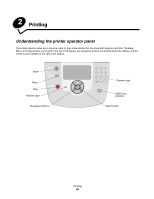
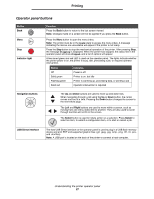
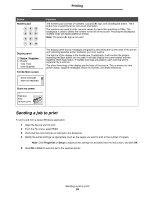
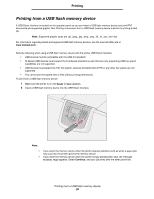
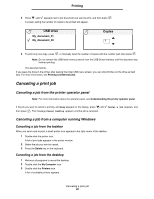
Printing Button Numeric pad 1 2 3 4 5 6 789 0 # Display panel Status / Supplies Ready Tray 1 low View Supplies Tell Me More screen Some held jobs were not restored. Show me screen Remove tray; remove print Function The numeric pad consists of numbers, a pound (#) sign, and a backspace button. The 5 button has a raised bump for non-visual orientation. The numbers are used to enter numeric values for items like quantities or PINs. The backspace is used to delete the number to the left of the cursor. Pressing the backspace multiple times will delete additional entries. Note: The pound (#) sign is not used. The display panel shows messages and graphics describing the current state of the printer and indicating possible printer problems you must resolve. The top line of the display is the header line. If applicable, it will contain the graphic indicating the Back button can be used. It will also display the current status and the Supplies (Warnings) status. If multiple warnings are present, each warning will be separated by a comma. The other three lines of the display are the body of the screen. This is where you view printer status, supplies messages, Show me screens, and make selections. Sending a job to print To print a job from a typical Windows application: 1 Open the file you want to print. 2 From the File menu, select Print. 3 Verify that the correct printer is selected in the dialog box. 4 Modify the printer settings as appropriate (such as the pages you want to print or the number of copies). Note: Click Properties or Setup to adjust printer settings not available from the first screen, and click OK. 5 Click OK or Print to send the job to the selected printer. Sending a job to print 28
-
 1
1 -
2
-
3
-
4
-
5
-
6
-
7
-
8
-
9
-
10
-
11
-
12
-
13
-
14
-
15
-
16
-
17
-
18
-
19
-
20
-
21
-
22
-
 23
23 -
 24
24 -
 25
25 -
 26
26 -
 27
27 -
 28
28 -
 29
29 -
 30
30 -
 31
31 -
 32
32 -
 33
33 -
34
-
35
-
36
-
37
-
38
-
39
-
40
-
41
-
42
-
43
-
44
-
45
-
46
-
47
-
48
-
49
-
50
-
51
-
52
-
53
-
54
-
55
-
56
-
57
-
58
-
59
-
60
-
61
-
62
-
63
-
64
-
65
-
66
-
67
-
68
-
69
-
70
-
71
-
72
-
73
-
74
-
75
-
76
-
77
-
78
-
79
-
80
-
81
-
82
-
83
-
84
-
85
-
86
-
87
-
88
-
89
-
90
-
91
-
92
-
93
-
94
-
95
-
96
-
97
-
98
-
99
-
100
-
101
-
102
-
103
-
104
-
105
-
106
-
107
-
108
-
109
-
110
-
111
-
112
 |
 |