Lexmark C544 Wireless Setup Guide - Page 33
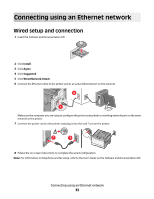
Connecting using an Ethernet network, Wired setup and connection
 |
View all Lexmark C544 manuals
Add to My Manuals
Save this manual to your list of manuals |
Page 33 highlights
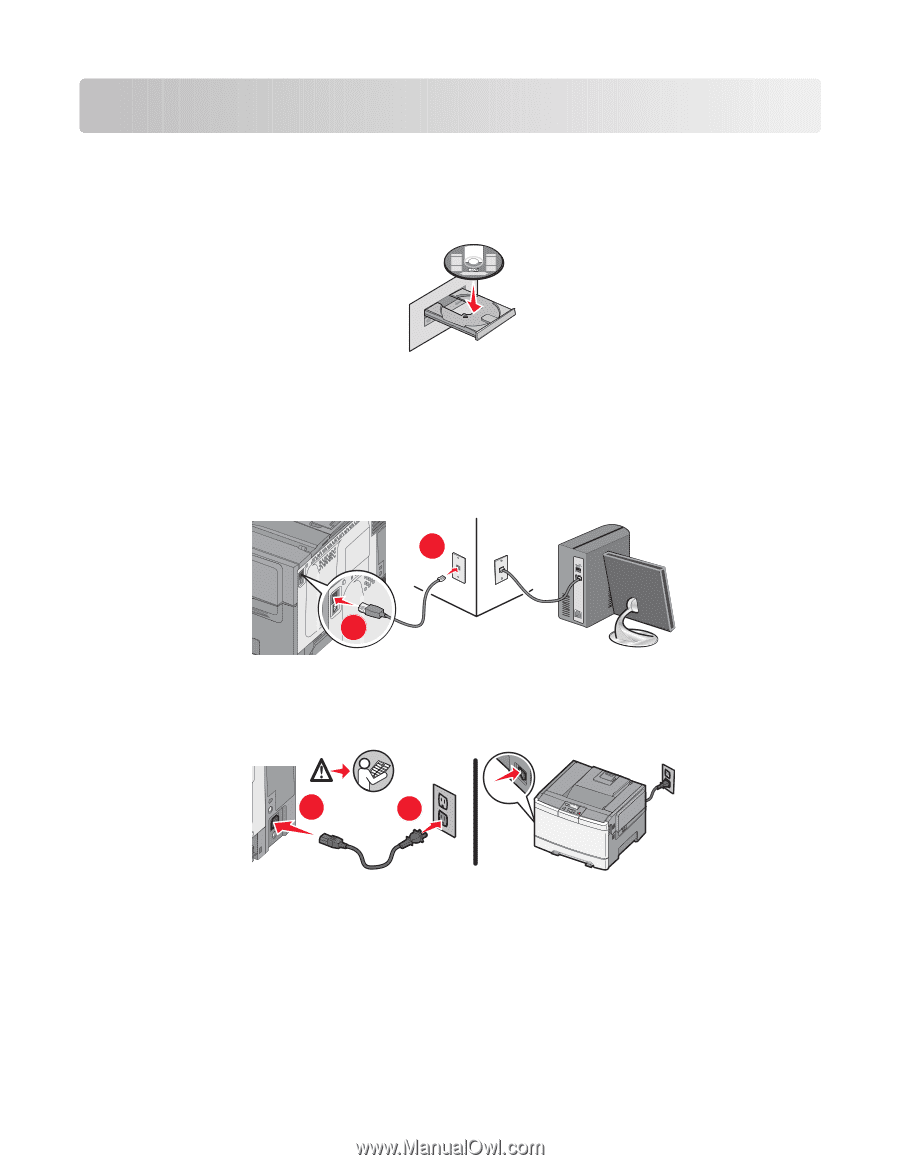
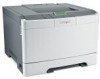
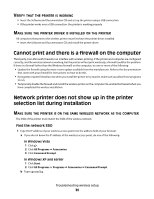
Connecting using an Ethernet network Wired setup and connection 1 Insert the Software and Documentation CD. Software and Documentation Software and Documentation 2 Click Install. 3 Click Agree. 4 Click Suggested. 5 Click Wired Network Attach. 6 Connect the Ethernet cable to the printer and to an active Ethernet port on the network. 2 1 Make sure the computer you are using to configure the printer is attached to a working network port on the same network as the printer. 7 Connect the power cord to the printer and plug it into the wall. Turn on the printer. 1 2 8 Follow the on screen instructions to complete the wired configuration. Note: For information on telephone and fax setup, refer to the User's Guide on the Software and Documentation CD. Connecting using an Ethernet network 33
-
 1
1 -
2
-
3
-
4
-
5
-
6
-
7
-
8
-
9
-
10
-
11
-
12
-
13
-
14
-
15
-
16
-
17
-
18
-
19
-
20
-
21
-
22
-
23
-
24
-
25
-
26
-
27
-
 28
28 -
 29
29 -
 30
30 -
 31
31 -
 32
32 -
 33
33 -
 34
34 -
 35
35 -
 36
36
 |
 |