Lexmark C734n Wireless Setup Guide - Page 15
Install, Agree, Suggested, Wireless Network Attach, Basic, Advanced
 |
View all Lexmark C734n manuals
Add to My Manuals
Save this manual to your list of manuals |
Page 15 highlights
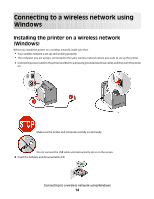
3 Click Install. 4 Click Agree. 5 Click Suggested. 6 Click Wireless Network Attach. 7 Temporarily connect a USB cable between the computer on the wireless network and the printer. Note: After the printer is configured, the software will instruct you to disconnect the temporary USB cable so you can print wirelessly. 8 Follow the on-screen instructions to complete the software installation. Note: Basic is the recommended path to choose. Choose Advanced only if you want to customize your installation. 9 To allow other computers on the wireless network to use the wireless printer, follow steps 2 through 6 and step 8 for each computer. Connecting to a wireless network using Windows 15
-
 1
1 -
2
-
3
-
4
-
5
-
6
-
7
-
8
-
9
-
 10
10 -
 11
11 -
 12
12 -
 13
13 -
 14
14 -
 15
15 -
 16
16 -
 17
17 -
 18
18 -
 19
19 -
 20
20 -
21
-
22
-
23
-
24
-
25
-
26
-
27
-
28
-
29
-
30
-
31
-
32
-
33
-
34
-
35
 |
 |
3
Click
Install
.
4
Click
Agree
.
5
Click
Suggested
.
6
Click
Wireless Network Attach
.
7
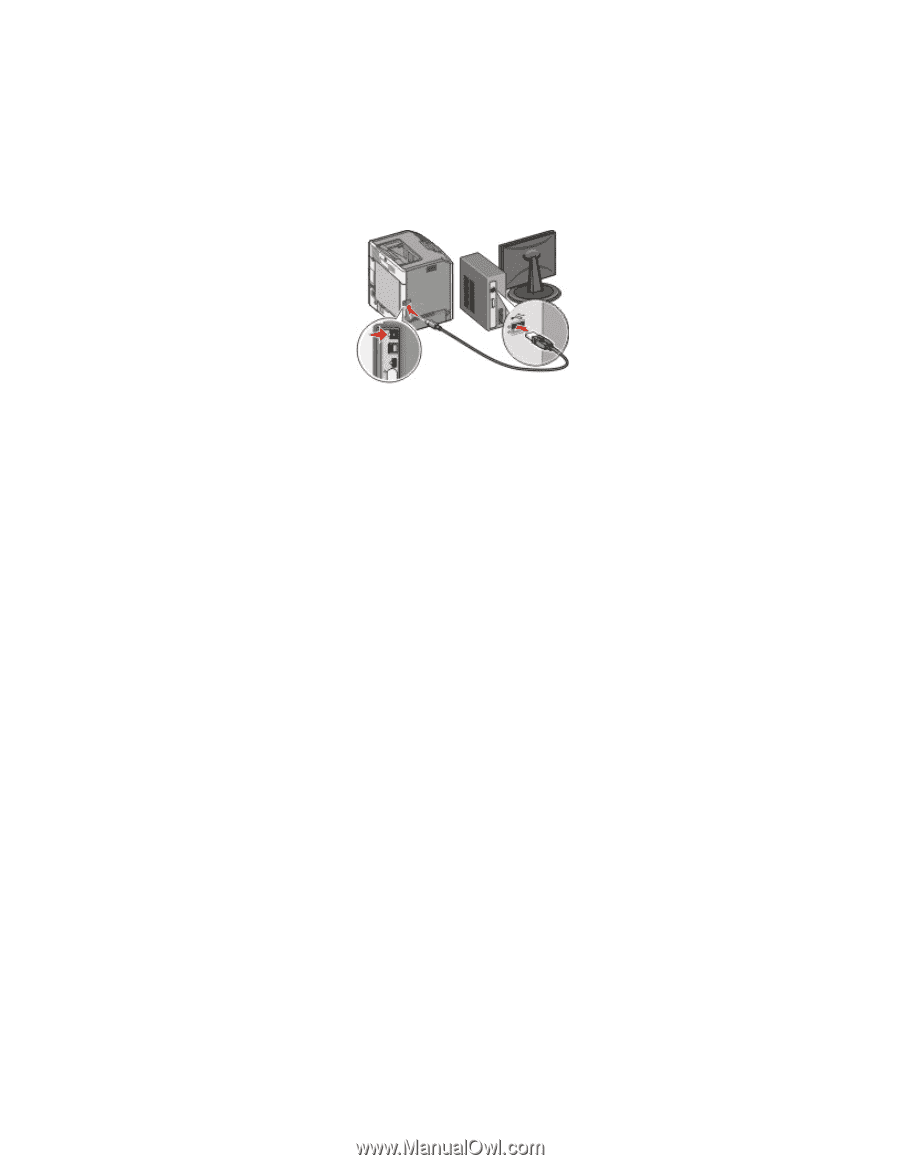
Temporarily connect a USB cable between the computer on the wireless network and the printer.
Note:
After the printer is configured, the software will instruct you to disconnect the temporary USB cable so
you can print wirelessly.
8
Follow the on-screen instructions to complete the software installation.
Note:
Basic
is the recommended path to choose. Choose
Advanced
only if you want to customize your
installation.
9
To allow other computers on the wireless network to use the wireless printer, follow steps 2 through 6 and step
8 for each computer.
Connecting to a wireless network using Windows
15