Lexmark C736n PKI-Enabled Device Installation and Configuration Guide - Page 12
Configuring PKI Authentication
 |
View all Lexmark C736n manuals
Add to My Manuals
Save this manual to your list of manuals |
Page 12 highlights
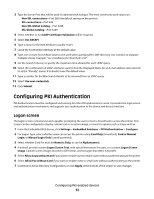
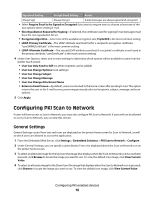
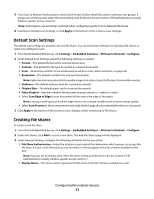
3 Type the Server Port that will be used for address book lookups. The most commonly-used values are: Non-SSL connections-Port 389 (the default setting on the printer) SSL connections-Port 636 Non-SSL Global Catalog-Port 3268 SSL Global Catalog-Port 3269 4 Select whether or not LDAP Certificate Validation will be required. 5 Select Use GSSAPI. 6 Type a name for the Mail Attribute (usually "mail"). 7 Leave the Fax Number Attribute at the default value. 8 Type one or more Search Base values to be used when querying the LDAP directory. Use commas to separate multiple entries. Example: "ou=installation,dc=branch,dc=mil". 9 Set the Search Timeout, to specify the maximum time allowed for each LDAP query. 10 Select the combination of LDAP attributes used to find the Displayed Name for an E-mail address (also referred to as the "friendly" name). If in doubt, leave the default value. 11 Type a number for the Max Search Results to be returned from an LDAP query. 12 Select Use user credentials. 13 Click Submit. Configuring PKI Authentication PKI Authentication must be configured and running for other PKI applications to work. It provides the login screen and authentication mechanism, and supports user authorization to the device and device functions. Logon screen The logon screen contains text and a graphic prompting the user to insert a SmartCard to access the printer. This screen can be configured to display custom text or a custom image, or icons for options such as Copy and Fax. 1 From the Embedded Web Server, click Settings > Embedded Solutions > PKI Authentication > Configure. 2 For Logon Type, select whether users can access the printer using Card Only (SmartCard), Card or Manual Login, or Manual Login Only (userid/password). 3 Select whether Card Pin must be Numeric Only, or can be Alphanumeric. 4 If desired, provide custom Logon Screen Text, with special instruction for users, or a custom Logon Screen Image. Custom screen images must be in GIF format, and no larger than 800 x 320 pixels. 5 Select Allow Copy without Card if you want to enable users to make copies without authenticating to the printer. 6 Select Allow Fax without Card if you want to enable users to send faxes without authenticating to the printer. 7 Continue to Active Directory Configuration, or click Apply at the bottom of the screen to save changes. Configuring PKI-enabled devices 12
-
 1
1 -
2
-
3
-
4
-
5
-
6
-
 7
7 -
 8
8 -
 9
9 -
 10
10 -
 11
11 -
 12
12 -
 13
13 -
 14
14 -
 15
15 -
 16
16 -
 17
17 -
18
-
19
-
20
-
21
-
22
-
23
-
24
-
25
-
26
-
27
-
28
-
29
-
30
-
31
-
32
-
33
-
34
-
35
-
36
-
37
-
38
 |
 |
