Lexmark C782 Help Menu Pages - Page 1
Lexmark C782 Manual
 |
View all Lexmark C782 manuals
Add to My Manuals
Save this manual to your list of manuals |
Page 1 highlights
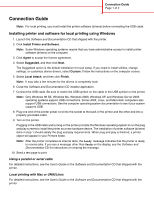
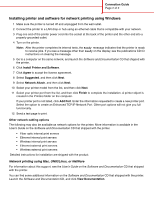
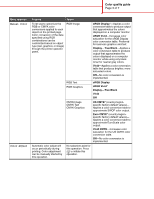
Connection Guide Page 1 of 2 Connection Guide Note: For local printing, you must install the printer software (drivers) before connecting the USB cable. Installing printer and software for local printing using Windows 1 Launch the Software and Documentation CD that shipped with the printer. 2 Click Install Printer and Software. Note: Some Windows operating systems require that you have administrative access to install printer software (drivers) on the computer. 3 Click Agree to accept the license agreement. 4 Select Suggested, and then click Next. The Suggested option is the default installation for local setup. If you need to install utilities, change settings, or customize device drivers, select Custom. Follow the instructions on the computer screen. 5 Select Local Attach, and then click Finish. Note: It may take a few minutes for the drivers to completely load. 6 Close the Software and Documentation CD installer application. 7 Connect the USB cable. Be sure to match the USB symbol on the cable to the USB symbol on the printer. Note: Only Windows 98 SE, Windows Me, Windows 2000, Windows XP, and Windows Server 2003 operating systems support USB connections. Some UNIX, Linux, and Macintosh computers also support USB connections. See the computer operating system documentation to see if your system supports USB. 8 Plug one end of the printer power cord into the socket at the back of the printer and the other end into a properly grounded outlet. 9 Turn on the printer. Plugging in the USB cable and turning on the printer prompts the Windows operating system to run the plug and play screens to install the printer as a new hardware device. The installation of printer software (drivers) done in step 1 should satisfy the plug and play requirements. When plug and play is finished, a printer object will appear in your Printers folder. Note: After the printer completes its internal tests, the Ready message indicates that the printer is ready to receive jobs. If you see a message other than Ready on the display, see the Software and Documentation CD for instructions on clearing the message. 10 Send a test page to print. Using a parallel or serial cable For detailed instructions, see the User's Guide on the Software and Documentation CD that shipped with the printer. Local printing with Mac or UNIX/Linux For detailed instructions, see the User's Guide on the Software and Documentation CD that shipped with the printer.
-
 1
1 -
 2
2 -
 3
3 -
 4
4 -
 5
5 -
 6
6 -
 7
7 -
8
-
9
-
10
-
11
-
12
-
13
-
14
-
15
-
16
-
17
-
18
-
19
-
20
-
21
-
22
-
23
-
24
-
25
 |
 |