Lexmark CX410 Universal Print Driver Version 2.0 White Paper - Page 19
Using the Fax preferences tab - toner
 |
View all Lexmark CX410 manuals
Add to My Manuals
Save this manual to your list of manuals |
Page 19 highlights
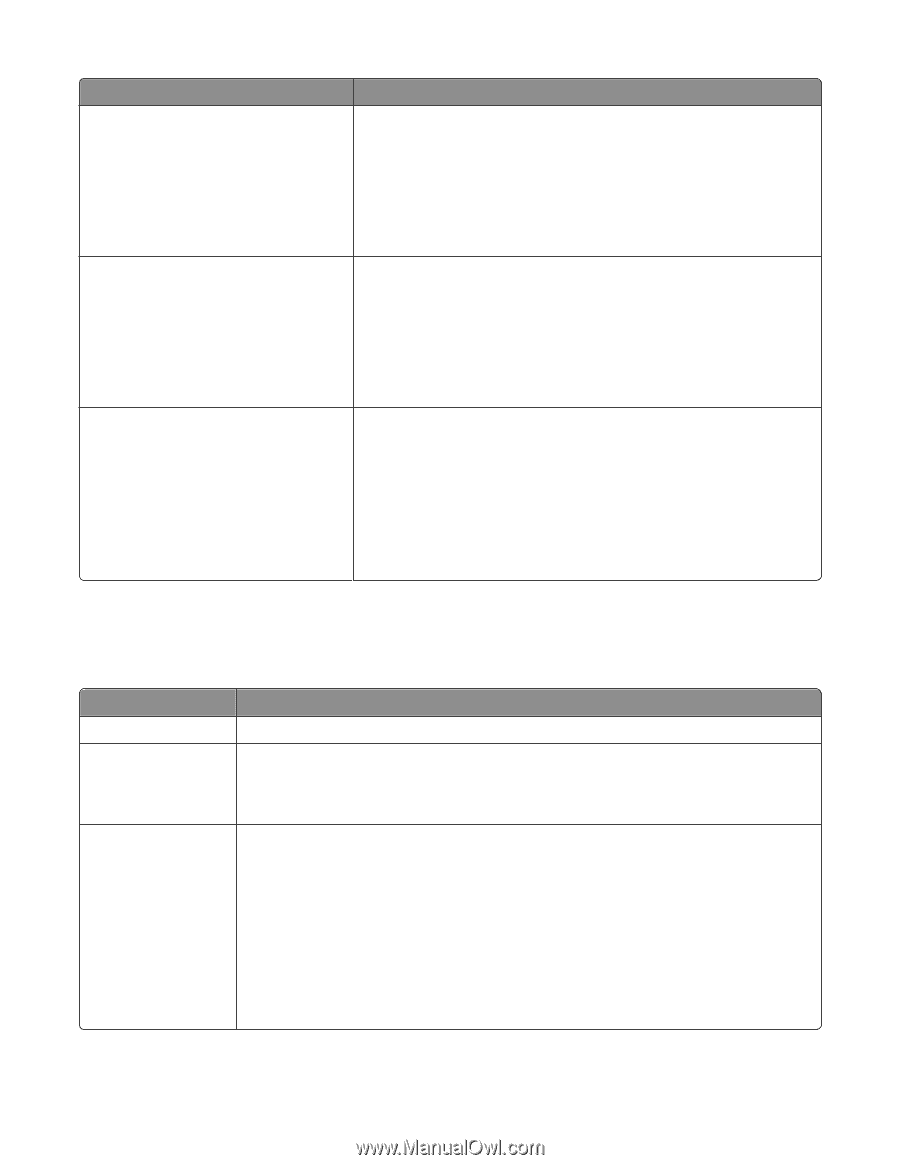
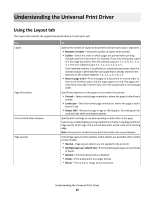
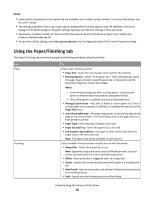
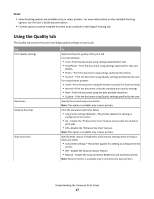
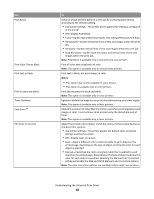
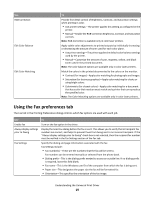
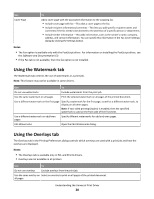
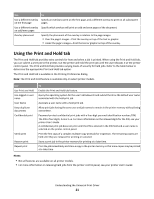
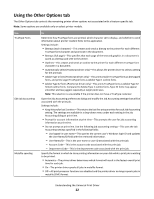
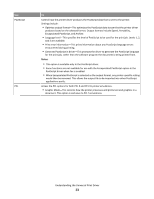
Use RGB Correction Edit Color Balance Edit Color Matching To Provide fine detail control of Brightness, Contrast, and Saturation settings when printing in color. • Use printer settings-The printer applies this setting as configured in the printer. • Manual-Enable the RGB Correction Brightness, Contrast, and Saturation controls. Note: RGB Correction is available only in color laser printers. Apply subtle color adjustments to printed outputs by individually increasing or decreasing the amount of toner used for each color plane. • Use printer settings-The printer applies the default color balance settings used by the printer. • Manual-Customize the amount of cyan, magenta, yellow, and black toner used in the printed document. Note: The color balance options are available only in color laser printers. Match the colors in the printed documented to the colors on the monitor. • Contrast (for images)-Apply color matching for photographs and images. • Saturation (for business graphics)-Apply color matching for charts or using bright colors. • Colorimetric (for closest colors)-Apply color matching for a document that has a color that needs an exact match and a printer that can reproduce the specified color. Note: The Color Matching options are available only in color laser printers. Using the Fax preferences tab The Fax tab in the Printing Preferences dialog controls which fax options are used with each job. Use To Enable fax Turn on the fax option in the driver. Always display settings prior to faxing Display the Send Fax dialog before the fax is sent. This allows you to verify that all recipient fax numbers are correct, and helps to prevent faxes from being sent to an incorrect recipient. If the "Always display settings prior to faxing" check box is not selected, then the recipient fax number must be verified in the Fax Settings section of the Fax tab. Fax Settings Specify the dialing and page information associated with the fax. Fax Settings include: • Fax number(s)-These are the numbers that the fax will be sent to. Fax numbers can be entered manually or selected from the phone book. • Dialing prefix-This is the dialing prefix needed to access an outside line. If no dialing prefix is required, leave this field blank. • Fax name-This is the Windows user ID of the computer from which the fax is being sent. • Paper size-This designates the paper size the fax will be formatted for. • Orientation-This specifies the orientation of the fax image. Understanding the Universal Print Driver 19
-
 1
1 -
2
-
3
-
4
-
5
-
6
-
7
-
8
-
9
-
10
-
11
-
12
-
13
-
 14
14 -
 15
15 -
 16
16 -
 17
17 -
 18
18 -
 19
19 -
 20
20 -
 21
21 -
 22
22 -
 23
23 -
 24
24 -
25
-
26
-
27
 |
 |