Lexmark E460DW Connectivity guide - Page 3
Macintosh instructions for a locally attached printer
 |
UPC - 734646083669
View all Lexmark E460DW manuals
Add to My Manuals
Save this manual to your list of manuals |
Page 3 highlights
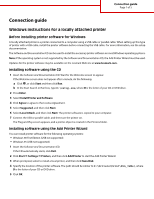
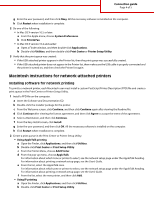
Connection guide Page 3 of 5 Installing optional printer software If you want to use any of the other programs available on the Software and Documentation CD, install them by following the Custom install path: 1 Insert the Software and Documentation CD. Wait for the Welcome screen to appear. If the Welcome screen does not appear after a minute, do the following: a Click , or click Start and then click Run. b In the Start Search or Run box, type D:\setup.exe, where D is the letter of your CD or DVD drive. 2 Press Enter. 3 Select Install Printer and Software. 4 Click Agree to agree to the License Agreement. 5 Select Custom, and then click Next. 6 Select Select Components, and then click Next. 7 Specify whether to install software on the Local computer or on a Remote computer on your network, and then click Next. 8 Click the + boxes under Select Components to view the list of available software. 9 Select the check box next to each program you want to install, and then click Finish. The software is copied to the computer. 10 Connect the USB or parallel cable, and then turn the printer on. The Plug and Play screen appears, and a printer object is created in the Printers folder. Macintosh instructions for a locally attached printer Before installing printer software for Macintosh A locally attached printer is a printer connected to a computer using a USB cable. When setting up this type of printer, install the printer software before connecting the USB cable. For more information, see the setup documentation. The Software and Documentation CD can be used to install the necessary printer software. Note: A PPD for the printer is also available in a downloadable software package on the Lexmark Web site at www.lexmark.com. Creating a print queue For local printing, you need to create a print queue: 1 Install a PostScript Printer Description (PPD) file on the computer. A PPD file provides detailed information to the Macintosh computer about the capabilities of the printer. a Insert the Software and Documentation CD. b Double-click the installer package for the printer. c From the Welcome screen, click Continue, and then click Continue again after viewing the Readme file. d Click Continue after viewing the license agreement, and then click Agree to accept the terms of the agreement. e Select a Destination, and then click Continue. f From the Easy Install screen, click Install.
-
 1
1 -
 2
2 -
 3
3 -
 4
4 -
 5
5
 |
 |