Lexmark Optra S 1625 User's Guide (7.1 MB) - Page 206
Unformatted, Format Disk, TESTS MENU, Scheduled, Maintenance, Engine Code CRC, Failure, Toner Low
 |
View all Lexmark Optra S 1625 manuals
Add to My Manuals
Save this manual to your list of manuals |
Page 206 highlights
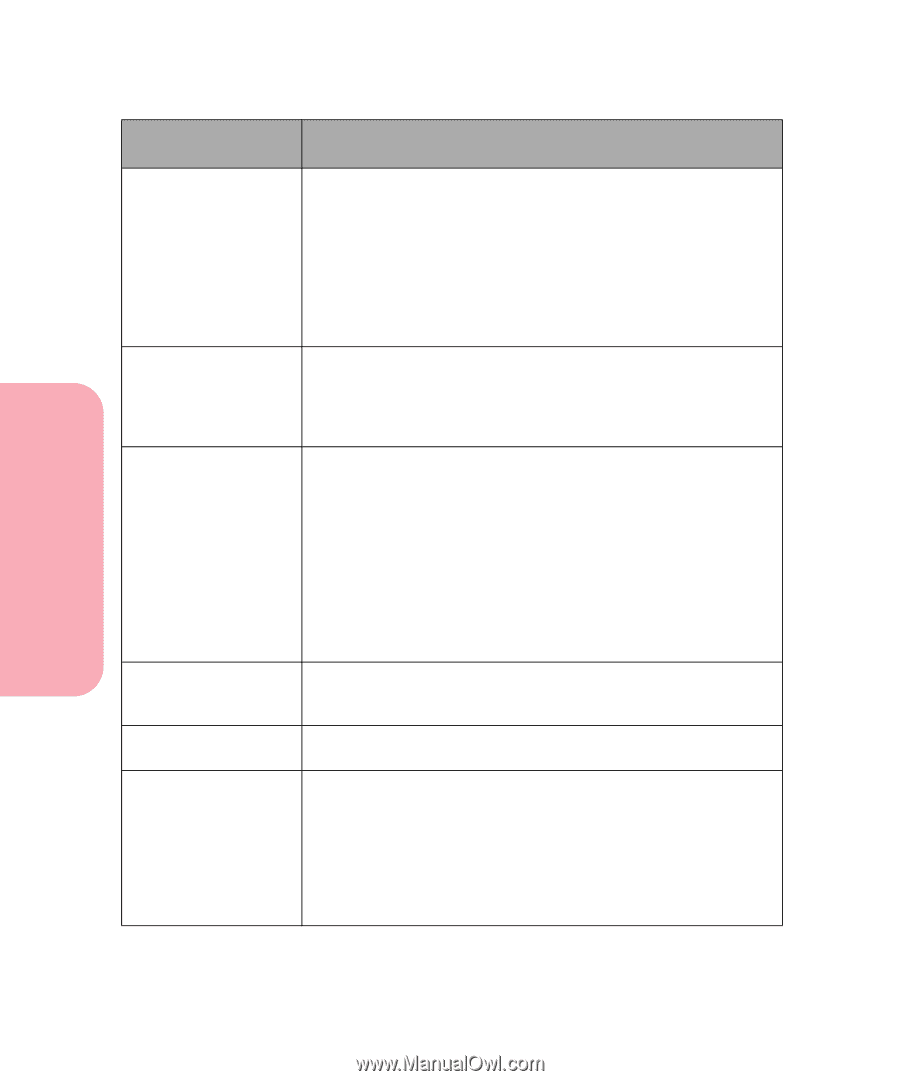
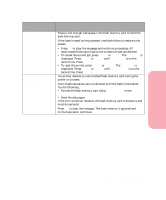
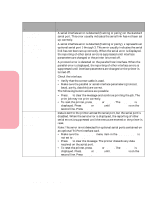
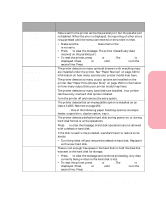
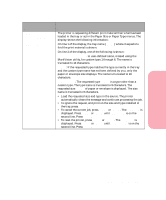
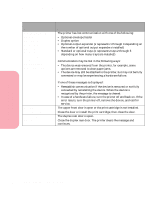
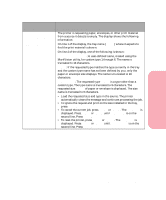
Caring for Your Printer Understanding Printer Messages Attendance Message 63 Unformatted Disk 70 - 79 messages 80 Scheduled Maintenance 81 Engine Code CRC Failure 88 Toner Low 200 Paper Jam Remove Cartridge Meaning and Required Action The printer detects an unformatted hard disk during power on. Note: Disk operations are not allowed until the hard disk is formatted. Try the following: • Format the hard disk using Format Disk in the TESTS MENU. • Send the data again. If the error condition remains, the hard disk is defective and must be replaced. Press Go to clear the message. The hard disk is ignored and normal operation continues. These numbered messages are reserved for internal network adapter messages. See the CD online document about the printer operator panel for more information. Also, see the documentation that comes with the internal network adapter. The printer requires replacement of routine maintenance items to maintain top performance, and avoid print quality and paper feed problems. The message displays when the printer maintenance counter determines 250,000 pages have printed. These components are in a maintenance kit available from Lexmark. Press Go to clear the message. It is recommended that you have a trained servicer install the maintenance kit components. Failure to replace the maintenance kit items will not interrupt printer operation, but can result in unsatisfactory performance of the printer. For more information, see "Maintaining Your Printer" on page 247. Microcode in the engine flash code module has failed a CRC check. Press Go to clear the message. The microcode data is discarded and must be re-transmitted from the host computer. The toner supply is low. Press Go to clear the message. The printer detects a paper jam under the print cartridge. Open the upper front door, remove the print cartridge, and remove the jammed print material. Reinstall the cartridge and close the door. See "200 and 201 Paper Jam - Remove Cartridge" on page 212 for more information. Press Go to resume printing. The printer prints a new copy of the page that jammed if Jam Recovery is set to On or Auto; however, the Auto setting does not guarantee the page will print. 190 Understanding Printer Messages
-
 1
1 -
2
-
3
-
4
-
5
-
6
-
7
-
8
-
9
-
10
-
11
-
12
-
13
-
14
-
15
-
16
-
17
-
18
-
19
-
20
-
21
-
22
-
23
-
24
-
25
-
26
-
27
-
28
-
29
-
30
-
31
-
32
-
33
-
34
-
35
-
36
-
37
-
38
-
39
-
40
-
41
-
42
-
43
-
44
-
45
-
46
-
47
-
48
-
49
-
50
-
51
-
52
-
53
-
54
-
55
-
56
-
57
-
58
-
59
-
60
-
61
-
62
-
63
-
64
-
65
-
66
-
67
-
68
-
69
-
70
-
71
-
72
-
73
-
74
-
75
-
76
-
77
-
78
-
79
-
80
-
81
-
82
-
83
-
84
-
85
-
86
-
87
-
88
-
89
-
90
-
91
-
92
-
93
-
94
-
95
-
96
-
97
-
98
-
99
-
100
-
101
-
102
-
103
-
104
-
105
-
106
-
107
-
108
-
109
-
110
-
111
-
112
-
113
-
114
-
115
-
116
-
117
-
118
-
119
-
120
-
121
-
122
-
123
-
124
-
125
-
126
-
127
-
128
-
129
-
130
-
131
-
132
-
133
-
134
-
135
-
136
-
137
-
138
-
139
-
140
-
141
-
142
-
143
-
144
-
145
-
146
-
147
-
148
-
149
-
150
-
151
-
152
-
153
-
154
-
155
-
156
-
157
-
158
-
159
-
160
-
161
-
162
-
163
-
164
-
165
-
166
-
167
-
168
-
169
-
170
-
171
-
172
-
173
-
174
-
175
-
176
-
177
-
178
-
179
-
180
-
181
-
182
-
183
-
184
-
185
-
186
-
187
-
188
-
189
-
190
-
191
-
192
-
193
-
194
-
195
-
196
-
197
-
198
-
199
-
200
-
 201
201 -
 202
202 -
 203
203 -
 204
204 -
 205
205 -
 206
206 -
 207
207 -
 208
208 -
 209
209 -
 210
210 -
 211
211 -
212
-
213
-
214
-
215
-
216
-
217
-
218
-
219
-
220
-
221
-
222
-
223
-
224
-
225
-
226
-
227
-
228
-
229
-
230
-
231
-
232
-
233
-
234
-
235
-
236
-
237
-
238
-
239
-
240
-
241
-
242
-
243
-
244
-
245
-
246
-
247
-
248
-
249
-
250
-
251
-
252
-
253
-
254
-
255
-
256
-
257
-
258
-
259
-
260
-
261
-
262
-
263
-
264
-
265
-
266
-
267
-
268
-
269
-
270
-
271
-
272
-
273
-
274
-
275
-
276
-
277
-
278
-
279
-
280
-
281
-
282
-
283
-
284
-
285
-
286
-
287
-
288
-
289
-
290
-
291
-
292
-
293
-
294
-
295
-
296
-
297
-
298
-
299
-
300
-
301
-
302
-
303
-
304
-
305
-
306
-
307
-
308
-
309
-
310
-
311
-
312
-
313
-
314
-
315
-
316
-
317
-
318
-
319
-
320
-
321
-
322
-
323
-
324
-
325
-
326
-
327
-
328
-
329
-
330
-
331
-
332
-
333
-
334
-
335
-
336
-
337
-
338
-
339
-
340
-
341
-
342
-
343
-
344
-
345
-
346
-
347
-
348
-
349
-
350
-
351
-
352
-
353
-
354
-
355
-
356
-
357
-
358
-
359
-
360
-
361
-
362
-
363
-
364
-
365
-
366
-
367
-
368
-
369
-
370
-
371
-
372
-
373
-
374
-
375
-
376
-
377
-
378
-
379
-
380
-
381
-
382
-
383
-
384
-
385
-
386
-
387
-
388
-
389
-
390
-
391
-
392
-
393
-
394
-
395
-
396
-
397
-
398
-
399
-
400
-
401
-
402
-
403
-
404
-
405
-
406
-
407
-
408
-
409
-
410
-
411
-
412
-
413
-
414
-
415
-
416
-
417
-
418
-
419
-
420
-
421
-
422
-
423
-
424
-
425
-
426
-
427
 |
 |