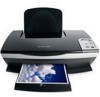
Lexmark X1290 User's Guide - Page 11
Scanning - review
 |
UPC - 734646299640
View all Lexmark X1290 manuals
Add to My Manuals
Save this manual to your list of manuals |
Page 11 highlights
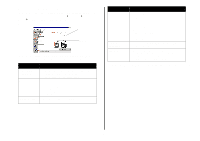
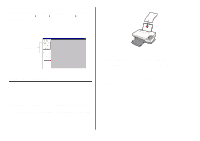
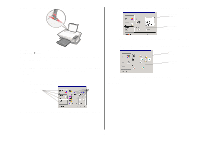
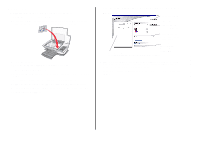
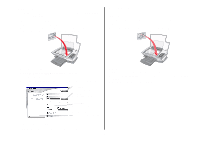
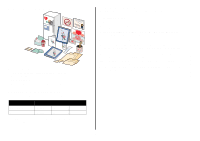
Scanning The following steps show you how to scan and save images. 1 Open the top cover of the All-In-One. 2 Place the item you want to scan facedown on the glass. Make sure the upper left corner of the front of the item aligns with the arrow 3 Close the top cover. 4 Open the Lexmark All-In-One Center (see page 5). The All-In-One Main Page appears. 5 Click Preview Now located in the upper right corner of the All-In-One Main Page. An image of the scanned item appears in the preview section. 6 Click and drag to select a specific area of the preview image to scan. 7 Click See More Scan Settings to review and change the scan settings. 8 Select your scan settings. From the "Send scanned image to" drop-down menu, select a program to send the scanned image to, or click the Creative Tasks section to display a list of projects. Preview Now button Click to see a preview of the image. Scan Now button Click to scan the item on the scanner bed. Copy now settings Adjust the settings for the scanned item. Creative Tasks Choose what you want to do with the Preview section scanned item. See a preview of the image, and select an area to be scanned. 9 If you are sending the scanned image to a software program, click Scan Now to complete the scan. If you are using the Creative Tasks section, follow the instructions on the computer screen. For a list of the Creative Tasks available from the All-In-One Main Page, see page 6. English 11
-
 1
1 -
2
-
3
-
4
-
5
-
 6
6 -
 7
7 -
 8
8 -
 9
9 -
 10
10 -
 11
11 -
 12
12 -
 13
13 -
 14
14 -
 15
15 -
 16
16 -
17
-
18
-
19
-
20
-
21
 |
 |
