Lexmark X560n Quick Reference - Page 5
Maintaining the printer - ink
 |
View all Lexmark X560n manuals
Add to My Manuals
Save this manual to your list of manuals |
Page 5 highlights
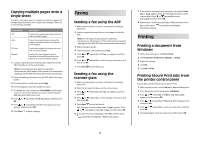
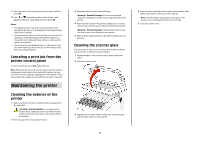
7 Select the name of the job that you want to print, and then press OK. 8 Press or repeatedly to select either Print and Delete or Print and Save, and then press OK. Notes: • The displayed user ID (up to 8 characters) is the User ID specified in the Secure Print dialog box of the Paper/Output tab of Print Properties. • For the password, enter the Password set in the Secure Print dialog box of the Paper/Output tab of Print Properties. If Password is not configured, there will be no setting on the printer control panel. • The document name displayed (up to 12 characters) is the Document Name specified in the Secure Print dialog of the Basic tab of Print Properties. Canceling a print job from the printer control panel To cancel a print job, press Stop at any time. Note: If the print job continues to print, part of the job may have already been transmitted to the printer buffer before the stop command was sent. Canceling appears on the display, and the remaining buffered pages are printed before the job is canceled. Maintaining the printer Cleaning the exterior of the printer 1 Make sure that the printer is turned off and unplugged from the wall outlet. CAUTION-SHOCK HAZARD: To avoid the risk of electric shock, unplug the power cord from the wall outlet and disconnect all cables to the printer before proceeding. 2 Remove paper from the standard exit bin. 3 Dampen a clean, lint-free cloth with water. Warning-Potential Damage: Do not use household cleaners or detergents, as they may damage the finish of the printer. 4 Wipe only the outside of the printer, making sure to remove any ink residue that has accumulated on the standard exit bin. Warning-Potential Damage: Using a damp cloth to clean the interior may cause damage to your printer. 5 Make sure the standard exit bin is dry before beginning a new print job. Cleaning the scanner glass Clean the scanner glass if you encounter print quality problems, such as streaks on copied or scanned images. 1 Slightly dampen a soft, lint-free cloth or paper towel with water. 2 Open the scanner cover. 3 Wipe the scanner glass (which includes the document glass and ADF glass) until it is clean and dry. 5 4 Wipe the white underside of the scanner cover and the white plastic input guides until they are clean and dry. Note: The white plastic input guides are located on the scanner cover underneath the ADF on the left side. 5 Close the scanner cover.
-
 1
1 -
 2
2 -
 3
3 -
 4
4 -
 5
5
 |
 |
