LiftMaster 3275 3275 Manual - Page 6
Assembly Step 1, Assembly Step 2 - rails
 |
View all LiftMaster 3275 manuals
Add to My Manuals
Save this manual to your list of manuals |
Page 6 highlights
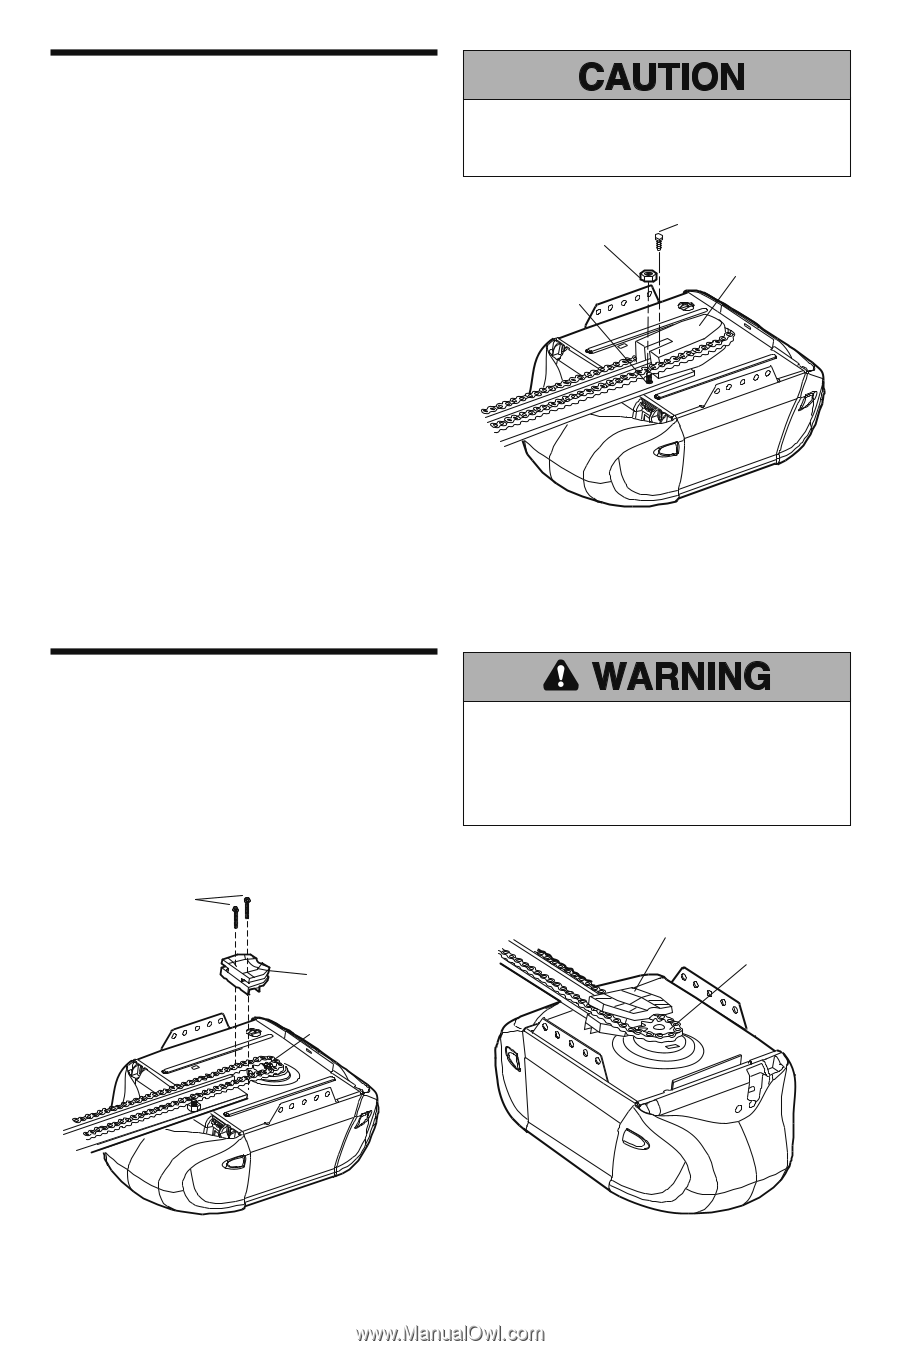
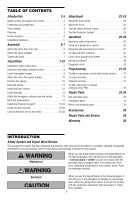
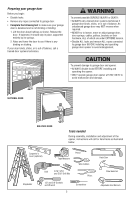
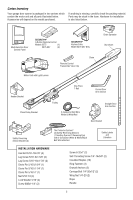
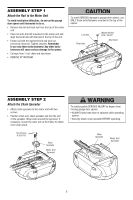
ASSEMBLY STEP 1 Attach the Rail to the Motor Unit To avoid installation difficulties, do not run the garage door opener until instructed to do so. • Remove the bolt and lock nut from the top of the motor unit. • Place rail onto the bolt mounted on the motor unit and align the back hole with the hole in the top of the unit. • Fasten rail with the washered bolt and lock nut previously removed. Tighten securely. Remember to use only these bolts/fasteners! Any other bolts/ fasteners will cause serious damage to the opener. • Cut tape from T-rail, chain and styrofoam. • REMOVE STYROFOAM. To avoid SERIOUS damage to garage door opener, use ONLY those bolts/fasteners mounted in the top of the opener. Lock Nut T-Rail Hole Washered Bolt 5/16"-18x1/2" Styrofoam ASSEMBLY STEP 2 Attach the Chain Spreader • Attach chain spreader to the motor unit with two screws. • Position chain over chain spreader and into the slot of the spreader. Wrap chain around the sprocket. If necessary, loosen the outer nut on the trolley to obtain more chain slack. Hex Screws 8-32x7/16" Chain Spreader Motor Unit Sprocket To avoid possible SERIOUS INJURY to fingers from moving garage door opener: • ALWAYS keep hand clear of sprocket while operating opener. • Securely attach chain spreader BEFORE operating. Chain Spreader Motor Unit Sprocket 6
-
 1
1 -
 2
2 -
 3
3 -
 4
4 -
 5
5 -
 6
6 -
 7
7 -
 8
8 -
 9
9 -
 10
10 -
 11
11 -
 12
12 -
13
-
14
-
15
-
16
-
17
-
18
-
19
-
20
-
21
-
22
-
23
-
24
-
25
-
26
-
27
-
28
-
29
-
30
-
31
-
32
-
33
-
34
-
35
-
36
 |
 |