LiftMaster 8160W 8155W 8164W 8165W 8160 8160WB Users Guide - English French - Page 13
Test the Safety Reversal System, Test the Protector System, carton in the path of the door.
 |
View all LiftMaster 8160W manuals
Add to My Manuals
Save this manual to your list of manuals |
Page 13 highlights
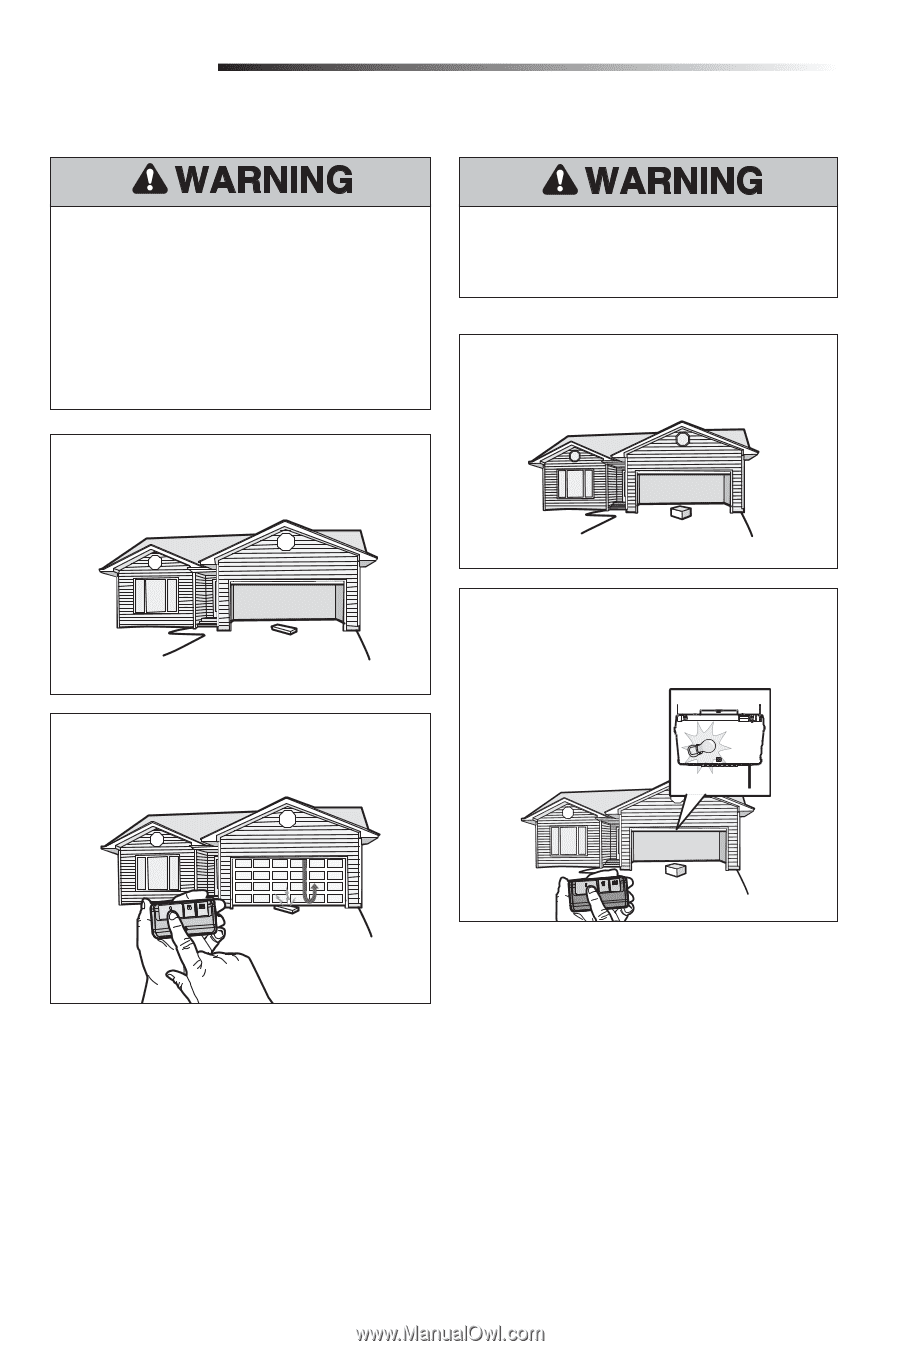
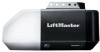
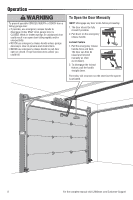
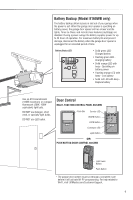
Adjustment 2 3 Test the Safety Reversal System Test the Protector System® Without a properly installed safety reversal system, persons (particularly small children) could be SERIOUSLY INJURED or KILLED by a closing garage door. • Safety reversal system MUST be tested every month. • After ANY adjustments are made, the safety reversal system MUST be tested. Door MUST reverse on contact with 1-1/2" high (3.8 cm) object (or 2x4 laid flat) on the floor. 2.1 With the door fully open, place a 1-1/2 inch (3.8 cm) board (or a 2x4 laid flat) on the floor, centered under the garage door. Without a properly installed safety reversing sensor, persons (particularly small children) could be SERIOUSLY INJURED or KILLED by a closing garage door. 3.1 Open the door. Place the garage door opener carton in the path of the door. 2.2 Press the remote control push button to close the door. The door MUST reverse when it makes contact with the board. 3.2 Press the remote control push button to close the door. The door will not move more than an inch (2.5 cm), and the garage door opener lights will flash 10 times. 2 If the door stops and does not reverse on the obstruction, increase the down travel (see Adjustment Step 1). Repeat the test. When the door reverses upon contact with the 1-1/2 inch board, remove the board and open/ close the door 3 or 4 times to test the adjustment. If the test continues to fail, call a trained door systems technician. The garage door opener will not close from a remote control if the LED in either safety reversing sensor is off (alerting you to the fact that the sensor is misaligned or obstructed). If the garage door opener closes the door when the safety reversing sensor is obstructed (and the sensors are no more than 6 inches [15 cm] above the floor), call for a trained door systems technician. 13
-
 1
1 -
2
-
3
-
4
-
5
-
6
-
7
-
 8
8 -
 9
9 -
 10
10 -
 11
11 -
 12
12 -
 13
13 -
 14
14 -
 15
15 -
 16
16 -
 17
17 -
 18
18 -
19
-
20
-
21
-
22
-
23
-
24
-
25
-
26
-
27
-
28
-
29
-
30
-
31
-
32
-
33
-
34
-
35
-
36
 |
 |