MSI NX8600GT Getting Started Guide - Page 2
nstalling MSI, Live Update, uick Installation, etting Started, System Requirements, Card Features, - video card
 |
View all MSI NX8600GT manuals
Add to My Manuals
Save this manual to your list of manuals |
Page 2 highlights
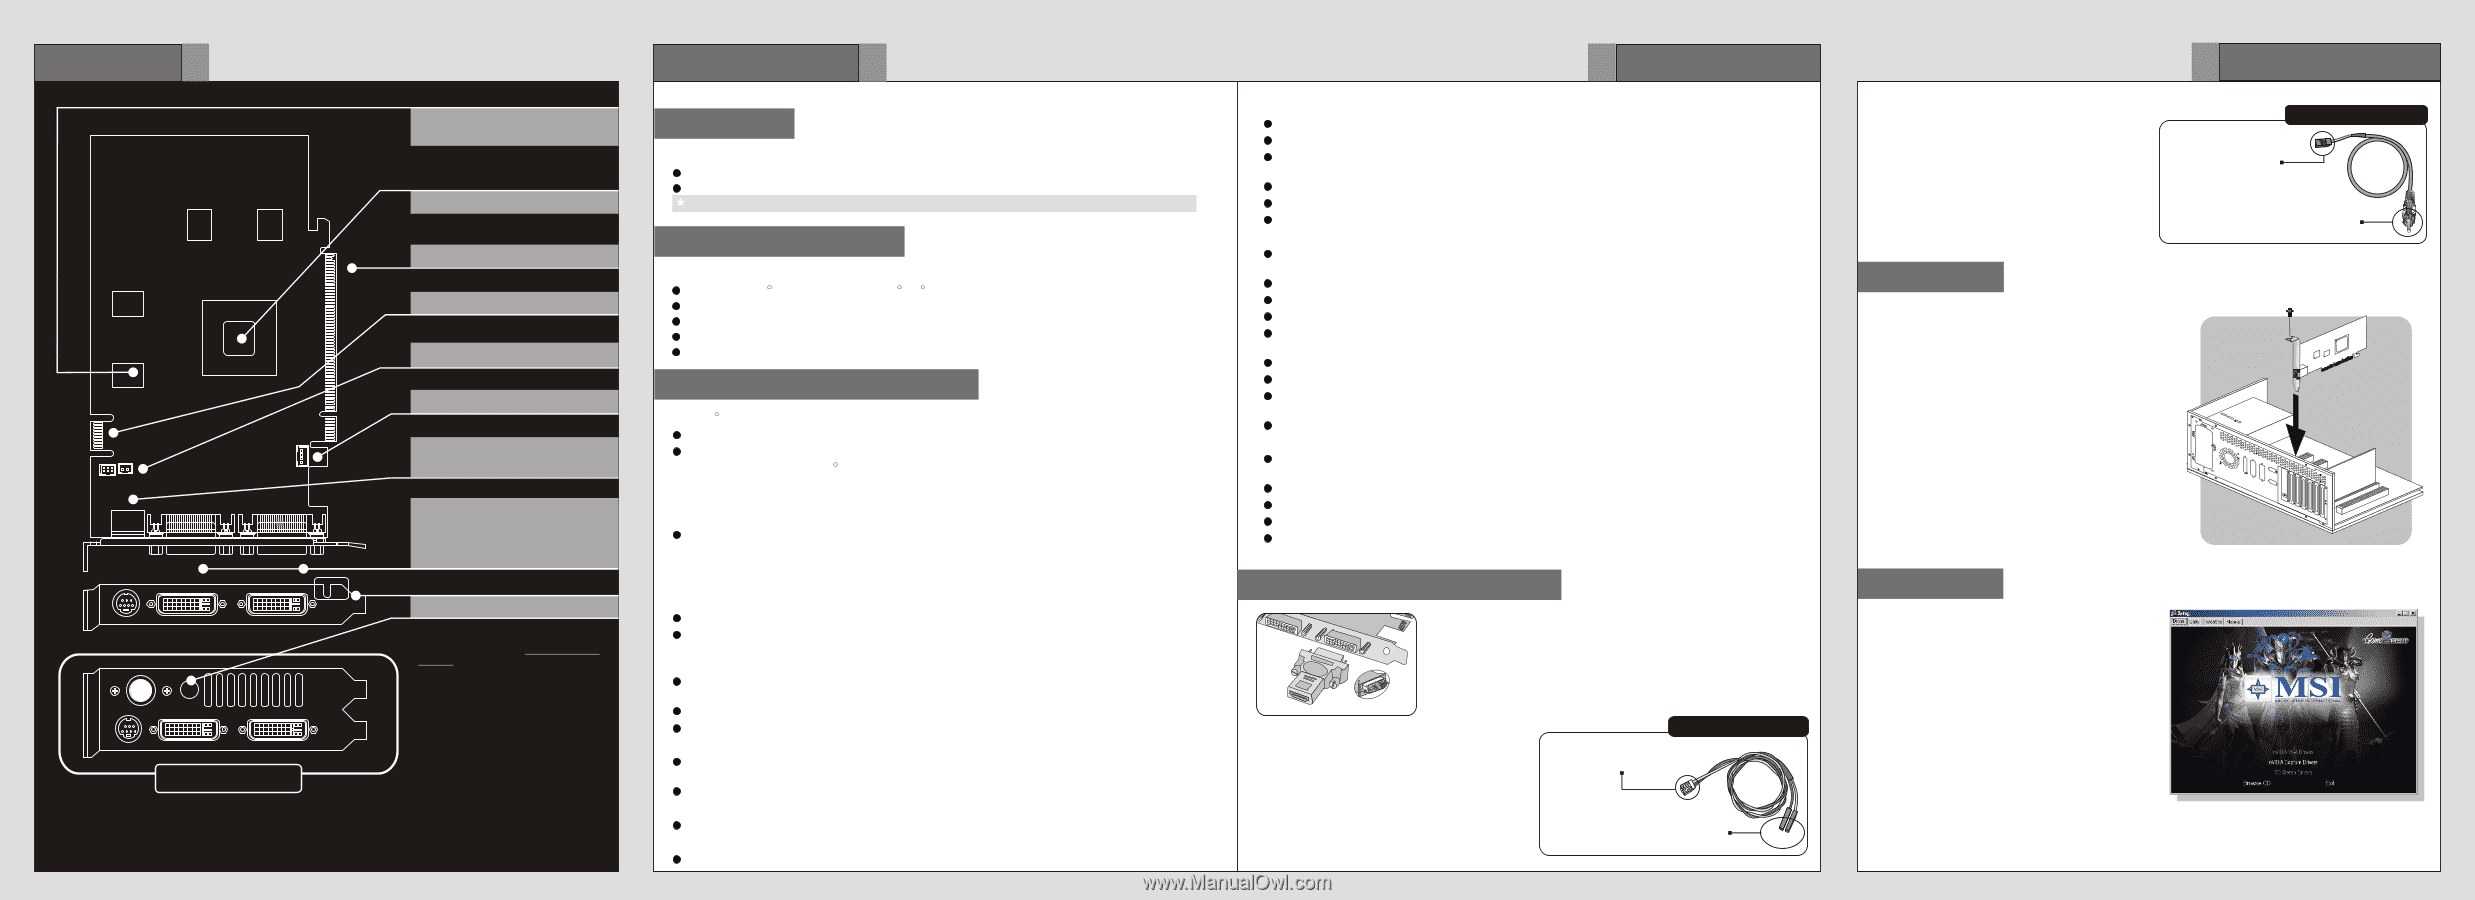
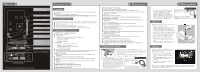
Overview 1 512MB DDR3 memory 256MB DDR3 memory nVIDIA GeForce 8600GT PCI Express Interface SLI Interface SPDIF Connector** Fan Connector TV_Out Connector HDTV-Output integrated DVI-I Ports - HDMI supported - Dual dual-Link DVI output supported Reserve Hole** ** Refer to the section of Enabling HDMI Output to enable the HDMI function. Optional Bracket Note: The VGA card shown here may vary from the actual card. For further information, please visit MSI website at www.msi.com.tw Getting Started 2 Unpacking Please check out the following items to make sure that you get the complete product: VGA card Disk: Drivers, documentation, and applications Consult your dealer immediately if anything is missing or damaged. System Requirements To install the VGA card, your computer system needs to meet the following requirements: Intel R Pentium IIITM (and above), R AMD R K7 (and above), or compatible with expansion slot 128MB of system memory Installation software requires CD-ROM drive Operation System Support: visit MSI website for further information Power supply of 350 (and up) watt is highly recommended for system stability Card Features For reference only R TM NVIDIA CineFX 5.0 Shading Architecture Microsoft VistaTM Features Vertex shaders R - Support for Microsoft DirectX 10.0 Vertex Shader 4.0 - Encompass' Transform and Lighting - Displacement mapping - Geometry instancing Pixel shades - Support for DirectX 10.0 Pixel Shader 4.0 - Support for full pixel branching - Support for Multiple Render Targets (MRTs) - Infinite-length pixel programs Next-generation texture engine Full 128-bit studio-quality floating point precision through the entire rendering pipeline,with native hardware support for 32 bpp,64 bpp,and 128 bpp rendering modes. NVIDIA SLITM Technology Patented hardware and software technology allows two GPUs to run in parallel to scale performance Scales performance on over 60 top PC games and applications Support for NVIDIAnViewTM multi-display for scalable performance across two displays API Support Complete DirectX support,including the latest version of Microsoft DirectX 10.0 Shader Model 3.0 Full OpenGL support,including OpenGL 2.0 NVIDIA Digital Vibrance ControlTM (DVC) 3.0 Technology DVC color controls and DVC image sharpening controls NVIDIA UltraShadow IITM Technology Designed to enhance the performance of shadow-intensive games,like id Software's Doom 3 G 3 etting Started NVIDIA IntellisampleTM 4.0 Technology Advanced 16X anisotropic filtering (up to 128 taps) Rotated-grid antialiasing for removing jagged edges for incredible edge quality Support for advanced lossless compression algorithms for color,texture,and z-data at higher resolutions and frame retes Fast z-clear Support for normal map compression New transparent supersampling and transparent multisampling antialiasing modes. NVIDIA PureVideoTM Technology Patented hardware and software technology allows two GPUs to run in parallel to scale performance Three dedicated video engines MPEG-2 HD and WMV HD video playback up to 1920 X1080p resolution H 264 hardware decode acceleration Decryption supported for all standard HD Video formats-AES-128 CTR mode,AES-128 CBC mode,and AES-128 ECB mode. Industry's most advanced video algorithms Overlay color temperature correction Microsoft Video Mixing Renderer (VMR) support for multiple video windows with full video quality and features in each window Integrated HDTV output 64-Bit Texture Filtering and Blending Dedicated video hardware reduces CPU utilization and improves overall system performance Full floating point is supported throughout entire pipeline Floating point filtering improves the quality of images in motion Floating point texturing drivers new levels of clarity and image detail Floating point frame buffer blending gives detail to special effects like motion blur and explosions Enabling HDMI Output R Follow the steps below to enable HDMI Output function: 1. Find the DVI-to-HDMI adapter that comes with the package, if provided. Consult your dealer to purchase the adapter if it is not provided. 2. Attach the DVI-to-HDMI adapter to the DVI connector. 3. Ensure that the adapter is firmly installed. 4. Use the compliant SPDIF Internal cable to connect both the SPDIF connectors on the VGA card and your mainboard. Make sure to (1) plug the orange cable to the SPDIFpin and the black one to the GND-pin on the mainboard; and (2) plug the other end (2-pin white connector) of the cable to the SPDIF connector on the VGA card. Note that wrong installation may cause the damage to the VGA card. SPDIF Internal cable Plug the 2-pin white connector to the SPDIF connector on the VGA card. Plug the orange (OG) cable to the SPDIF-pin and the black (BK) one to the GND-pin on the mainboard. OG BK Q 4 uick Installation 5. Or, use the compliant SPDIF External cable to connect the SPDIF connector on the VGA card and the SPDIF-out connector on the back panel of the mainboard. Make sure to plug the end with 2-pin connector of the cable to the SPDIF connector on the VGA card, and the other end to the SPDIF-out connector on the back panel of the mainboard. SPDIF External cable Plug the 2-pin connector to the SPDIF connector on the VGA card. Plug this connector to the SPDIF-out connector on the back panel of the mainboard. Hardware Follow the steps below to install the VGA card: 1. Remove the computer case. 2. Locate the expansion slot on your mainboard. Warning: Inserting the VGA card into a wrong slot may damage your card (refer to your mainboard manual for more Information). 3. Put the card directly over the expansion slot and press one end of the card into the slot first. Gently but firmly press the other end until the card is fully seated in the slot. 4. Secure the card with a bracket screw. 5. Install all other cards and devices and connect all the cables, and then install the case. 6. Connect the monitor. Now, you are ready to Inisntstaalllltihne gsoMftwaSreIoTnMyLourivcoemUputper.date 3TM Software R To install the driver of the VGA card to your computer, please follow the steps below: 1. Turn on the computer. 2. Insert the CD into the CD-ROM drive. The Autorun program will start the Setup program, and show the setup screen as right. 3. Click nVIDIA VGA Drivers. Follow the onscreen instructions to complete the installation. 4. After finishing the installation, restart the computer as instructed. Tip : If, on your computer, the Autorun program does not execute automatically, please 1) enable the CD-ROM drive Auto-detect function from Control Panel; or 2) find and run the setup.exe file manually from the CD.
-
 1
1 -
 2
2
 |
 |