Magnavox 32MV402X User manual, English (US) - Page 6
Magnavox 32MV402X Manual
 |
View all Magnavox 32MV402X manuals
Add to My Manuals
Save this manual to your list of manuals |
Page 6 highlights
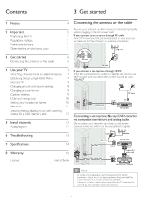
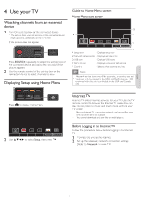
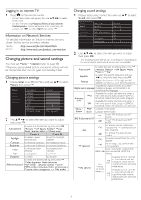
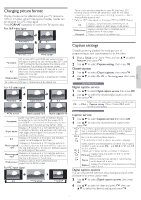
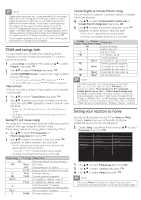
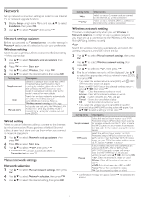
Contents 1 Notice 2 Important Positioning the TV Regulatory notices Environmental care Downloading an electronic copy 4 5 5 5 5 5 6 6 7 7 7 7 8 9 9 10 10 11 12 12 12 13 14 15 end of book 3 Get started Connecting the antenna or the cable Be sure your antenna or other device is connected properly before plugging in the AC power cord. If you connect to an antenna through RF cable Any DTV programs that are broadcasted in your area can be received for free through an antenna connection. cable 3 Get started Connecting the antenna or the cable antenna IN OUT RF cable cable 4 Use your TV Watching channels from an external device Displaying Setup using Home Menu Internet TV Changing picture and sound settings Changing picture format Caption settings Child and ratings lock Setting your location to home Network k Viewing photos, playing music and watching videos on a USB memory stick k If you connect a set-top box through HDMI If the TV is connected to a cable or satellite set-top box via HDMI, make sure you select the correct Source by using SOURCE. RF cable IN HDMI ca cable OUT IN set-top box 5 Install channels Autoprogram Connecting a set-top box, Blu-ray / DVD recorder via composite connectors and analog audio Do not place your recorder too close to the screen because some recorders can be susceptible to signals. OUT IN OUT 6 Troubleshooting 7 Specifications 8 Warranty License cable set-top box RF R F cab c cable cabl RF cable IN OUT Audio A udio L/R + video cable Audio L/R + video Audio id cable cab cabl OUT IN IN IN Blu-ray/DVD recorder Blu-ray/DVD Note • Only the left loudspeaker reproduces sound for mono equipment. Use a mono to stereo adapter (not supplied) for sound reproduction via all internal loudspeakers. • If there is no input signal and no operation for 15 minutes, the unit will go into standby mode automatically. 6
-
 1
1 -
 2
2 -
 3
3 -
 4
4 -
 5
5 -
 6
6 -
 7
7 -
 8
8 -
 9
9 -
 10
10 -
 11
11 -
 12
12 -
13
-
14
-
15
-
16
-
17
-
18
-
19
-
20
-
21
-
22
-
23
-
24
-
25
 |
 |