Makita VC4710 VC4710 Instruction Manual - Page 19
Wet suction, 2.3 Emptying the tank after, wet suction
 |
View all Makita VC4710 manuals
Add to My Manuals
Save this manual to your list of manuals |
Page 19 highlights
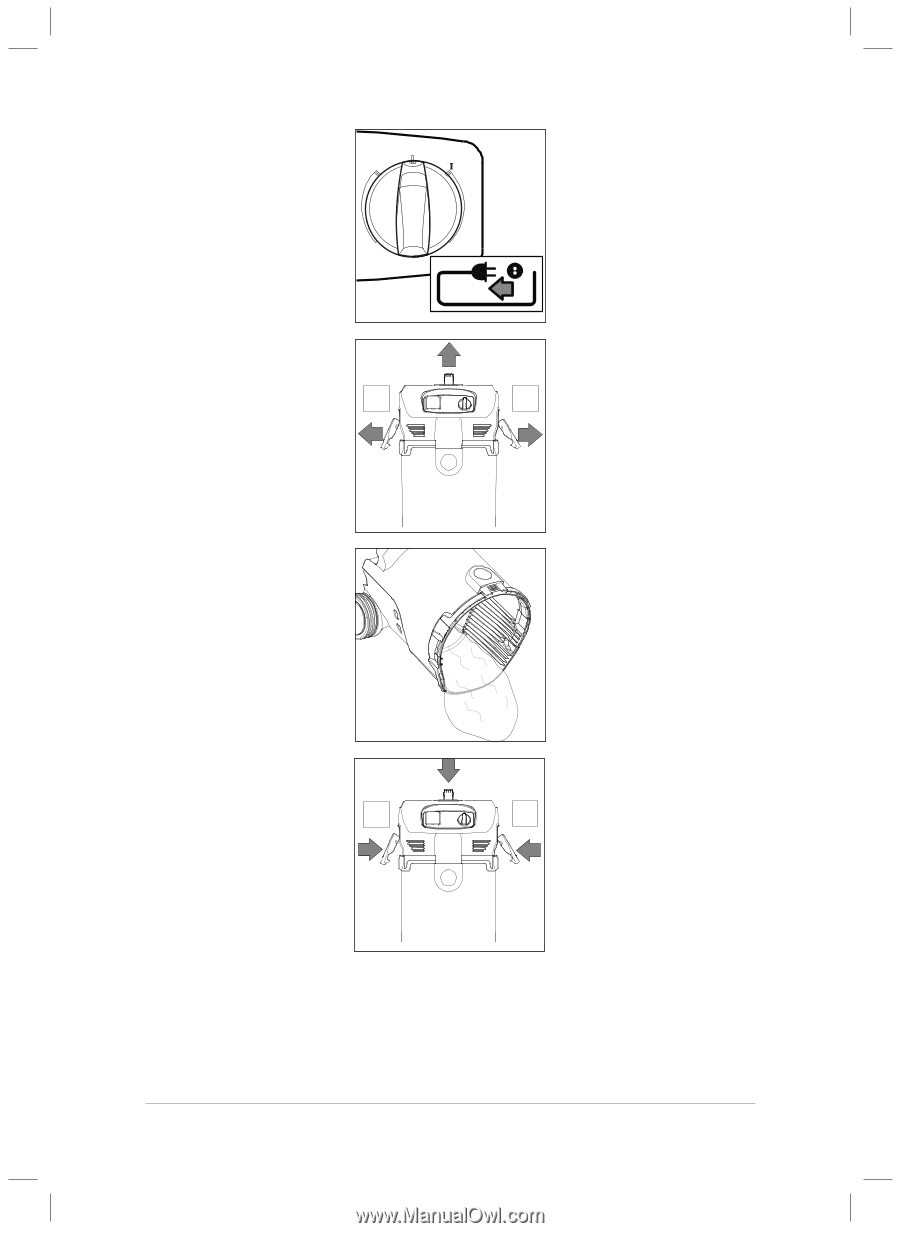
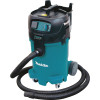
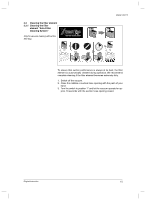
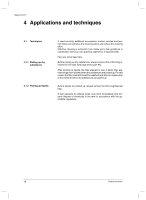
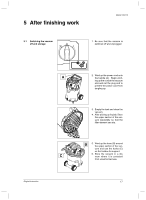
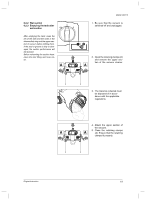
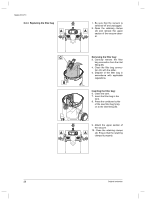
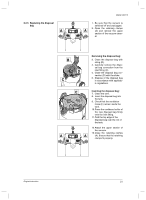
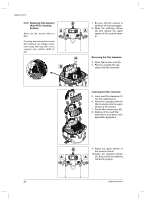
6.2.2 Wet suction 6.2.3 Emptying the tank after wet suction 0 auto After emptying the tank: clean the rim of the tank and the seals in the intermediate ring and the upper section of vacuum before refitting them. If the seal or groove is dirty or damaged, the suction performance will be reduced. Before reinserting the suction hose: clean the inlet fitting and hose collar. A Makita VC4710 1. Be sure that the vacuum is switched off and unplugged. 2. Open the retaining clamps (A) and remove the upper section of the vacuum cleaner. A 3. The material collected must be disposed of in accordance with the applicable regulations. 4. Attach the upper section of the vacuum. 5. Close the retaining clamps A A (A). Ensure that the retaining clamps fit properly. Original Instruction 19
-
 1
1 -
2
-
3
-
4
-
5
-
6
-
7
-
8
-
9
-
10
-
11
-
12
-
13
-
 14
14 -
 15
15 -
 16
16 -
 17
17 -
 18
18 -
 19
19 -
 20
20 -
 21
21 -
 22
22 -
 23
23 -
 24
24 -
25
-
26
-
27
-
28
-
29
-
30
-
31
-
32
-
33
-
34
-
35
-
36
-
37
-
38
-
39
-
40
-
41
-
42
-
43
-
44
-
45
-
46
-
47
-
48
-
49
-
50
-
51
-
52
-
53
-
54
-
55
-
56
-
57
-
58
-
59
-
60
-
61
-
62
-
63
-
64
-
65
-
66
-
67
-
68
-
69
-
70
-
71
-
72
 |
 |