Maytag MEDE201YW Installation Guide - Page 3
Installation Requirements - dryer
 |
View all Maytag MEDE201YW manuals
Add to My Manuals
Save this manual to your list of manuals |
Page 3 highlights
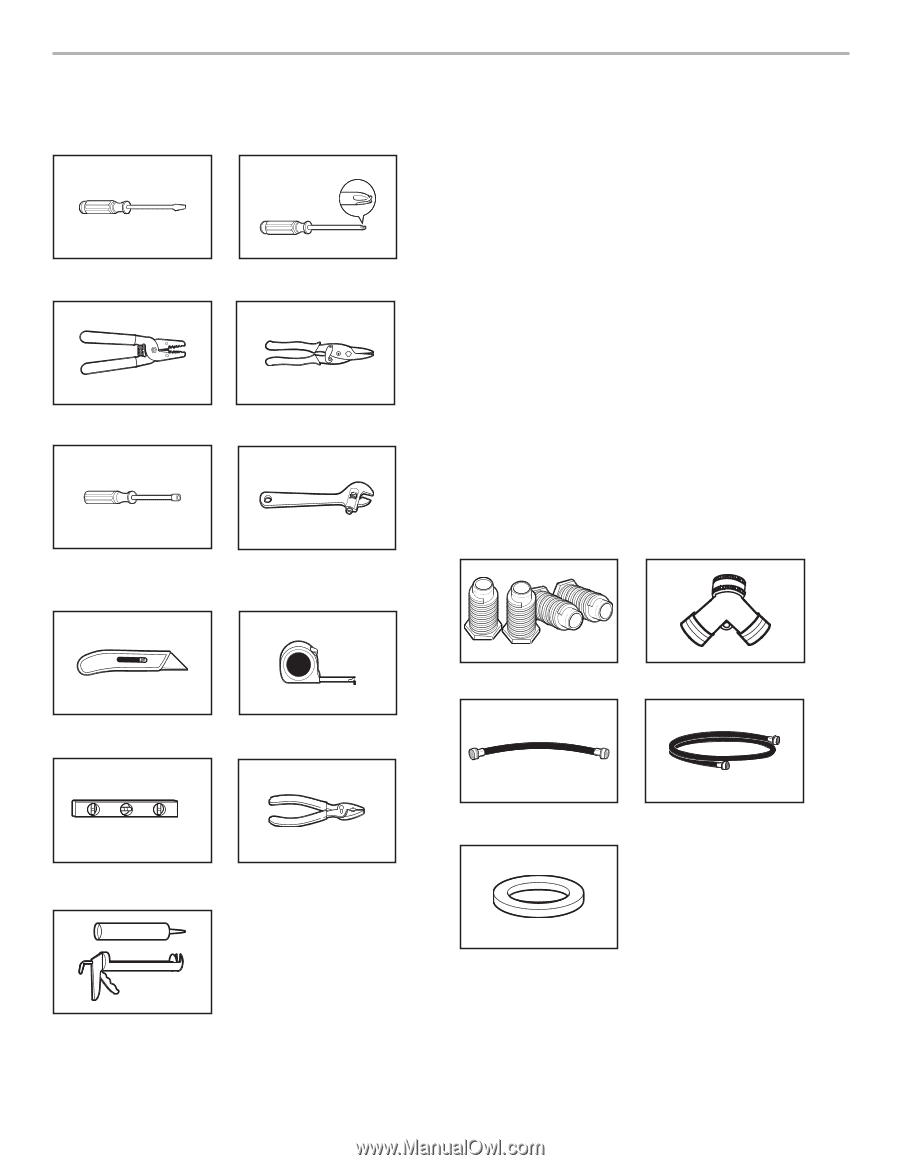
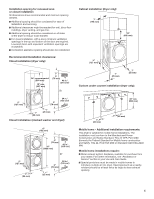
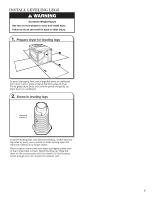
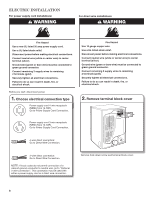
INSTALLATION REQUIREMENTS TOOLS AND PARTS Gather the required tools and parts before starting installation. Tools needed: Flat-blade screwdriver #2 Phillips screwdriver Wire stripper (direct wire installations) Tin snips (new vent installations) Parts needed: (Not supplied with dryer) ■■Vent clamps ■■Vent elbows and ductwork Additional parts may be required, depending in your installation. Check local codes. Check existing electrical supply and venting. Read "Electrical Requirements" and "Venting Requirements" before purchasing parts. If using a power supply cord: Use a UL listed power supply cord kit marked for use with clothes dryers. The kit should contain: ■■A UL listed 30-amp power supply cord, rated 120/240 volt minimum. The cord should be type SRD or SRDT and be at least 4 ft. (1.22 m) long. The wires that connect to the dryer must end in ring terminals or spade terminals with upturned ends. ■■A UL listed strain relief. 1/4" and 5/16" nut driver (recommended) Adjustable wrench that opens to 1" (25 mm) or hex-head socket wrench Parts supplied: Parts package is located in dryer drum. Check that all parts are included. NOTE: Do not use leveling legs supplied if installing with a pedestal or a stack kit. Utility knife Tape measure Leveling legs (4) "Y" connector (steam models only) Level Pliers Caulking gun and compound (for installing new exhaust vent) Short inlet hose (steam models only) Long inlet hose (steam models only) Rubber washers (steam models only) Optional Equipment: (Not supplied with dryer) Refer to your Use and Care Guide for information about accessories available for your dryer. 3
-
 1
1 -
 2
2 -
 3
3 -
 4
4 -
 5
5 -
 6
6 -
 7
7 -
 8
8 -
 9
9 -
10
-
11
-
12
-
13
-
14
-
15
-
16
-
17
-
18
-
19
-
20
 |
 |