Maytag MER8770WQ User Instructions - Page 9
panandgrid.Itisdesigned
 |
UPC - 883049185255
View all Maytag MER8770WQ manuals
Add to My Manuals
Save this manual to your list of manuals |
Page 9 highlights
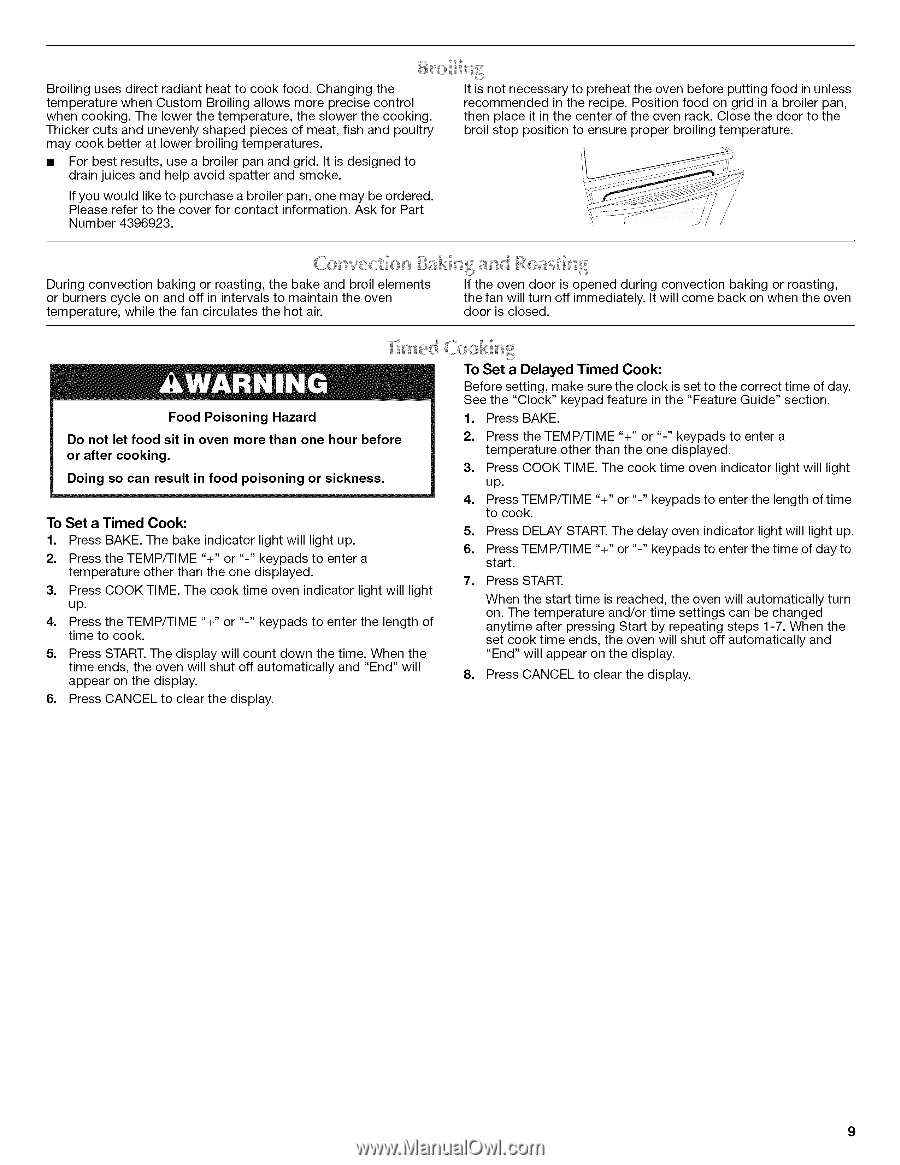
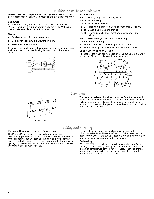
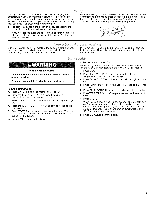
BroilinugsesdirecrtadianhteatocookfoodC. hanginthge Itisnotnecessatroypreheatht eovenbeforpeuttinfgoodinunless temperatuwrehenCustomBroilinagllowsmoreprecisceontrol recommendinetdherecipeP.ositiofnoodongridinabroilepran, whencookingT.helowetrhetemperatutrhee,slowetrhecooking. thenplaceitinthecenteorftheovenrackC. losethedoortothe Thickecrutsandunevenslyhapedpieceosfmeatf,ishandpoultry broisl toppositiotnoensurperopebrroilintgemperature. maycookbettear tlowebr roilintgemperatures. • Forbestresultsu,seabroilepranandgrid.Itisdesignetod drainjuicesandhelpavoidspattear ndsmoke. Ifyouwouldliketopurchasaebroileprano, nemaybeordered. PleasreefetrothecovefrorcontacitnformatioAns.kforPart Numbe4r396923. / / / / ' Duringconvectionbakingor roastingt,he bake and broilelements or burners cycle on and off in intervals to maintain the oven temperature, while the fan circulates the hot air. © .......0... Iftheoven door isopened duringconvectionbakingor roasting, the fan will turn off immediately. It will come back on when the oven door is closed. Food Poisoning Hazard Do not let food sit in oven more than one hour before or after cooking. Doing so can result in food poisoning or sickness. To Set a Timed Cook: 1. Press BAKE. The bake indicator light will light up. 2. Press the TEMP/TIME "+" or "-" keypads to enter a temperature other than the one displayed. 3. Press COOK TIME. The cook time oven indicator light will light up. 4. Press the TEMP/TIME "+" or "-" keypads to enter the length of time to cook. 5. Press START. The display will count down the time. When the time ends, the oven will shut off automatically and "End" will appear on the display. 6. Press CANCEL to clear the display. To Set a Delayed Timed Cook: Before setting, make sure the clock is set to the correct time of day. See the "Clock" keypad feature in the "Feature Guide" section. 1. Press BAKE. 2. Press the TEMP/TIME "+" or "-" keypads to enter a temperature other than the one displayed. 3. Press COOK TIME. The cook time oven indicator light will light up. 4. Press TEMP/TIME "+" or "-" keypads to enter the length of time to cook. 5. Press DELAY START. The delay oven indicator light will light up. 6. Press TEMP/TIME "+" or "-" keypads to enter the time of day to start. 7. Press START. When the start time is reached, the oven will automatically turn on. The temperature and/or time settings can be changed anytime after pressing Start by repeating steps 1-7. When the set cook time ends, the oven will shut off automatically and "End" will appear on the display. 8. Press CANCEL to clear the display.
-
 1
1 -
2
-
3
-
 4
4 -
 5
5 -
 6
6 -
 7
7 -
 8
8 -
 9
9 -
 10
10 -
 11
11 -
 12
12 -
 13
13 -
 14
14 -
15
-
16
 |
 |